We already looked at exception handling in a Spring Boot application. The other side of the coin is to validate the incoming data to our application. Lack of validation can lead to bad data in your database. In other words, it can adversely impact downstream processes, business insights and the overall functioning of your application negatively. The key to building a robust Spring Boot microservice is to validate the incoming data. In this post, we are going to look at the process of handling validations in Spring Boot application.
What is Validation?
Imagine a scenario where you have built an API that takes some input data and persists it. Taking our example of the Vehicle application, it can be an API end-point that allows a consumer to create a new vehicle in our starter application.
The vehicle requires a few important fields such as Make, Model, Registration Number. All these fields are vital for your application. For example, you don’t want to let the user (or consumer) create a vehicle without a Registration Number.
That’s where validation comes in.
Basically, as a developer you would want your application to validate the data supplied by the user. Only if the data is validated and found to be correct, you would persist it in the database.
From the consumer’s perspective, however, it is important to get a clear response from the API in case of any validation errors. This goes back to the theme we discussed while looking at exception handling.
Always think about the consumer
How should validations be handled?
Below are some of the things that should be done in case of validation errors:
- Provide a clear message indicating what went wrong. Tell the user what was wrong in the input.
- Send back proper response code. Usually in case of validation errors, we use HTTP Status 400 (BAD_REQUEST).
- Don’t send sensitive information back in the response
The default process of handling validations in Spring Boot provides us a way to handle all of the above requirements.
Bean Validation API
Bean Validation is the standard way of implementing validation logic in the Java world. And as you might have guessed, Spring Boot provides first class support for the same. This makes handling validations in Spring Boot very intuitive and easy to handle.
Spring Boot has a starter package called spring-boot-starter-validation. We can use it to incorporate the Bean Validation capability in our application. However, if we already have included spring-boot-starter-web in our application, the validation package comes for free with it. Incidentally, we have already included the spring-boot-starter-web in our application as discussed while understanding the anatomy of a Spring Boot application.
In the background, the validation starter simply adds the compatible version of hibernate-validator. It is the most widely used implementation of the Bean Validation API
How Bean Validation Works?
Bean Validation basically works by defining some constraints to the fields in a class. These constraints are defined by way of annotations.
Commonly, when we have POST or PUT methods, input is passed as JSON payload within the request body. Spring automatically maps the JSON body to an equivalent object based on the defined class. Typically, we would like to validate whether all the fields in this object adhere to the rules we have defined.
Let’s see it in action in our starter application.
public class VehicleCreateDTO {

    @NotNull
    @Min(8)
    private String vehicleIdentityNumber;

    @NotNull
    @Max(10)
    private String make;

    @NotNull
    @Max(10)
    private String model;
}
We have a Vehicle Identity Number that should not be null. Also, we want it to have a minimum 8 characters. Other fields like make and model should not be null but we should not have more than 10 characters in these fields. Basically, these are constraints based on whatever rules you have for your data. Depending on the rules, different annotations can be used.
However, for Spring to be able to enforce the validation we also need to pass the object to a Validator before doing anything else. This is done by placing @Valid annotation just before the @RequestBody annotation in the controller.
@PostMapping
@ResponseStatus(HttpStatus.CREATED)
public ResponseEntity<UUID> createVehicle(@Valid @RequestBody VehicleCreateDTO vehicleCreateDTO){
    return new ResponseEntity<>(vehicleCommandService.createVehicle(vehicleCreateDTO), HttpStatus.CREATED);
}
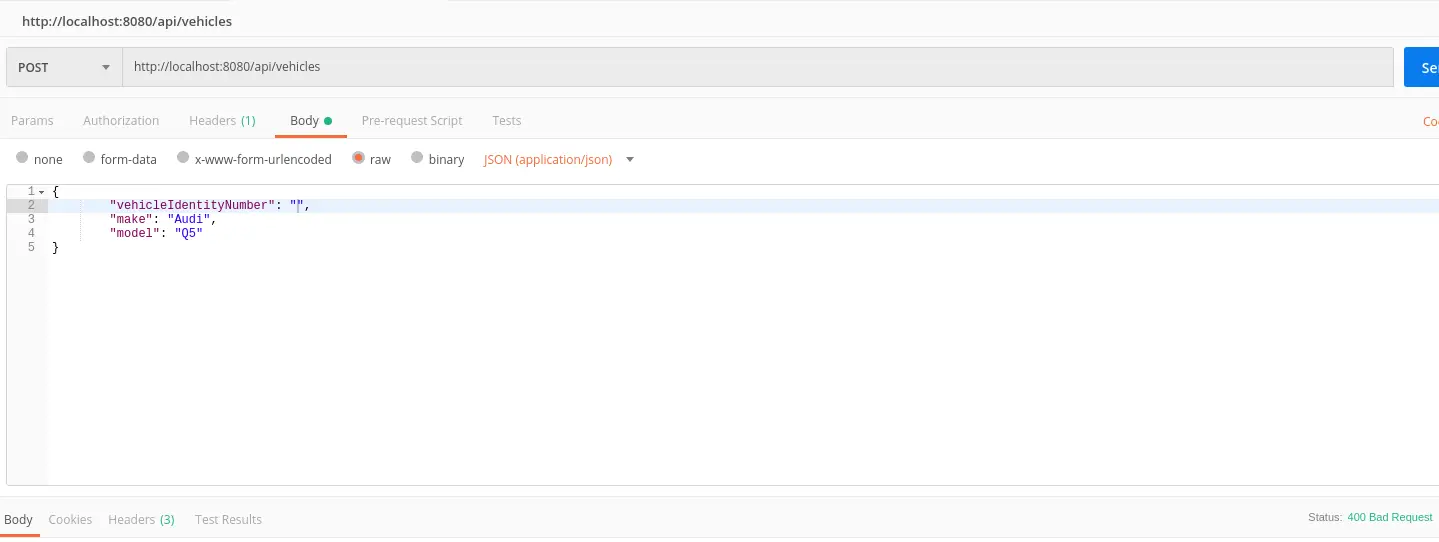
By default, the Bean Validation API will trigger a MethodArgumentNotValid annotation if any validation fails. Spring will automatically translate this to a status code 400 (BAD_REQUEST). We can see it in action below where we have received a response status code of 400:
Common Validation Types
Some of the common available annotations are:
Max to specify the maximum number of characters
Min to specify the minimum number of characters
NotNull to denote a field as not null
Email to denote that a particular field should store a valid email format data.
Digits to specify that a particular field should only have digits.
Pattern to specify a reg-ex pattern based on which the input data can be evaluated.
Validation Error Response
If you see the above screenshot, it might be evident that the response is completely blank. We do get a 400 status code but it would be incredibly difficult for the user to understand what actually went wrong with the API call.
Ideally, whenever we throw a validation error, we should try our level best to provide meaningful details to the users so that they can try and fix the issue in the next call.
Basically, we need to populate a proper error message. If you remember our exception handling section, we have already created a class for holding error details. We call it Error Model
public class ErrorModel {

    private HttpStatus httpStatus;

    private LocalDateTime timestamp;

    private String message;

    private String details;

    public ErrorModel(HttpStatus httpStatus, String message, String details) {
        this.httpStatus = httpStatus;
        this.timestamp = LocalDateTime.now();
        this.message = message;
        this.details = details;
    }

    public HttpStatus getHttpStatus() {
        return httpStatus;
    }

    public LocalDateTime getTimestamp() {
        return timestamp;
    }

    public String getMessage() {
        return message;
    }

    public String getDetails() {
        return details;
    }
}
Now, we need to declare a method to handle validation errors and provide a proper response. We can do it using @ControllerAdvice by overriding the handleMethodArgumentNotValid of the ResponseEntityExceptionHandler.
@RestControllerAdvice
public class RestExceptionHandler extends ResponseEntityExceptionHandler {

    @Override
    protected ResponseEntity<Object> handleMethodArgumentNotValid(MethodArgumentNotValidException ex, HttpHeaders headers, HttpStatus status, WebRequest request) {
            ErrorModel error = new ErrorModel(HttpStatus.BAD_REQUEST, "Validation Error", ex.getBindingResult().toString());

            return new ResponseEntity<>(error, HttpStatus.BAD_REQUEST);
    }

    @ExceptionHandler(EntityNotFoundException.class)
    private ResponseEntity<ErrorModel> handleEntityNotFound(EntityNotFoundException ex){
        ErrorModel error = new ErrorModel(HttpStatus.NOT_FOUND, "Entity not found", ex.getMessage());

        return new ResponseEntity<>(error, HttpStatus.NOT_FOUND);
    }
}
Basically, we are ensuring that whenever there is a validation error, we handle the error appropriately. We create an ErrorModel object and wrap it in a ResponseEntity object.
Now if we test our API, we get response as below:
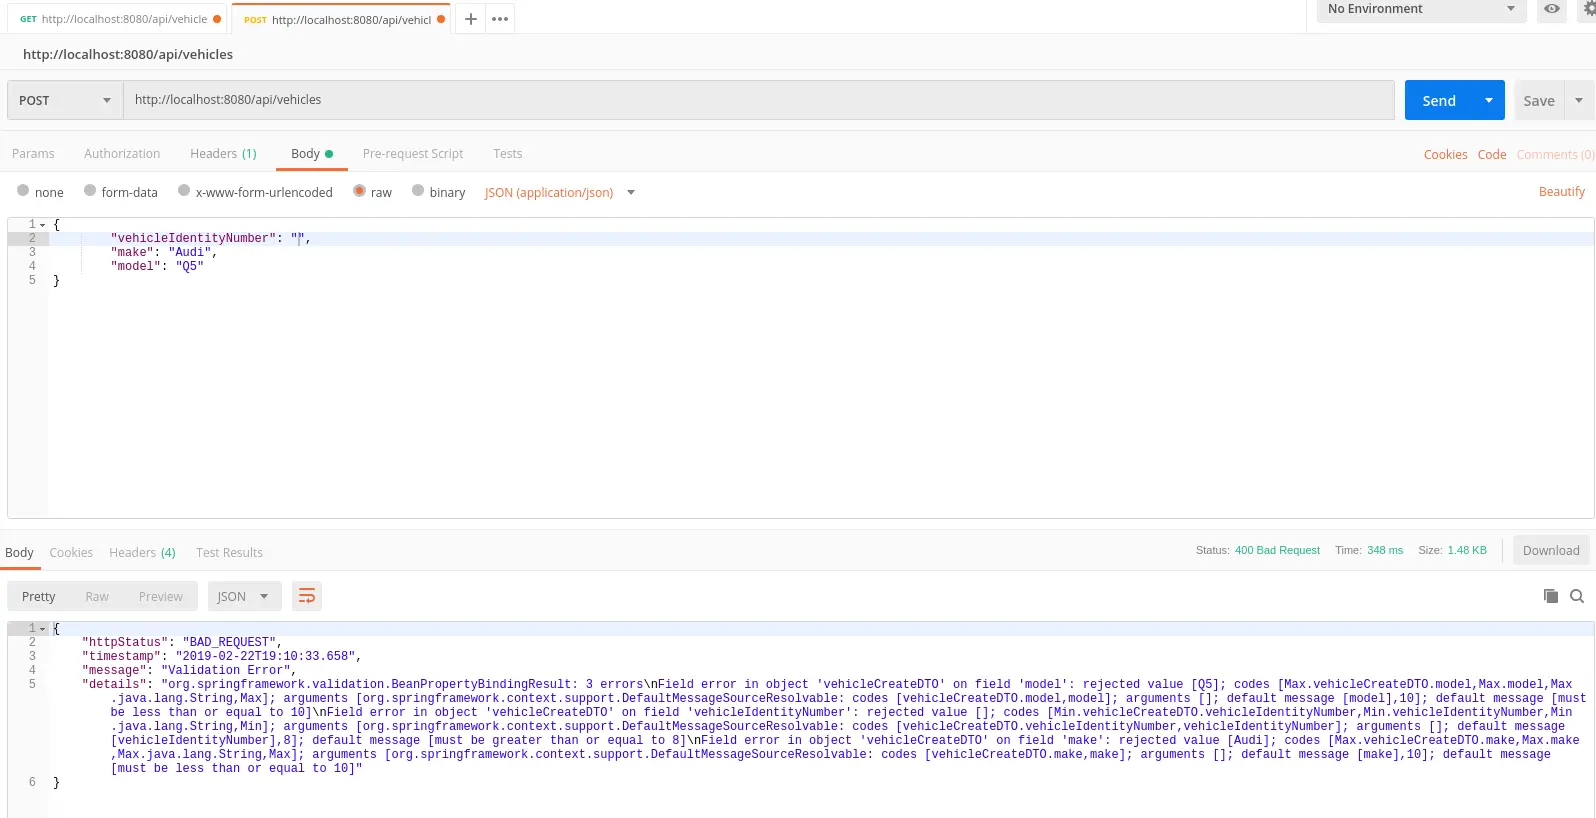
If you see the above screenshot, we get a pretty big stack-trace in the details field. The error message is basically generated by the Validator and we are not able to control it.
Customizing the Error Message
We can provide more meaningful and easy to understand message by tweaking how we annotate the fields in the VehicleCreateDTO class.
public class VehicleCreateDTO {

    @NotNull
    @Size(min = 8, message = "Vehicle Registration Number should have at least 8 characters")
    private String vehicleIdentityNumber;

    @NotNull
    @Size(max = 10, message = "Make of Vehicle cannot have more than 10 characters")
    private String make;

    @NotNull
    @Size(max = 10, message = "Model of Vehicle cannot have more than 10 characters")
    private String model;
}
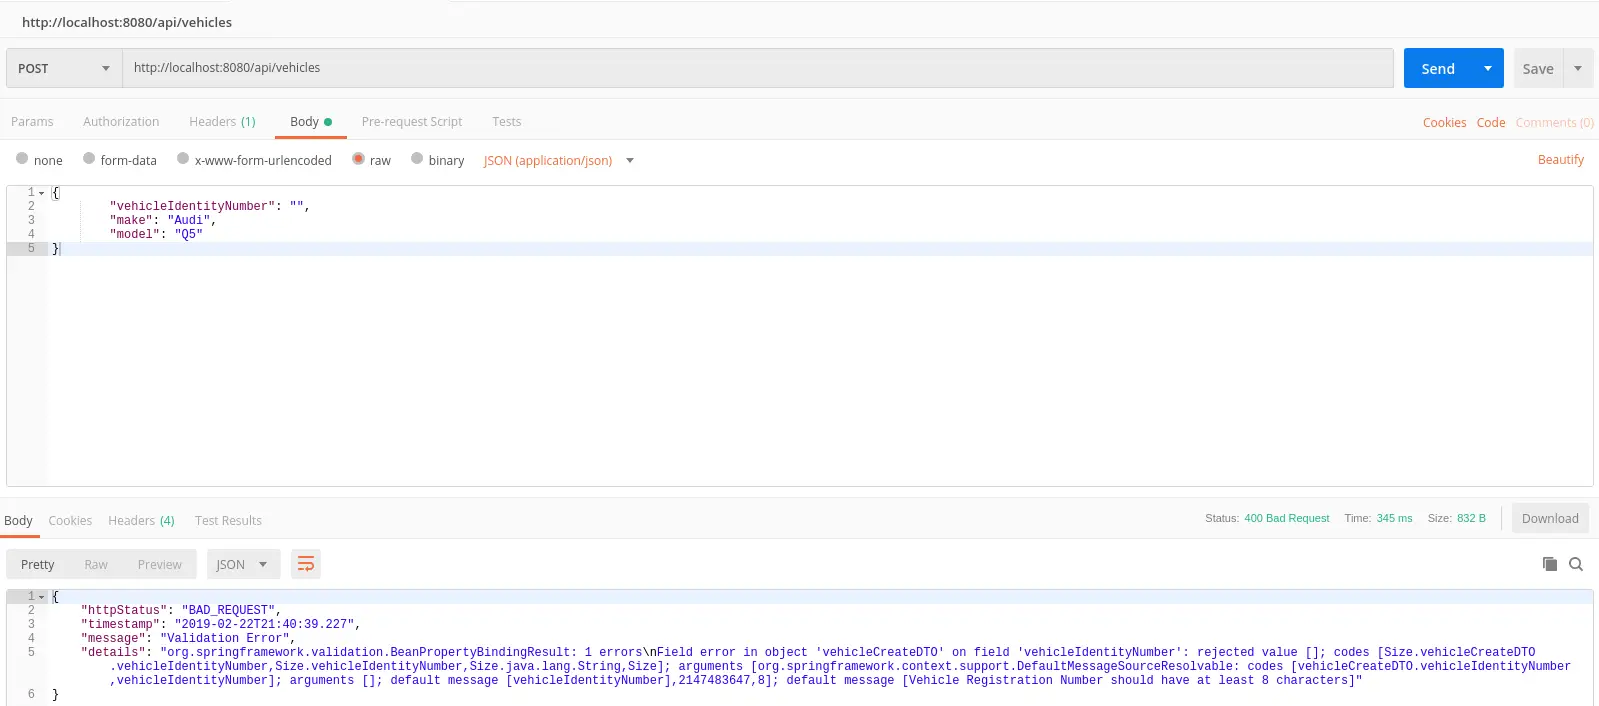
When we test now, we get a much more concise message in the response. Basically, the message that we defined in the constraint definition gets mapped to the message that we receive from the Validator.
Conclusion
Handling validations in Spring Boot is very easy and effective. Using just a few annotations, we can define complex validation logic that is easy to maintain in the future.
In this post, we have been able to incorporate basic validations in our application. We used Bean Validation API that comes packaged with Spring Boot’s web starter package for our purposes. The code for this post is available on Github.
Validations are very important for building a production-ready application. They are vital to prevent bad data from entering our system.
In the next post, we will be looking at how to incorporate Swagger with our Spring Boot application.
2 Comments
Vamsi · May 6, 2022 at 1:20 am
We can use BindingResult at the controller level and throw a custom exception if binding results contain errors. This way we can customise error message for each specific request instead of just sending “Validation error” for all validation errors.
Saurabh Dashora · May 7, 2022 at 1:45 am
Hi Vamsi…Good suggestion!