OpenShift Application Deployment from the web console is a pretty straightforward process. This is because of the variety of builder images that ship with OpenShift. In our previous post, we looked at OpenShift Web Console overview where we also saw several builder images available in the catalog.
In this post, we will use the OpenShift Web Console to deploy a starter NodeJS application on OpenShift. Once that is done, we can actually look at the various resources that OpenShift automatically creates to run our application.
1 – Creating a new OpenShift Application
Once we create a new OpenShift project and are able to enter that project, we are all set to deploy a new application.
If you want to know how to create a new OpenShift project in your web console, you can check out the OpenShift Web Console overview.
To create a new project, we can click on the Add to Project dropdown and then select the Browse Catalog option. This will open the catalog view as below.
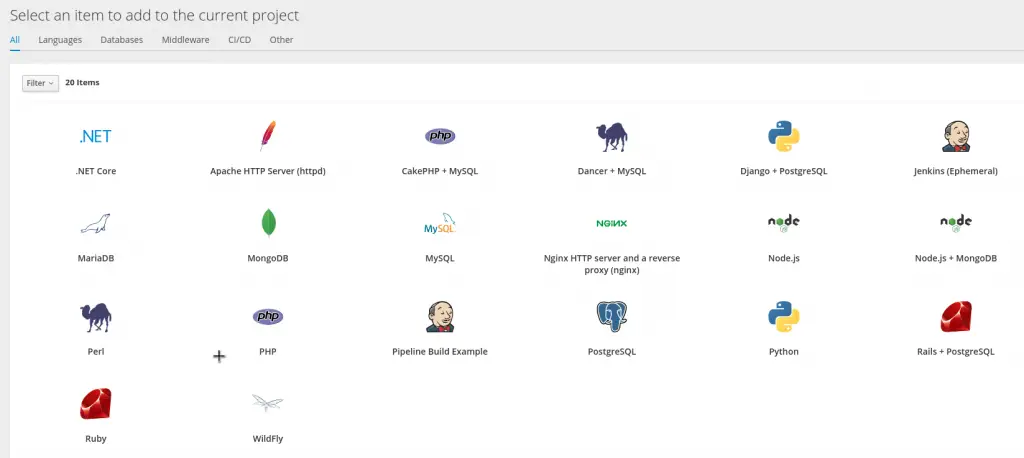
From here, we can simply select the Node.js option since we will be trying out a Node.js application in this demo.
Now, there are other ways to deploy an application but in this post, we are going to stick to the simplest approach.
2 – Providing your source repository
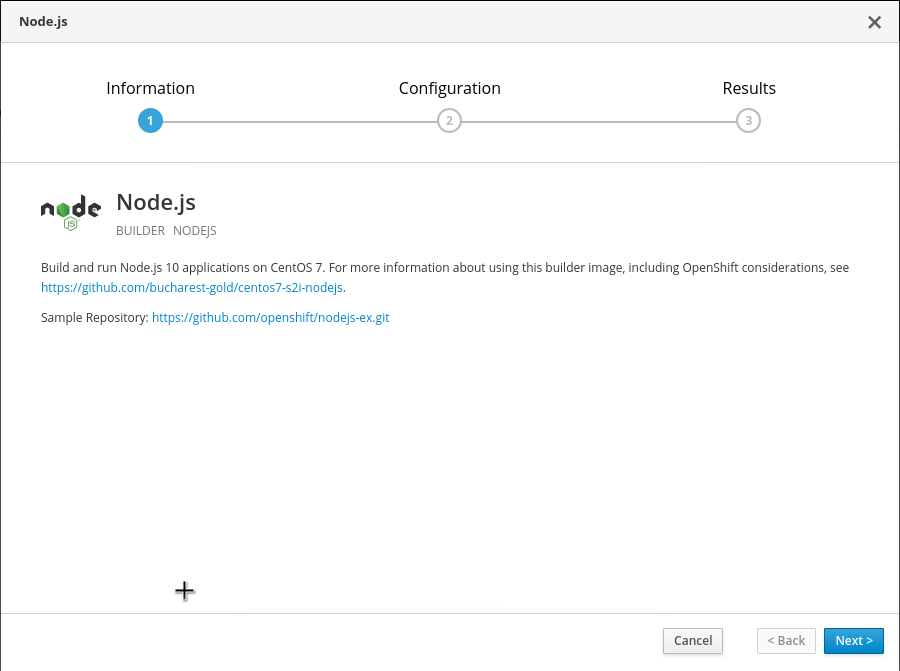
On clicking Node.js, we are presented with a dialog box where we can provide configuration details about our application.
In the first step, we see details about the builder image. We can simply click the Next button to continue past this step.
In the second step, we can provide extra details. Basically, we can provide the Application Name and Git repository details. We can also select the version of Node.js. At the time of writing, OpenShift v3.11 is providing support for Node.js version 10.
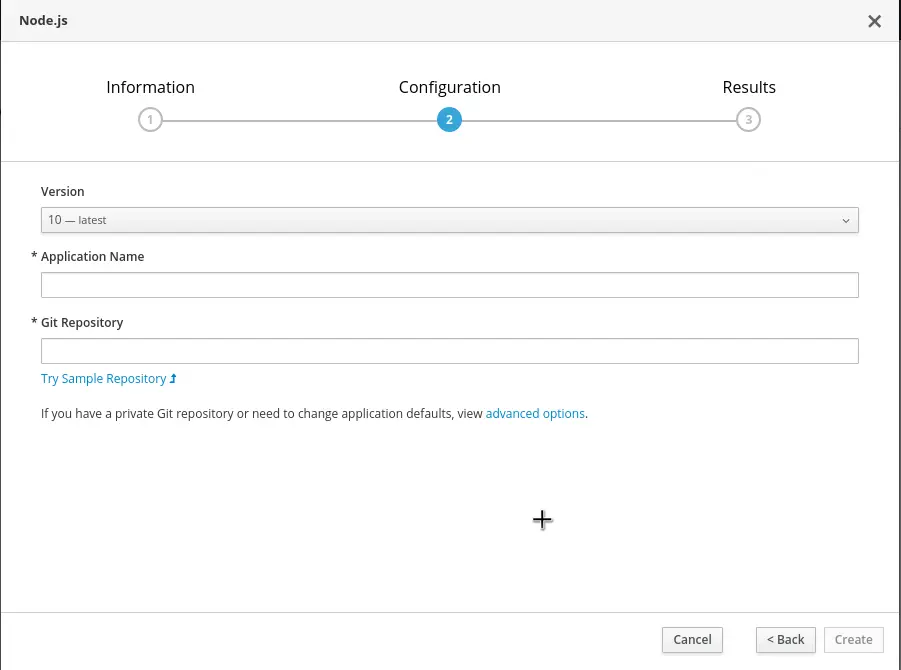
Here, we have the option of providing our own source code. However, we can also try the sample repository provided by OpenShift itself. In this case, we will try the sample repository.
After clicking the button Try Sample Repository and then Create, OpenShift will pull the source code from the sample repository and try to deploy the application in our project.
Let’s see what gets created behind the scenes.
3 – Application Deployment Resources
If we go back to the Overview page of the OpenShift Web Console, we will see one deployment starting up.
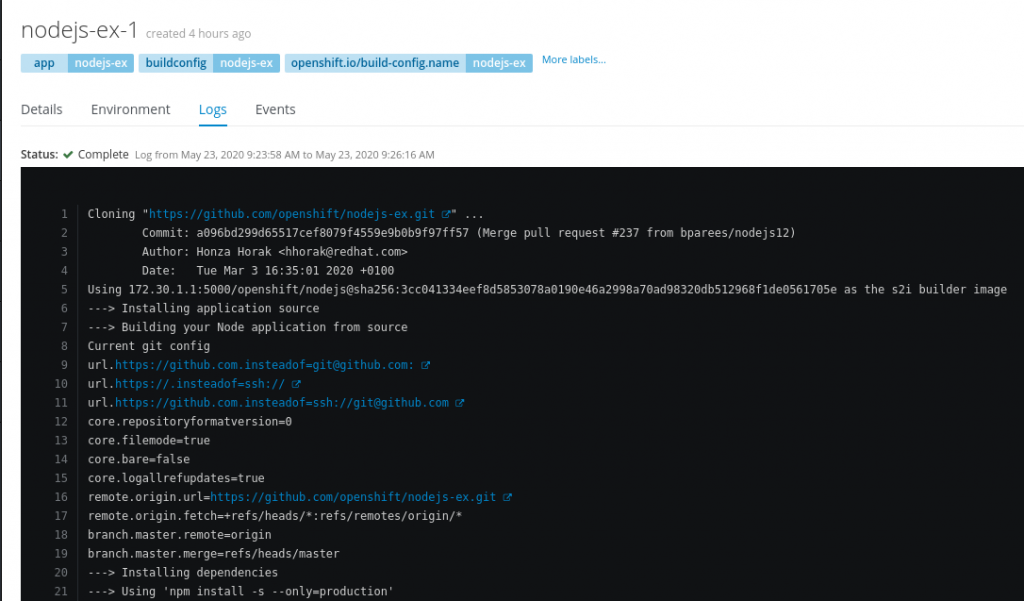
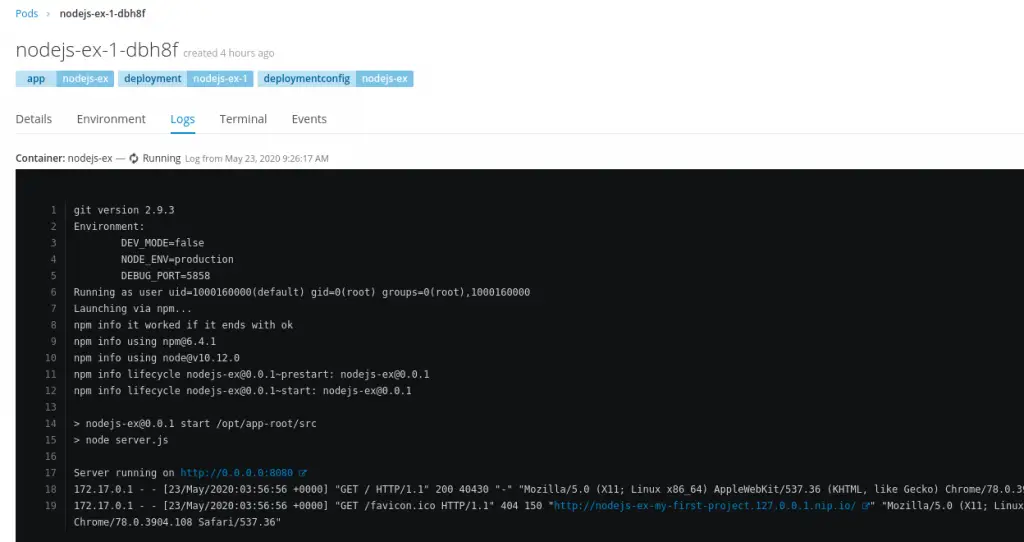
Mostly, the deployment will be in the Build phase. In this phase, OpenShift will clone the source code from the Git repository and then build it along with the builder image. The output of this process is basically a Docker image.
Below is a screenshot from the build process.
Once the image is ready, OpenShift will deploy the image on a Pod. A Pod is the lowest level of deployment in OpenShift and it basically provides the run time environment for your application.
In a nutshell, the sample Node.js application starts up in a Pod. Once this is done, the Overview page looks as below:
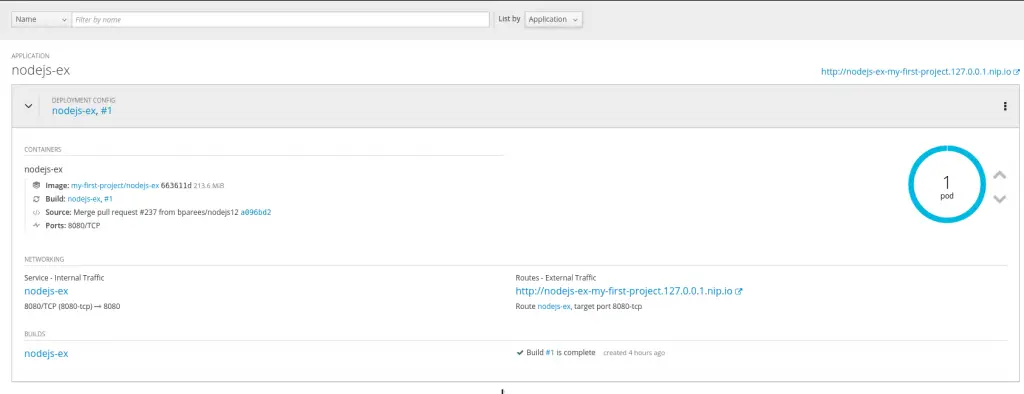
As you can see, the blue circle depicts that our application is up and running. The number 1 denotes that it is running on 1 Pod. In other words, one instance of our application is currently running.
Just above the blue circle, we can also see a DNS Route. This is the route to our application. You can access it from your local browser.
Some of the other details in the overview are about all the container running in the Pod. Technically, a single pod can have multiple containers. However, in this example, there is only one container for the one pod.
The overview also shows the Service that OpenShift automatically creates for every deployment. We will discuss Service in detail in some future post but you can think of a Service as a single entry-point for your application pods. Also, there are details about the Builds and so on.
Conclusion
With this, we have successfully completed an OpenShift Application Deployment for a sample Node.js application.
We have also looked at the various resources such as Pod, Route, Service and so on that are created by OpenShift when we deploy our application.
0 Comments