In this post, we will look at the steps to perform OpenShift Installation on Local Machine using Minishift.
As we have seen in an earlier post, OpenShift is a container platform that allows developers to deploy their applications using a Platform-as-a-Service approach.
So let’s start with the step-by-step approach.
Step 1 – Setup Virtualization Environment
OpenShift runs in a cluster mode. And therefore, we need to setup virtual machine on our host machine to be able to host the cluster. That is where Minishift comes into the picture.
Basically, Minishift is a tool that helps run a single-node OpenShift cluster inside a virtual machine.
Each operating system has a particular way of creating a virtualization environment. For example, MacOS uses xhyve. Windows, on the other hand, uses Hyper-V. With Linux, we can use something like KVM.
However, there is a common approach that is applicable for all operating systems. That is by using VirtualBox.
To start off, we can download and install VirtualBox. From the page that opens, we can simply select the operating system of choice and download the installer.
It is a wizard-based installer that is going to walk us through the steps. At the end of it, VirtualBox should be up and running on our local machine.
Step 2 – Download Minishift
The next step is to download Minishift itself.
If you are using Windows (like me), we can simply download Minishift from the Minishift Releases page. Here again, we need to download the Minishift archive for our operating system.
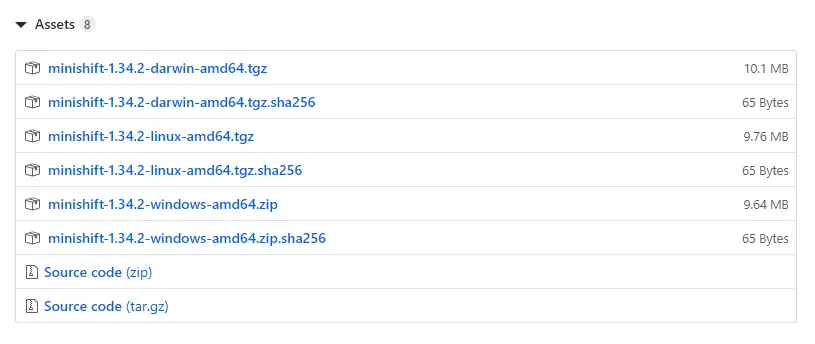
Once we download and extract, we need to add the path to the Minishift binary in our environment variables PATH parameter. Basically, this will allow our system to recognize the minishift command.
Step 3 – Starting Minishift on VirtualBox
Once this step is done, we can simply start Minishift on our VirtualBox.
To do so, we need to go to the command line and issue the below command.
minishift start --vm-driver virtualboxHere, we are basically telling Minishift to start and use VirtualBox as the VM driver.
If all the setup steps so far have gone fine, this command will provision a virtual machine on the VirtualBox and then do an OpenShift installation on that virtual machine. In other words, a single-node cluster for OpenShift will be created.
Basically, we will see some messages as below:
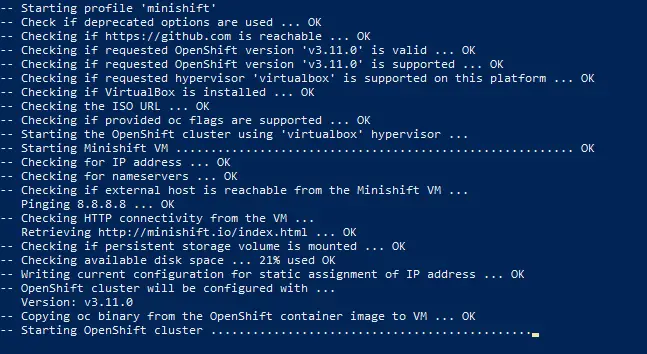
Depending on the overall configuration of your system, this might take some time to start up.
However, once the startup is successful, you will see a URL printed in the startup logs using which we can access the OpenShift Web Console view.
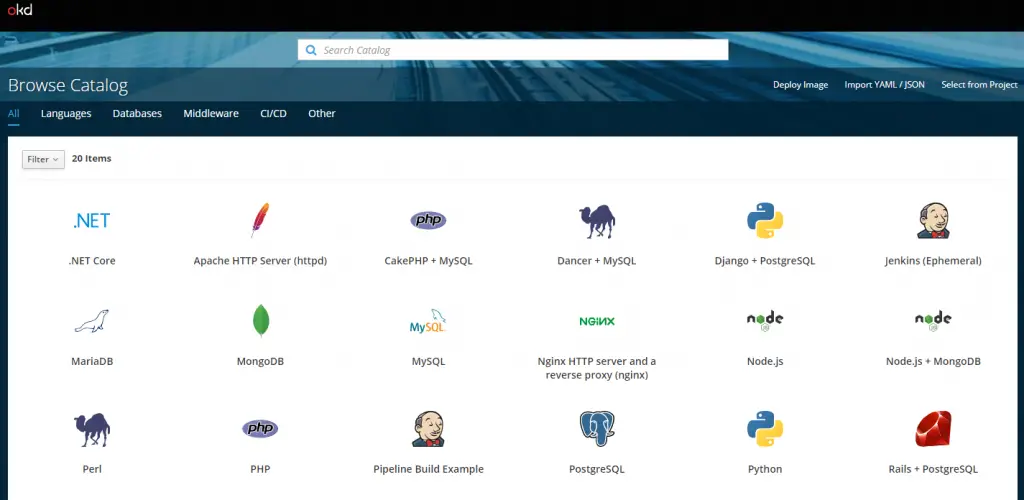
And with this, we finally have a running OpenShift Installation on our local machine using Minishift.
In some of the subsequent posts, we will learn more about OpenShift and the various features the platform can offer to us.
0 Comments