Spring Cloud Eureka is a sub-project under the Spring Cloud family. This project provides a mechanism for service discovery in a Microservices Architecture.
The Eureka Service Discovery framework was originally built by Netflix. However, it was later added to the Spring Cloud projects. Since then, it is more commonly known as Spring Cloud Eureka or Spring Cloud Netflix Eureka.
In this post, we will learn how to implement Service Discovery using Spring Cloud Eureka.
But before doing so, let’s start with the basics.
Why Service Discovery?
Service Discovery becomes extremely important in a microservices architecture. One of the challenges around building microservices is maintaining the addresses of the various microservices. This is not a trivial task because you can’t always rely on a fixed IP address to connect to a microservice.
To solve this challenge, service discovery becomes essential. In this approach, a dedicated server is responsible to maintain a registry of all the services that have been deployed. A service registry can also be thought of as a phone book.
Typically, client microservices register to this registry. Using the service registry, they can also discover other services.
Specifically talking about Spring Cloud Eureka, a client provides information such as host, port and health indicator. This allows other microservices to discover it.
If a particular instance of the client is not able to send a regular heartbeat to the registry, the registry removes the instance from the catalog. This approach provides a very clean ecosystem of microservices based on availability.
Now, let’s start with implementing Spring Cloud Eureka in our Spring Cloud Starter project.
Creating Spring Cloud Eureka Server
You can easily create a Eureka server using https://start.spring.io. If you are not sure how to create a Spring Boot application, I have a detailed post on Spring Initializr.
Mainly we select two important dependencies – Eureka Server and Actuator.
Below are the POM.xml dependencies for the same.
<dependencies>
		<dependency>
			<groupId>org.springframework.boot</groupId>
			<artifactId>spring-boot-starter-actuator</artifactId>
		</dependency>
		<dependency>
			<groupId>org.springframework.cloud</groupId>
			<artifactId>spring-cloud-starter-netflix-eureka-server</artifactId>
		</dependency>

		<dependency>
			<groupId>org.springframework.boot</groupId>
			<artifactId>spring-boot-starter-test</artifactId>
			<scope>test</scope>
		</dependency>
</dependencies>

<dependencyManagement>
		<dependencies>
			<dependency>
				<groupId>org.springframework.cloud</groupId>
				<artifactId>spring-cloud-dependencies</artifactId>
				<version>${spring-cloud.version}</version>
				<type>pom</type>
				<scope>import</scope>
			</dependency>
		</dependencies>
</dependencyManagement>
Next, we need to annotate the main class with the annotation @EnableEurekaServer.
@SpringBootApplication
@EnableConfigServer
public class ConfigServerApplication {

	public static void main(String[] args) {
		SpringApplication.run(ConfigServerApplication.class, args);
	}

}
Also, add the below properties in the application.properties file.
server.port=8761

eureka.client.registerWithEureka=false
eureka.client.fetchRegistry=false
Basically, we are setting the port to 8761. Also, we are instructing the server to not register itself with Eureka.
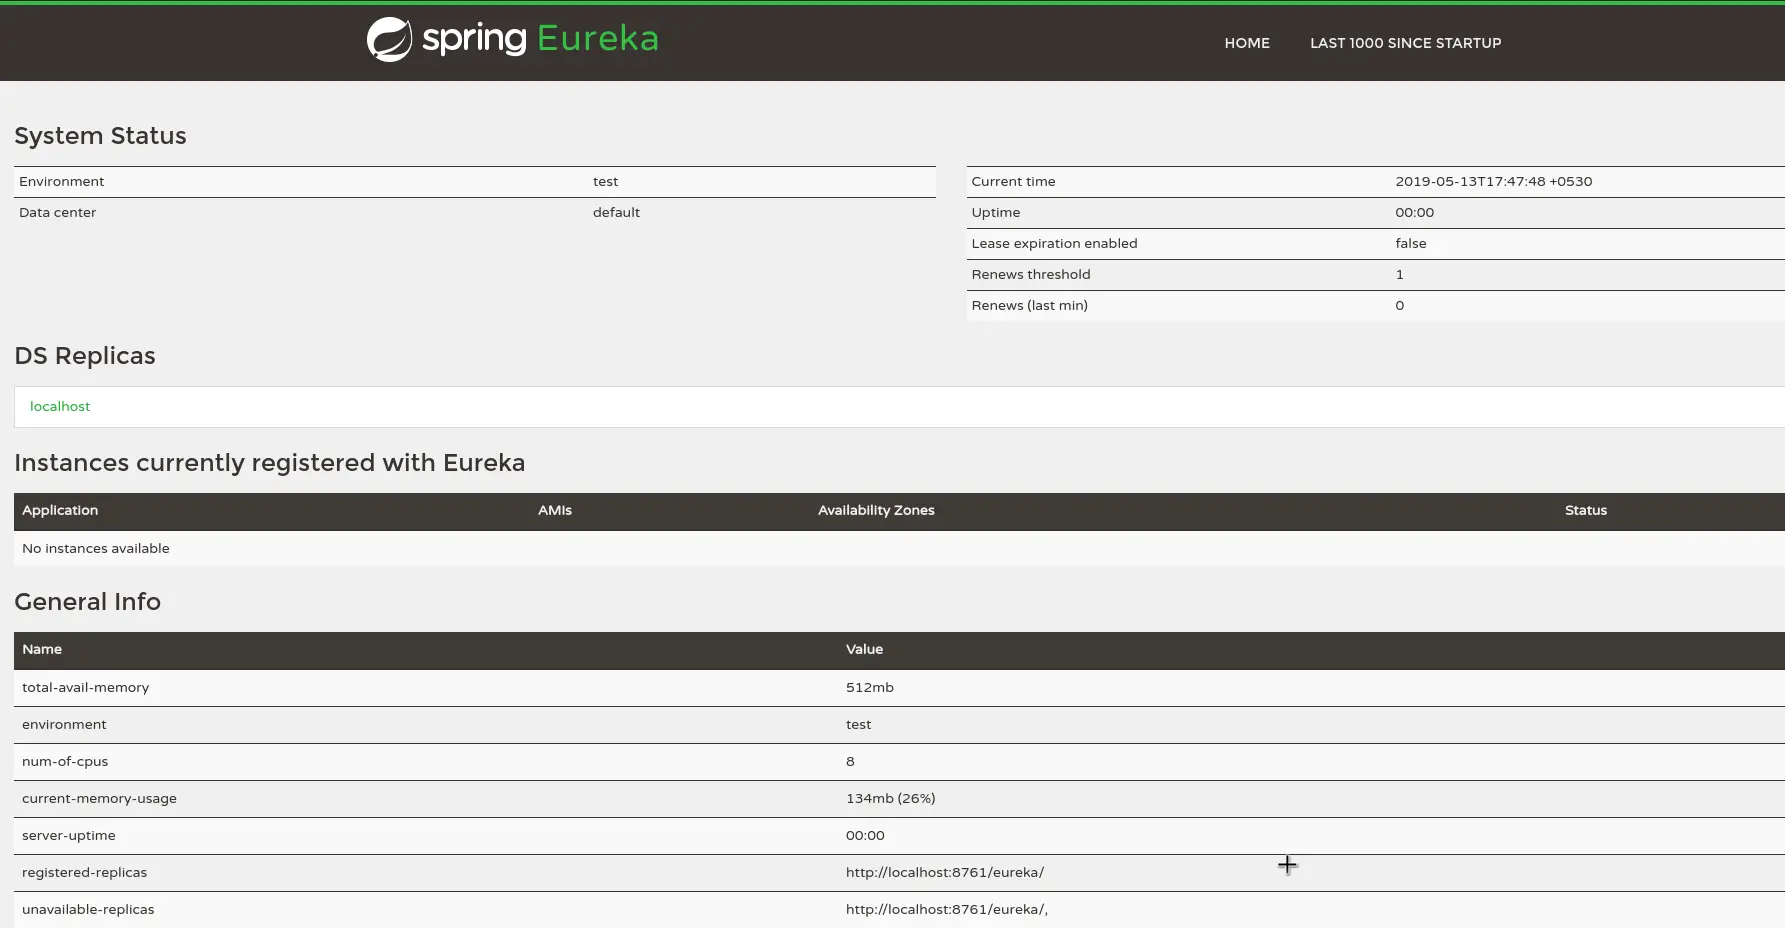
If we start the application now and visit http://localhost:8761, we will see the below screen. Basically, at this point, no service is registered with our Spring Cloud Eureka Server.
Setting up the Spring Cloud Eureka Client
Now, we will setup the Client service to register itself with Spring Cloud Eureka Server. If you remember from the previous post, we built a product-application. The product-application is a typical Spring Boot Microservice.
We will modify it to register with Eureka.
First, we need to add the below dependency to the POM.xml file.
<dependency>
		<groupId>org.springframework.cloud</groupId>
		<artifactId>spring-cloud-starter-netflix-eureka-client</artifactId>
</dependency>
Then, we can enable the product-application to register itself with Eureka using the @EnableDiscoveryClient annotation.
@SpringBootApplication
@EnableDiscoveryClient
public class ProductApplication {

	public static void main(String[] args) {
		SpringApplication.run(ProductApplication.class, args);
	}

}
By default, our application will try to connect to a Eureka server at http://localhost:8761.
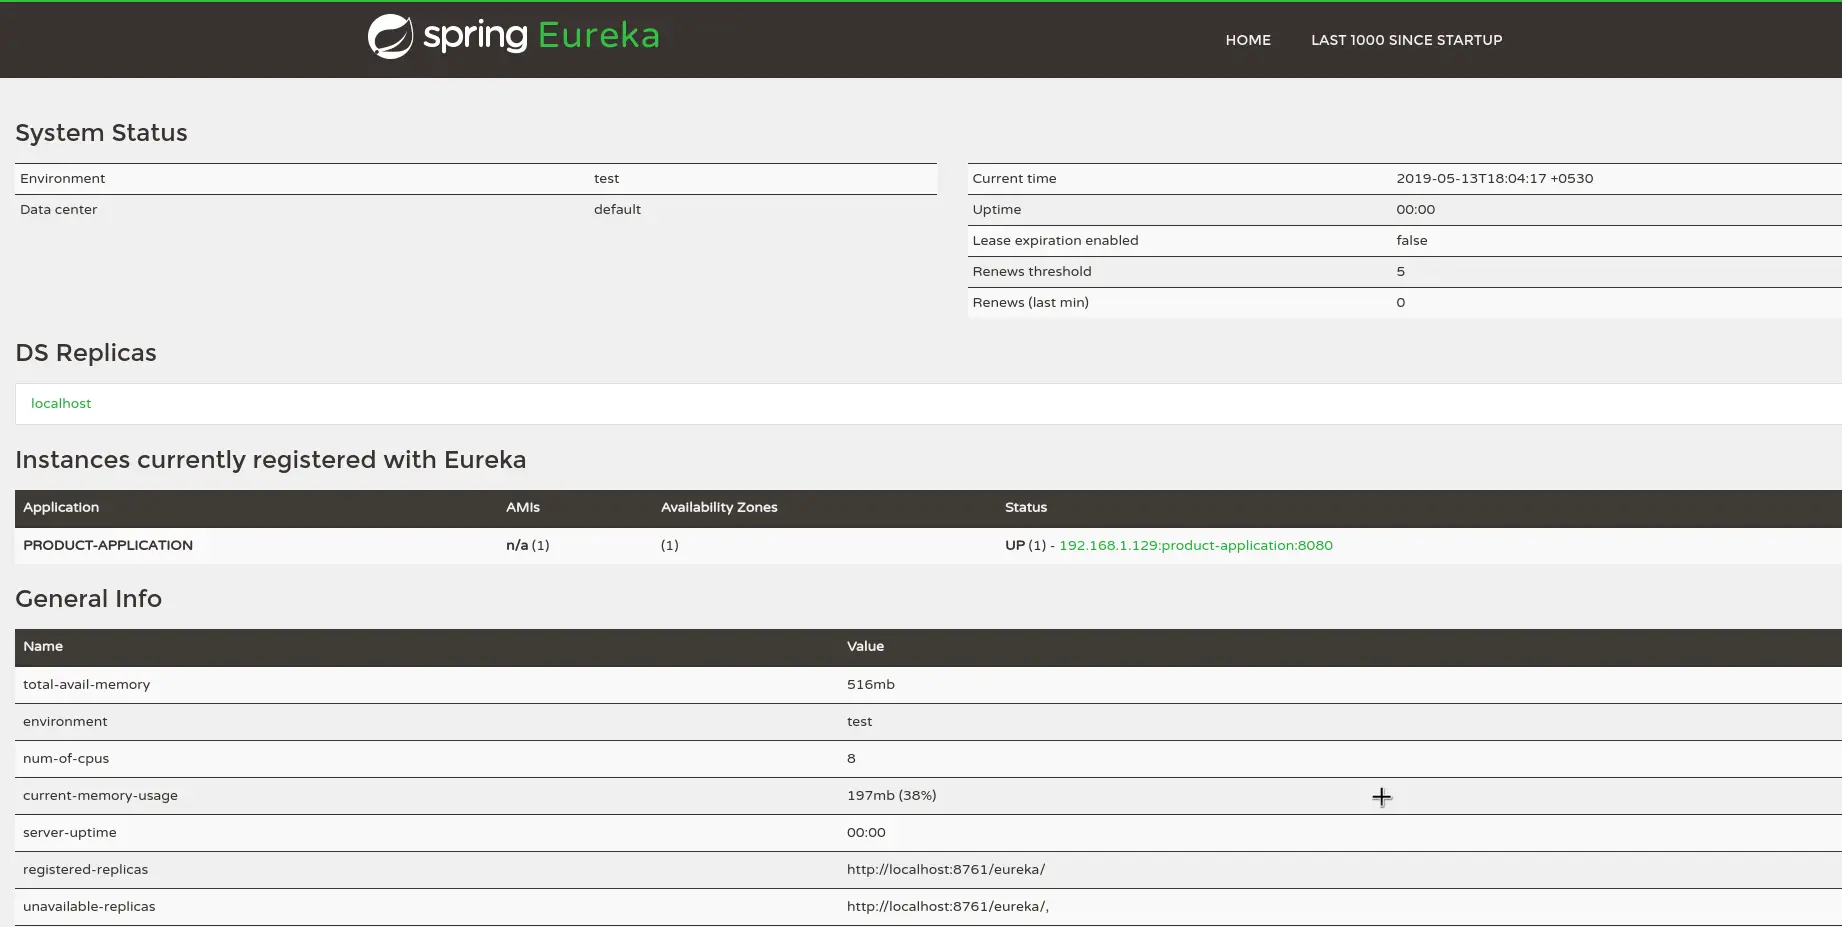
Once the product-application starts up, you can see it registered with Eureka Server as below:
Note that @EnableDiscoveryClient is also optional. Just including the dependency in the POM.xml will also do the trick. However, it is a good practice to annotate the main class for better readability.
Conclusion
With this we have successfully set up Spring Cloud Eureka Server and a Spring Cloud Eureka Client using Spring Boot applications. The code till this point is available on Github for reference.
In the next post, we will learn about another important Spring Cloud Project known as Spring Cloud Zuul.
0 Comments