Spring Cloud Config is used to externalize configuration in a Spring Cloud Microservices environment. In a Microservices Architecture, it is often important to handle configurations centrally in something like a Github repository. Spring Cloud Config is ideal for handling this requirement in the case of Spring Boot Microservices.
Spring Cloud Config provides server and client-side support for externalized configuration. In other words, the Config server acts as a central place to manage external properties for applications.
When an application moves from development environment to test environment to production environment, the configuration changes can be managed centrally.
In this post, we will create a Spring Cloud Config example application from scratch.
Features of Spring Cloud Config
Spring Cloud Config consists of two parts. The first is the Spring Cloud Config Server. Basically, the Server is meant to provide the configuration to the applications. The features are:
- HTTP, resource-based API for external configurations.
- Encrypt on decrypt property values.
- Easily enabled using a Spring Boot application using @EnableConfigServer annotation.
The second part is the Spring Cloud Config Client. The Client is an application that consumes the configuration. The features of the client are:
- Bind to the Config Server.
- Encrypt or decrypt property values.
Let’s start with creating our example application.
Creating the Config Server
The Config Server is simply a Spring Boot application that will act as the Server for our configurations. If you have not worked with Spring Boot before, I have detailed post on Spring Boot Microservices.
We can bootstrap a Spring Cloud Config Server using https://start.spring.io.
Below is the POM.xml file listing the dependencies we need.
<dependencies>
		<dependency>
			<groupId>org.springframework.boot</groupId>
			<artifactId>spring-boot-starter-actuator</artifactId>
		</dependency>
		<dependency>
			<groupId>org.springframework.cloud</groupId>
			<artifactId>spring-cloud-config-server</artifactId>
		</dependency>

		<dependency>
			<groupId>org.springframework.boot</groupId>
			<artifactId>spring-boot-starter-test</artifactId>
			<scope>test</scope>
		</dependency>
</dependencies>

<dependencyManagement>
		<dependencies>
			<dependency>
				<groupId>org.springframework.cloud</groupId>
				<artifactId>spring-cloud-dependencies</artifactId>
				<version>${spring-cloud.version}</version>
				<type>pom</type>
				<scope>import</scope>
			</dependency>
		</dependencies>
</dependencyManagement>
Basically, we are putting the bare minimum dependencies required to bootstrap Spring Cloud Config Server.
Next, we need to enable the Server. This can be easily achieved by annotating the Main class of our application with @EnableConfigServer.
@SpringBootApplication
@EnableConfigServer
public class ConfigServerApplication {

	public static void main(String[] args) {
		SpringApplication.run(ConfigServerApplication.class, args);
	}

}
Now we need to setup the server port on which our server is listening. Also, we need to setup a Git repository. This repository provides our version controlled configuration. The repository can be used with protocols such as http, ssh or even the local file system. However, for production systems, we should not use a local file system.
The Sample Properties File
Below is a sample properties file that we want to serve using our Spring Cloud Config Server. Make sure to name the file name as same as your client application name. In our case, we name it product-application.properties.
server.port = 8080
msg = This message is coming from the version controlled properties file.
You can check it out at the Github repository. Overall it is a very simple configuration setup where we have set two properties – the server.port and msg.
The Server Properties File
Now, we need to make the Spring Cloud Config Server read the sample properties file. To do so, we need to add the below properties in the Server’s application.properties file.
server.port=8888
spring.cloud.config.server.git.uri=https://github.com/dashsaurabh/spring-cloud-starter-config.git
Basically, here we are configuring the Server to run on port 8888. This is the conventional port used for Spring Cloud Config Server. However, you can use any other port number as well.
Next, we set the spring.cloud.config.server.git.uri to point to our newly created Github repository.
And that’s it. Now we can start the Spring Cloud Config Server using the below command.
clean package spring-boot:runThe application should start up on port 8888.
Creating the Config Client
Now we need to create the Spring Cloud Config Client application. Basically, this application is going to consume the configuration properties supplied by the Server.
We will create the client application using https://start.spring.io. We name it “product-application”. Right now, we won’t add any serious logic into it. However, we will expand on it in subsequent posts.
Below are the dependencies we have included:
<dependencies>
		<dependency>
			<groupId>org.springframework.boot</groupId>
			<artifactId>spring-boot-starter-actuator</artifactId>
		</dependency>
		<dependency>
			<groupId>org.springframework.boot</groupId>
			<artifactId>spring-boot-starter-web</artifactId>
		</dependency>
		<dependency>
			<groupId>org.springframework.cloud</groupId>
			<artifactId>spring-cloud-starter-config</artifactId>
		</dependency>

		<dependency>
			<groupId>org.springframework.boot</groupId>
			<artifactId>spring-boot-starter-test</artifactId>
			<scope>test</scope>
		</dependency>
</dependencies>

<dependencyManagement>
		<dependencies>
			<dependency>
				<groupId>org.springframework.cloud</groupId>
				<artifactId>spring-cloud-dependencies</artifactId>
				<version>${spring-cloud.version}</version>
				<type>pom</type>
				<scope>import</scope>
			</dependency>
		</dependencies>
</dependencyManagement>
Here, in the Client App, we have included spring-cloud-starter-config. Basically, this allows our application to connect to the Spring Cloud Config Server to fetch the configuration properties.
Now, we have to point to the Config Server location in our Client application. This can be done using the application.properties file. Also, note that we are setting the spring.application.name to “product-application”. Lastly, we have included management endpoints. This is required post Spring Boot 2.0 to expose the various actuator end-points.
spring.application.name=product-application

spring.cloud.config.uri=http://localhost:8888

management.endpoints.web.exposure.include=*
To facilitate our testing, we have also included a REST end-point to display the msg received from the Config Server.
@SpringBootApplication
public class ProductApplication {

	public static void main(String[] args) {
		SpringApplication.run(ProductApplication.class, args);
	}

}

@RestController
@RefreshScope
class MessageController{

	@Value("${msg: Config server not working}")
	private String msg;

	@GetMapping(value = "/msg")
	String getMsg(){
		return this.msg;
	}

}
If the msg property is not fetched, we will display a dummy message.
Testing the Spring Cloud Config setup
If you test the Client application now without starting the Server, you will get the message ‘Config Server Not Working‘ when you hit the /msg end-point.
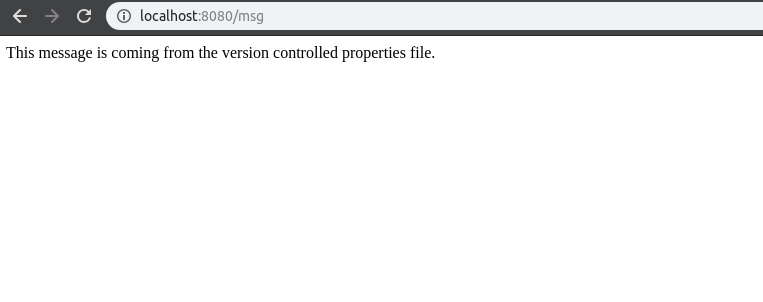
Next, you can test after starting the Config Server followed by the Client Application. In this case, the Client Application will connect to the Spring Cloud Config Server running on http://localhost:8888.
If we hit the /msg end-point we will see the message “This message is coming from the version controlled properties file” coming from the product-application.properties file.
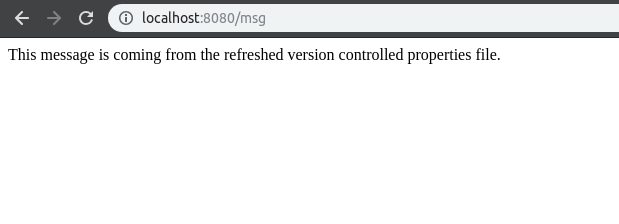
Now, let’s test a change in the message. We make a slight change in the msg value as below in the product-application.properties file. And then, we commit these changes to the Github repository.
server.port = 8080
msg = This message is coming from the refreshed version controlled properties file.
If we try to hit the /msg end-point now, it will still show the old message. To make the new message available, we need to hit another end-point provided to us by the Spring Boot Actuator module. You can hit this module using curl command since it is POST method and not GET.
curl localhost:8080/actuator/refresh -d {} -H "Content-Type: application/json"Now if you hit the /msg end-point, we should see the refreshed message.
Conclusion
We have successfully configured Spring Cloud Config Server and a Client Application that consumes the configuration properties.
The code for this post is available on Github.
Please sound off in the comments section below if you find any issues or want to share your thoughts about Spring Cloud Config in general.
0 Comments