AWS IAM or Identity and Access Management forms the backbone of AWS. After you create your new AWS Account, you should immediately perform the essential steps to complete AWS IAM setup.
AWS IAM is primarily used to manage the users that will be accessing your AWS Management Console. Basically, these users can be other developers, project managers, or Devops engineers.
AWS IAM makes sure that you get fine-grained control over access levels for all such users.
In other words, a good IAM setup ensures that your AWS project space is secure from unwanted and unauthorized access.
In this post, we look at these essential steps to complete AWS IAM Setup.
Step 1 – Accessing the IAM Dashboard
After you have successfully created a new AWS account, you can login to the same and search for IAM.
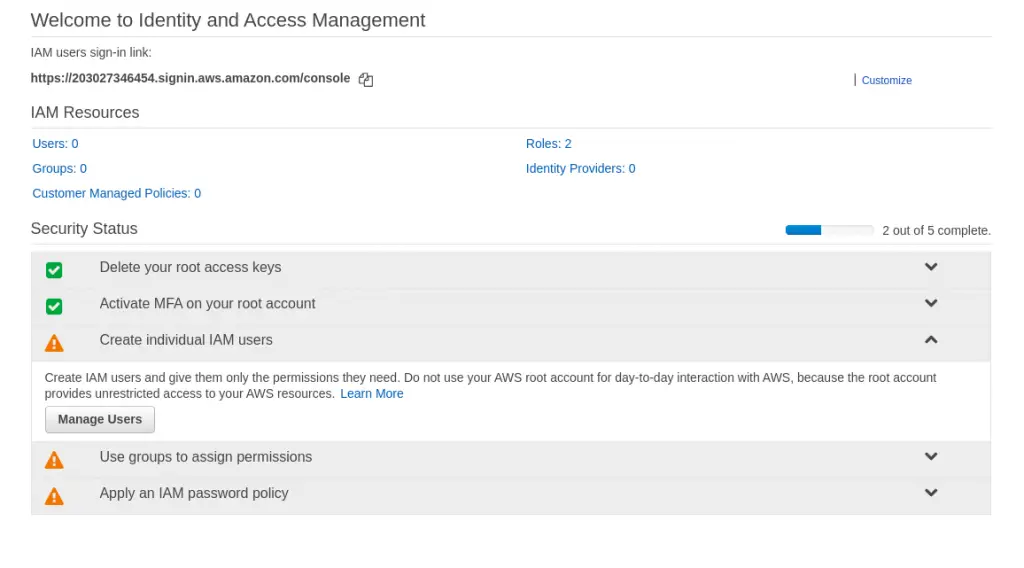
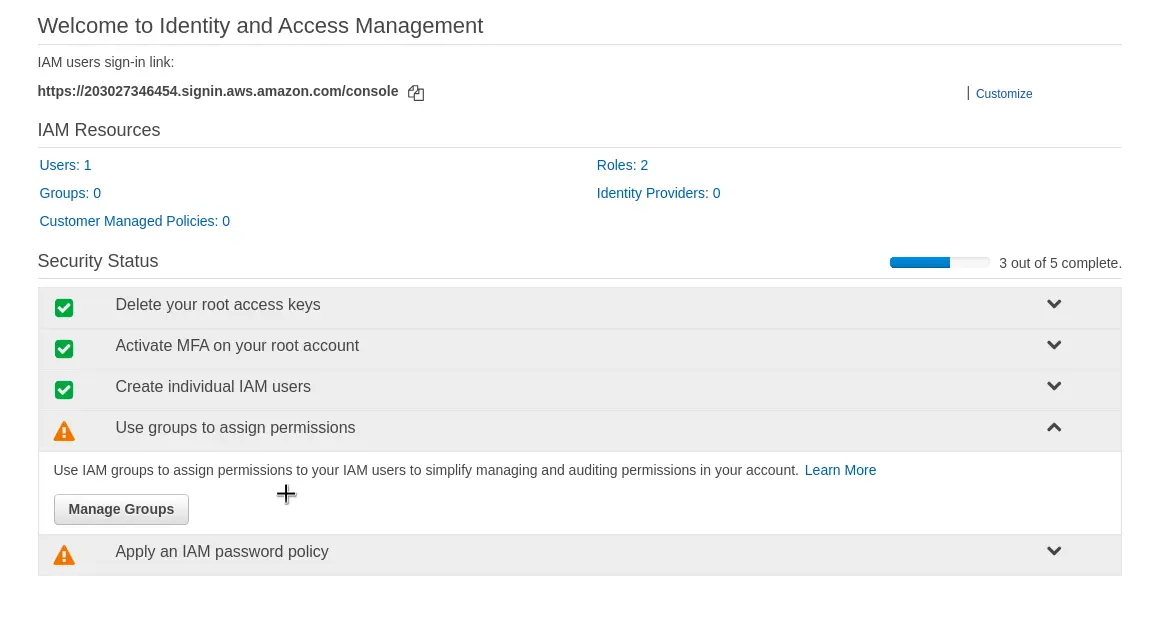
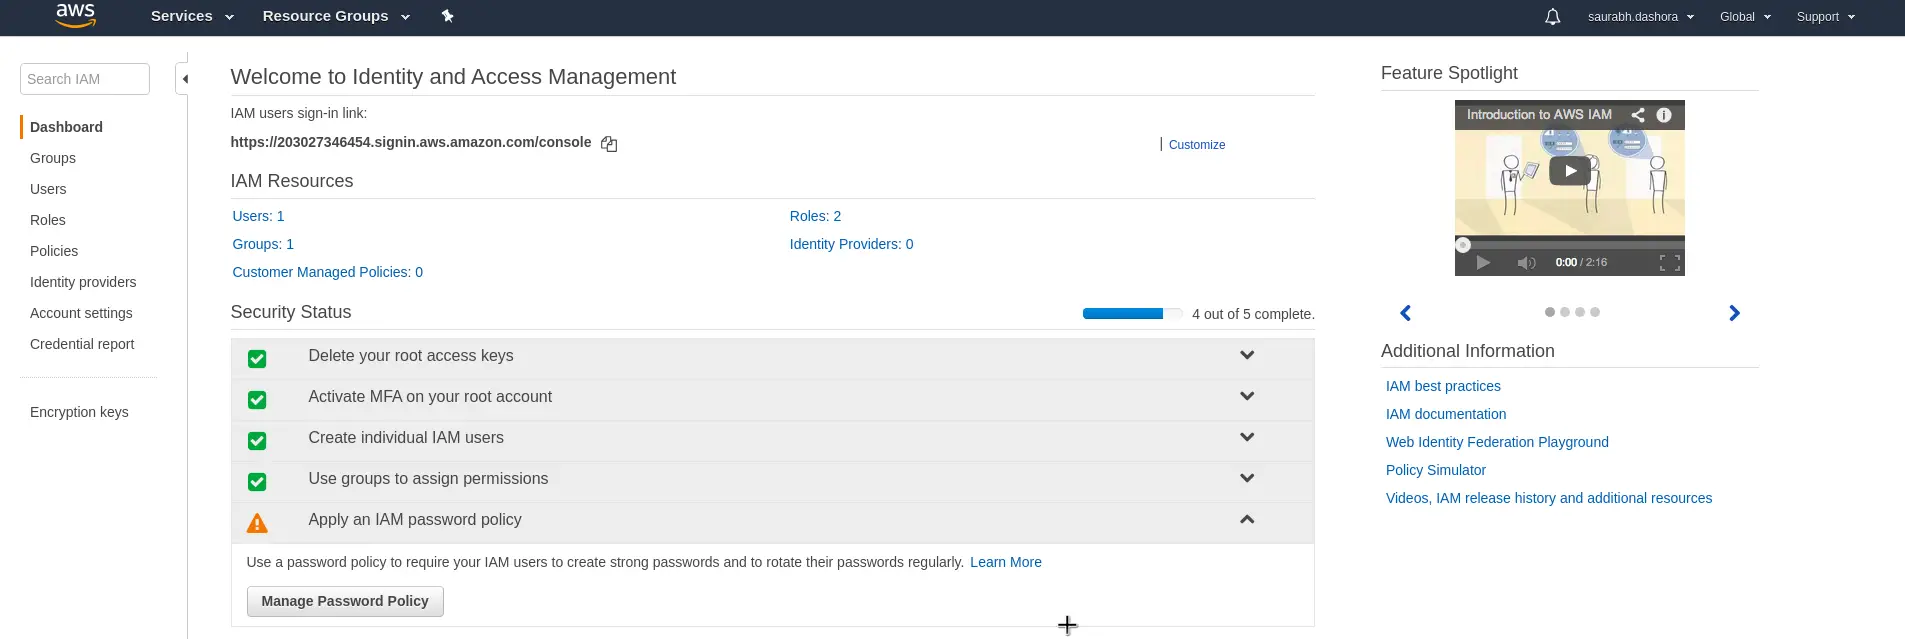
Below is the first screen you will see when you access IAM for the first time.
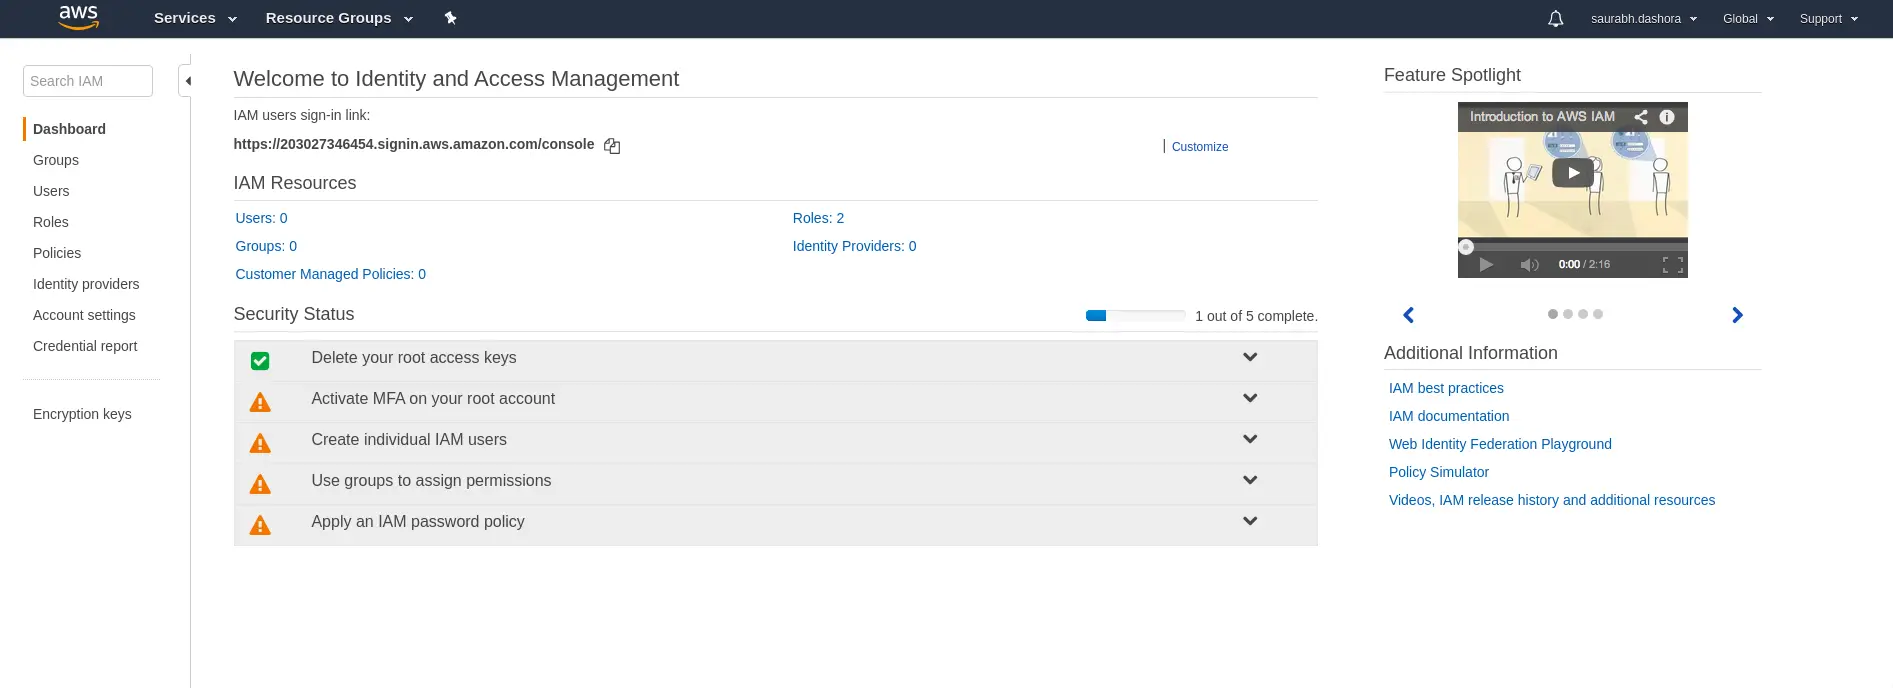
Basically, you can see a welcome page. In the Security Status section below, you can see one Green step followed by a bunch of warnings. These warnings signify the missing aspects in your current AWS IAM Setup.
The good news is that the first step (marked Green) is already complete. This step relates to Deleting the root access keys. Basically, this is a security measure that prevents your root account from being accessible using access keys.
Step 2 – Activate MFA for root account
This is one of the most important steps out of the essential steps to complete AWS IAM setup.
MFA stands for Multi-Factor Authentication. Basically, this is needed to increase the security of your root account. The root account has lots of privileges in a typical AWS setup. Therefore, we want only the authorized personnel to access this account.
MFA ensures this by adding another layer of security on top of the user id/password combination.
To activate MFA below are the steps:
1. Go-to Manage MFA option
Click on the arrow shape to reveal the Manage MFA button.

Next, click the Manage MFA button to move to the next screen.
2. Activate MFA
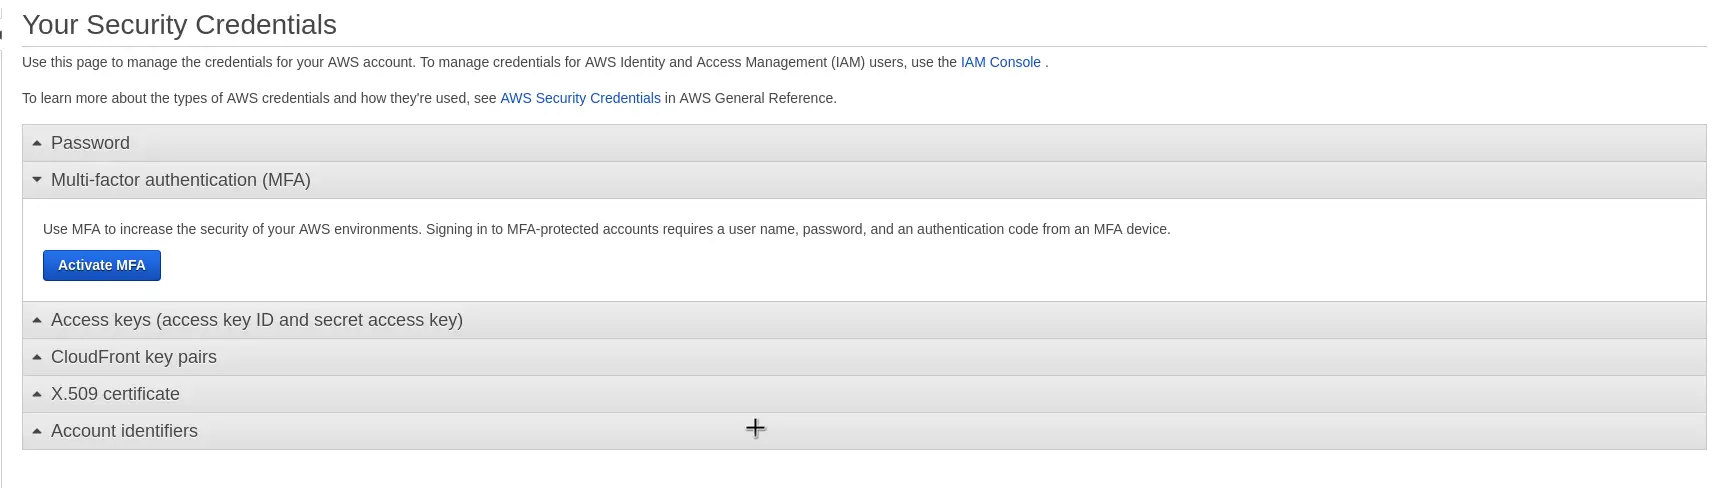
You should see the below screen. You can simply click the Continue to Security Credentials button.

After that you can expand the drop-down related to Multi-Factor Authentication and click on Activate MFA button.
3. Select MFA Device
On the next screen, you get the option of choosing the MFA Device. Basically, you can have a virtual MFA device or even a physical hardware token.
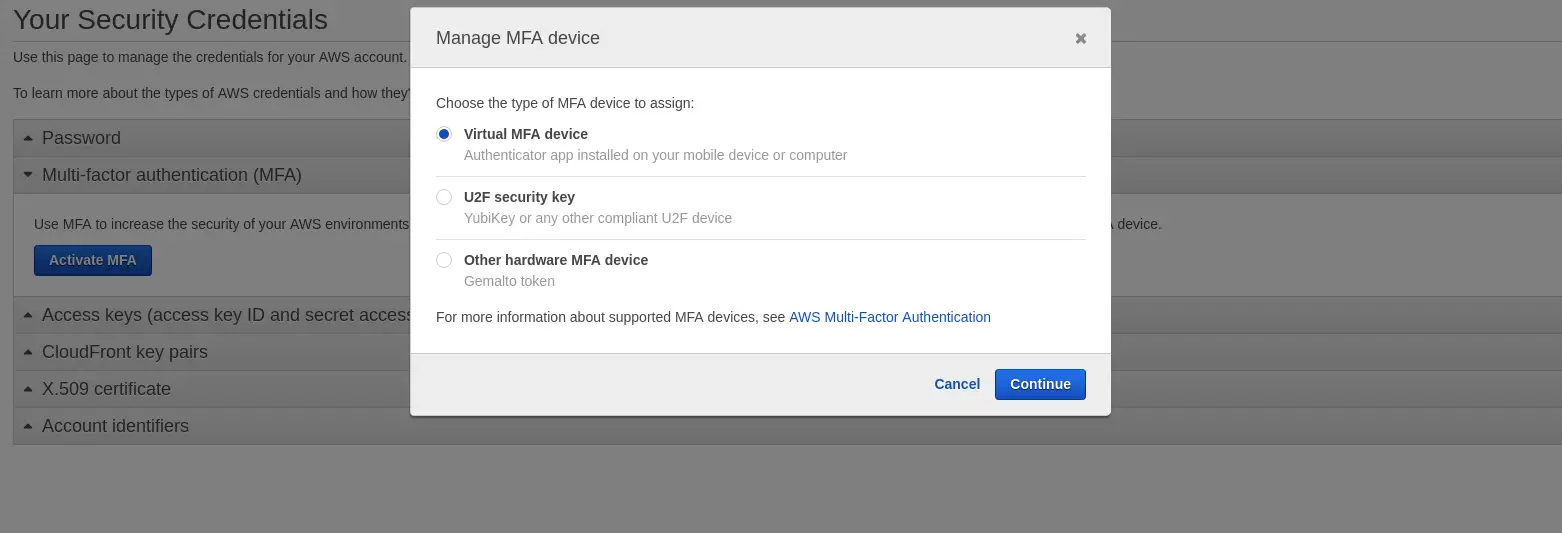
In our case, we choose the Virtual MFA Device. For handling the authentication, we can use an app like Google Authenticator. You can download the app from Google Playstore or Apple Store depending on your device.
4. Complete Device Verification
Once you have the Google Authenticator app on your mobile phone, you can scan the QR code that AWS console will display.
Post this, a couple of codes will come up in the app. You have to enter two consecutive codes in the MFA code 1 and MFA code 2 fields in the below screen.
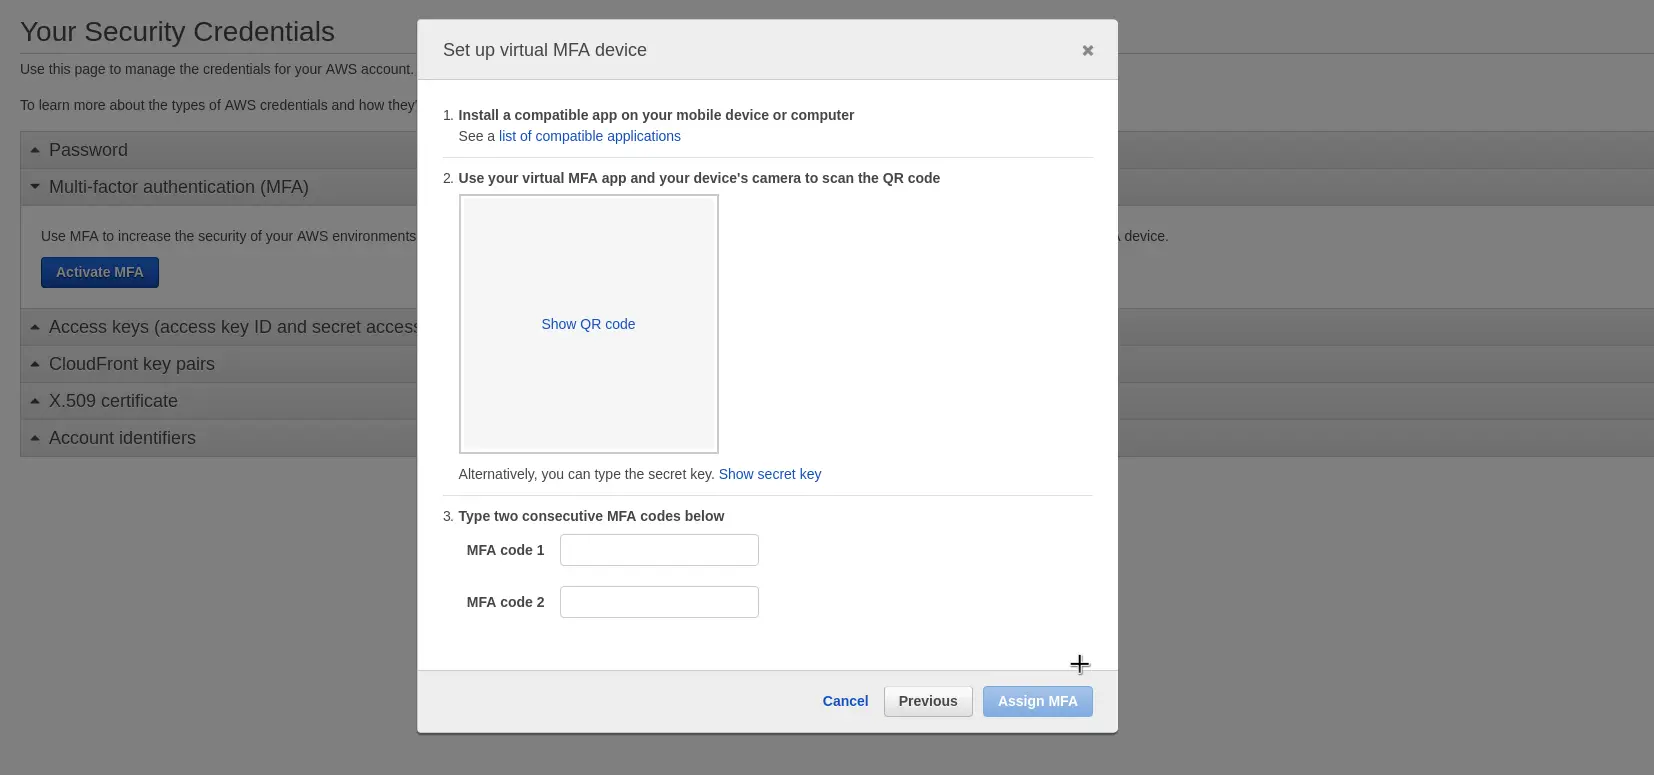
At the end, you can simply press Assign MFA button to assign the Multi-Factor Authentication device to your account.
Step 3 – Create Individual User
As you can see now on the IAM Dashboard, two steps are marked green.
The next essential step to complete AWS IAM setup is to add a new user to your AWS account. Start the process by clicking the drop-down next to Create Individual IAM users and then click on Manage Users button.
1. Add User
Once you select the option to Create New User, you will see a form like below:
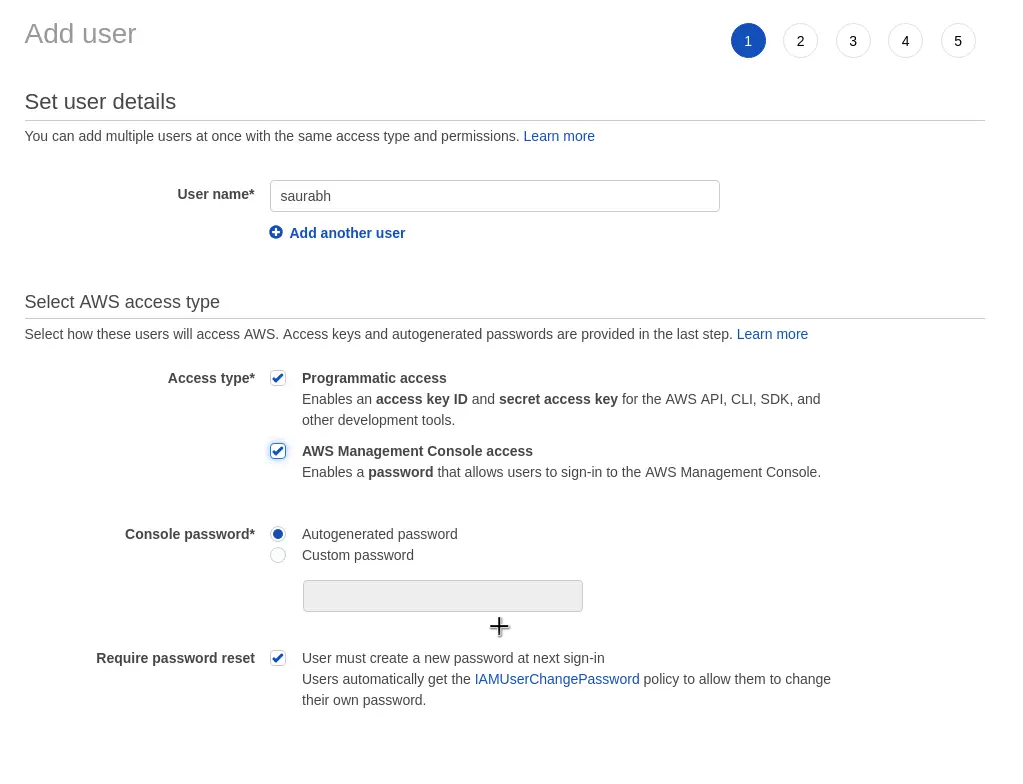
Some important details on the screen are as follows:
- User name field to enter a user name of your choice.
- Access Type can be programmatic and AWS Management Console access. If the user is required to access the AWS resources through SSH, you should selected Programmatic Access. Also, if you think this user needs to access the Management Console, then that option should also be chosen.
- Console password is to establish a password policy for the user. In our case, we want our password to be auto-generated for the first time.
- Request password reset ensures that a new password will be required once the user signs in for the first time.
2. Attach Permissions
In the next step, you can attach permission policies to the user as per requirement. These permissions decide what a user can or cannot do in the AWS project area.
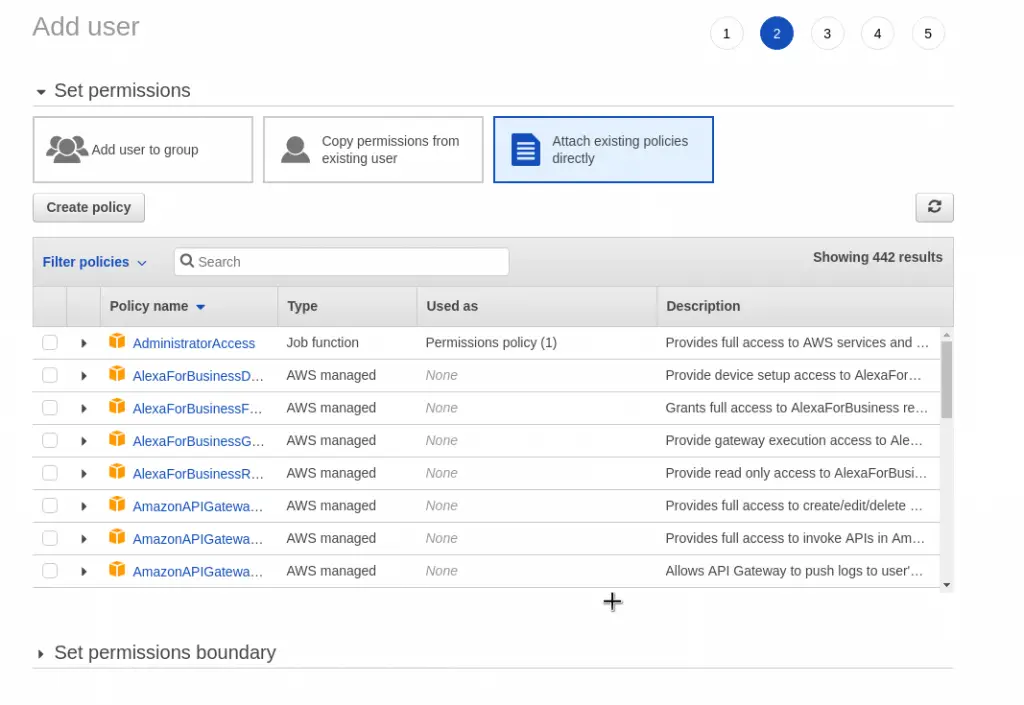
For the time being, we will simply continue with the workflow without attaching anything.
3. Review and Confirm
Lastly, you can review and confirm your user after which the user will be created.
You will then see the below screen. As you might notice, a default policy called IAMUserChangePassword was automatically attached.
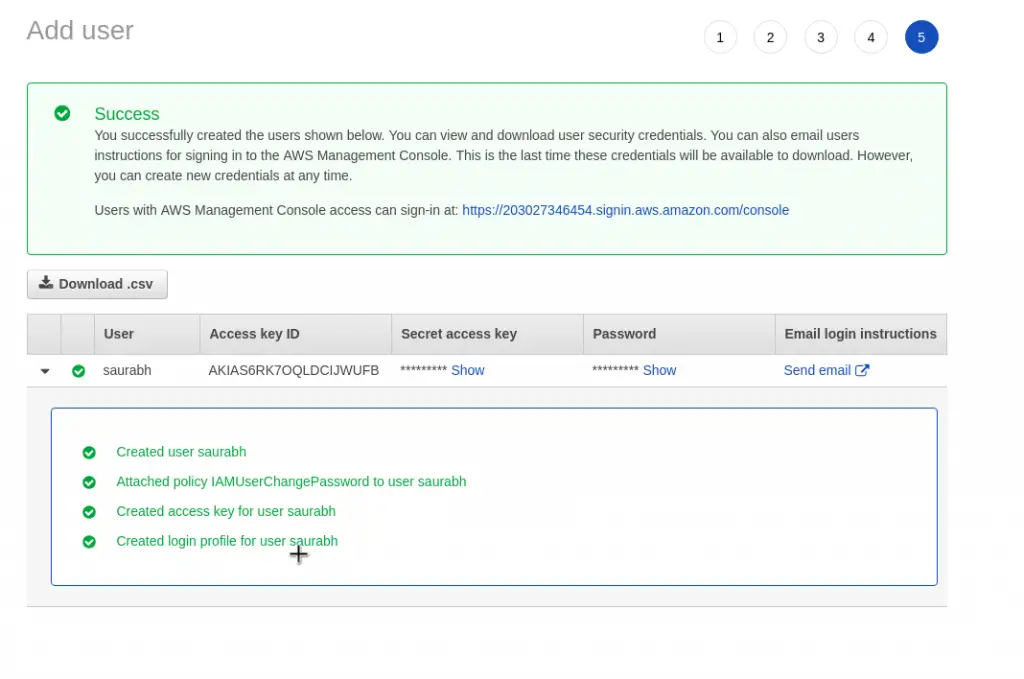
Also, make sure that you click the Download .csv button to get the auto-generated password. After this screen, you won’t get a chance to see the password again.
If you are an admin for your AWS project setting up the users, you should send the newly created user a mail inviting them to access the AWS Console.
Step 4 – User Groups to Assign Permissions
The next step in the essential steps to complete AWS IAM setup is to create a new group. You can start the process by clicking the Manage Groups button in the overall workflow step known as Use groups to assign permissions.
Basically, a group is nothing but a collection of users. Groups also allows us to better manage assignment of permissions to users.
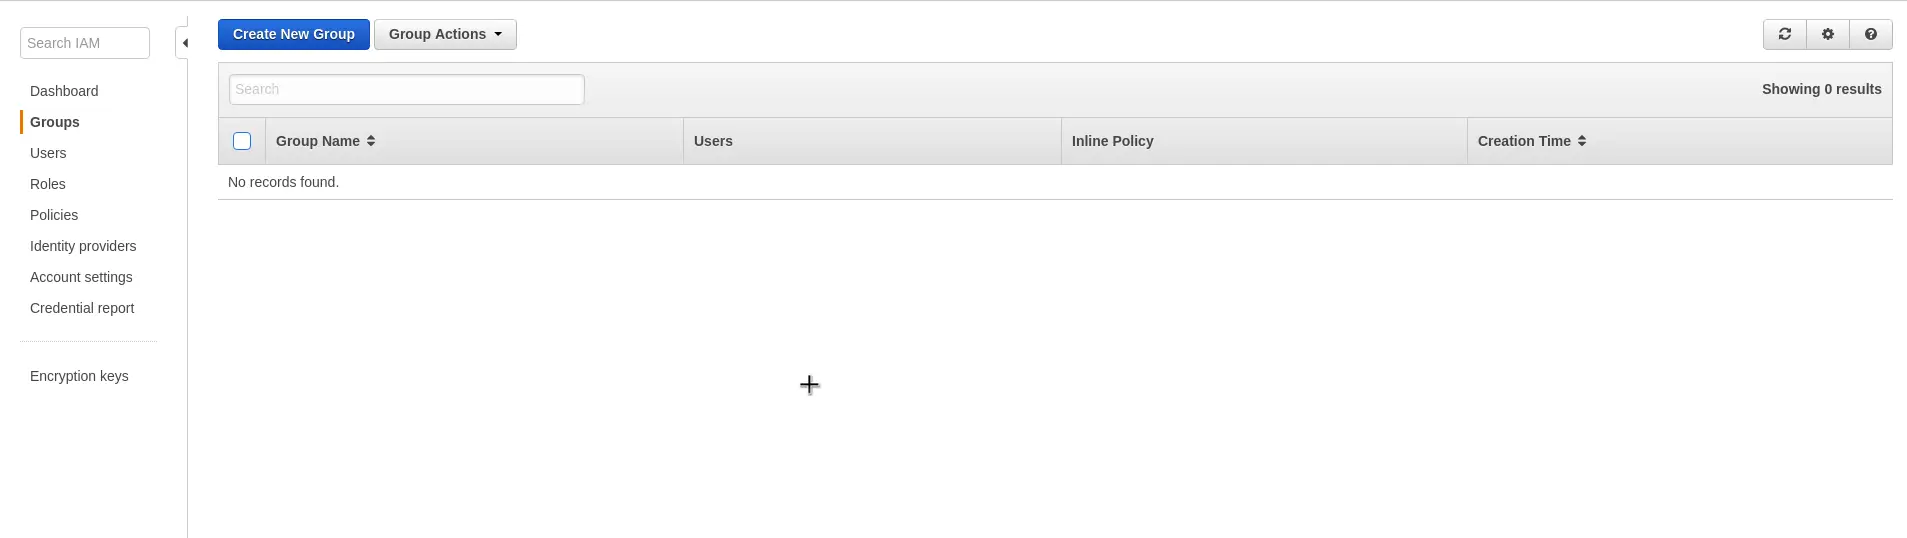
At this point, the Group List is empty. You should click the Create New Group to start creating a group.
1. Create new group
The first step in managing groups is to create a new one.
To create a new group, you just have to provide it a name.
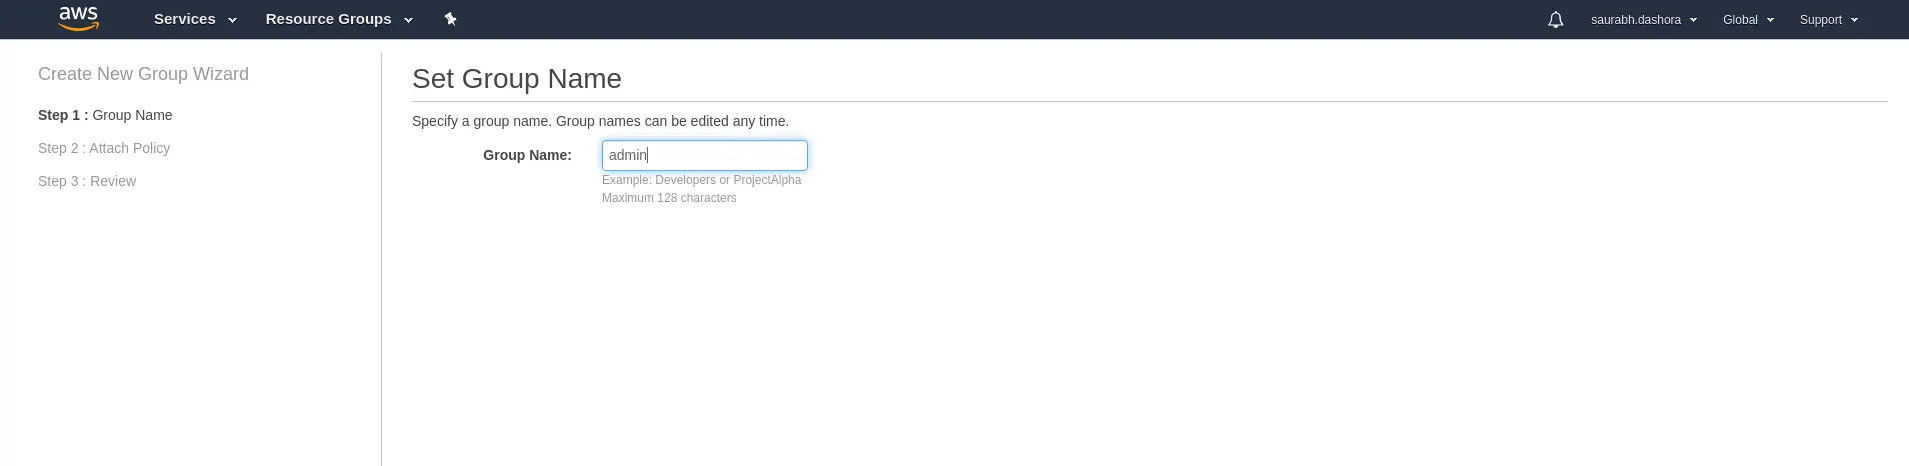
It is advisable to name the groups based on the function it will perform such as developers, admins and so on. In our case, we name the group as admin.
2. Assign Policy to group
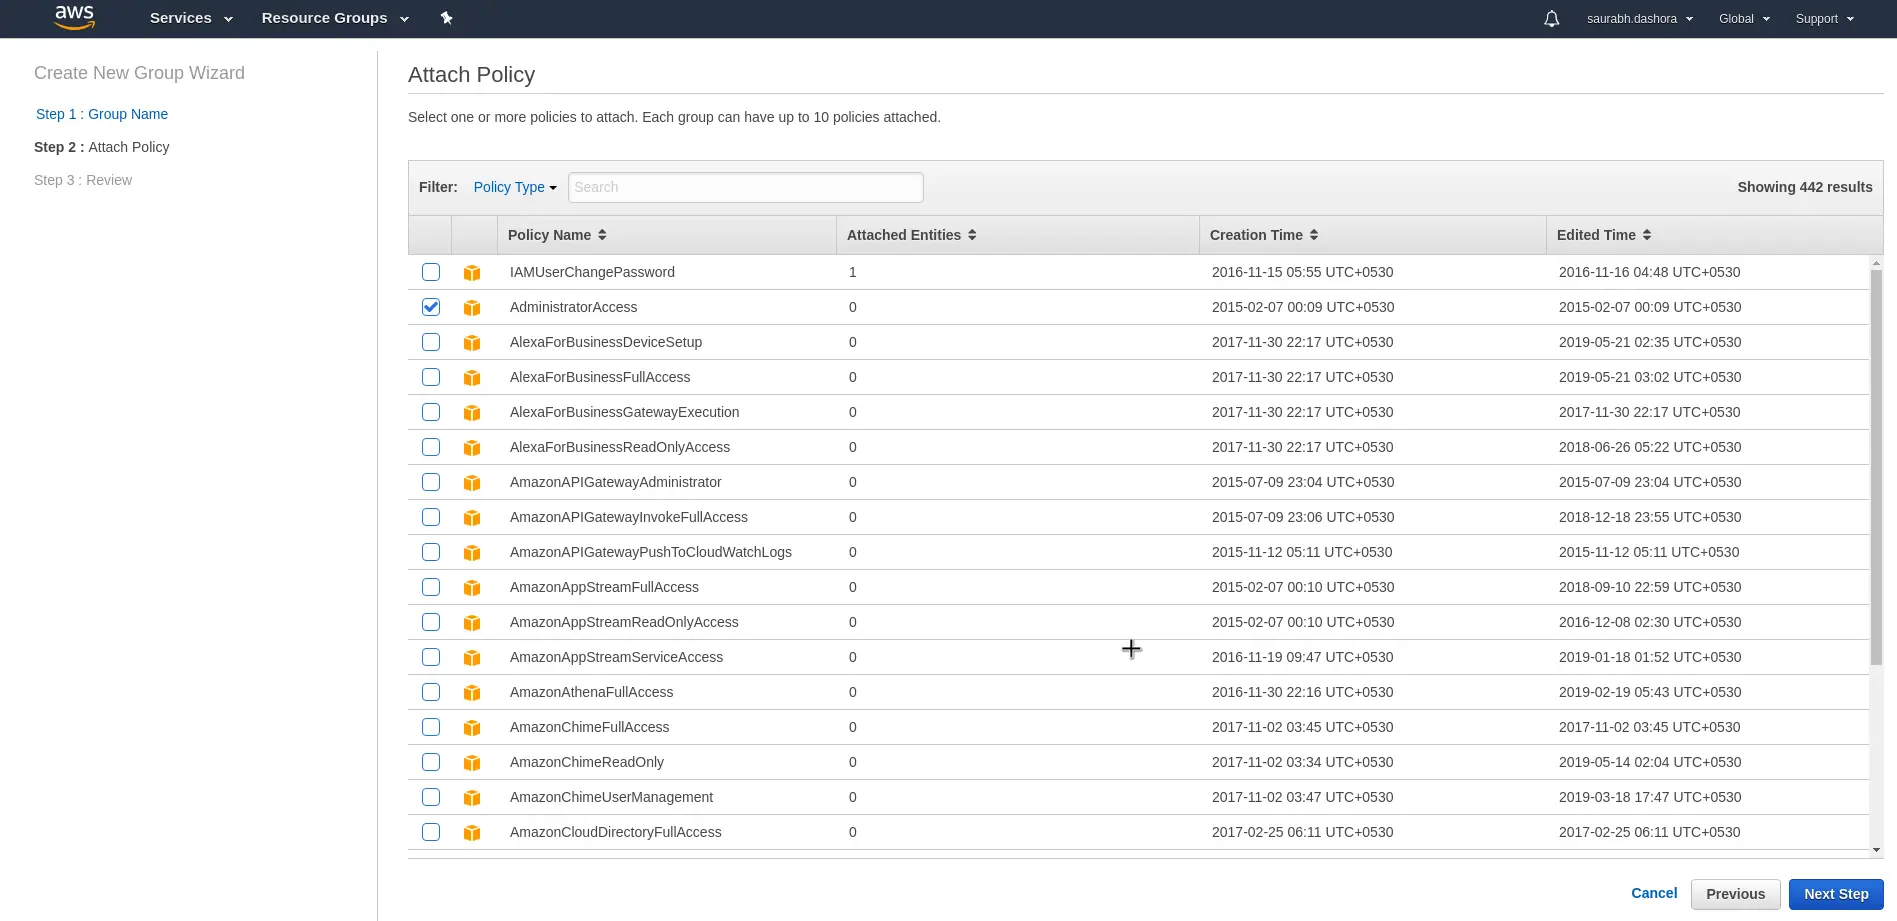
In the next step, we assign a Policy to the group. In this case, we use an AWS Managed Policy known as Administrator Access.
By doing so, all users in this group will inherit Administrator access level.
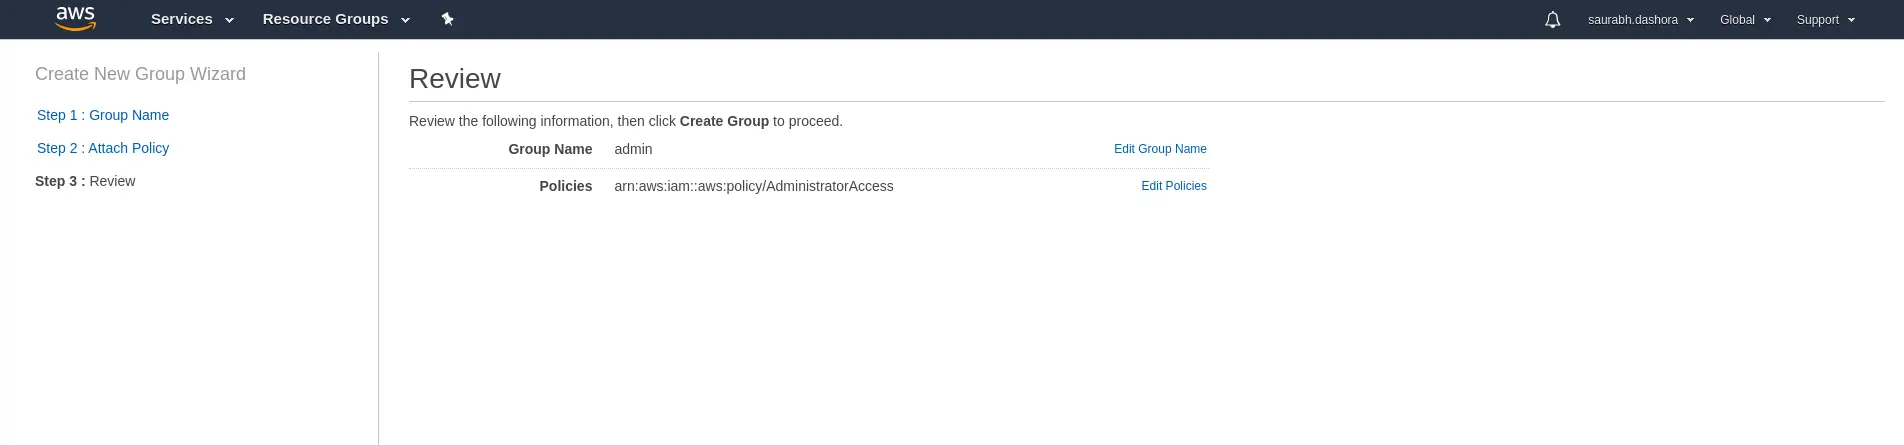
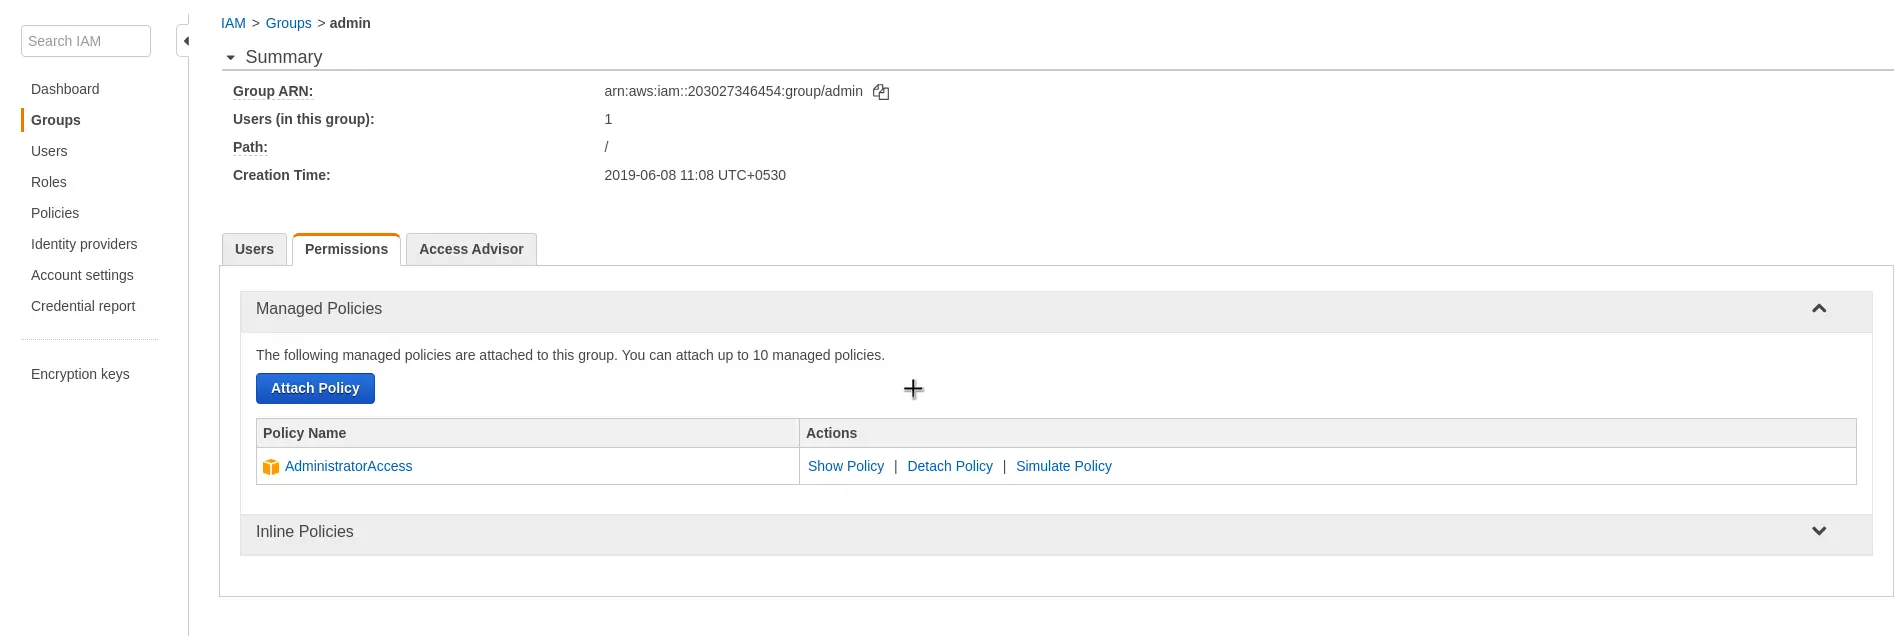
3. Review the group
Lastly, you can simply review the group before confirming to create.
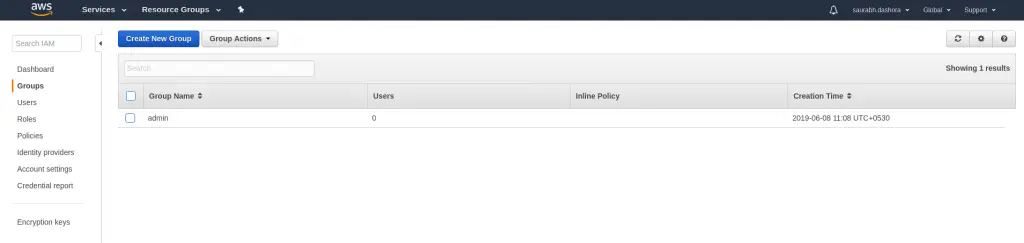
Post this, you should see the Group List screen showing the newly created group called admin. However, the number of users in this group is 0.
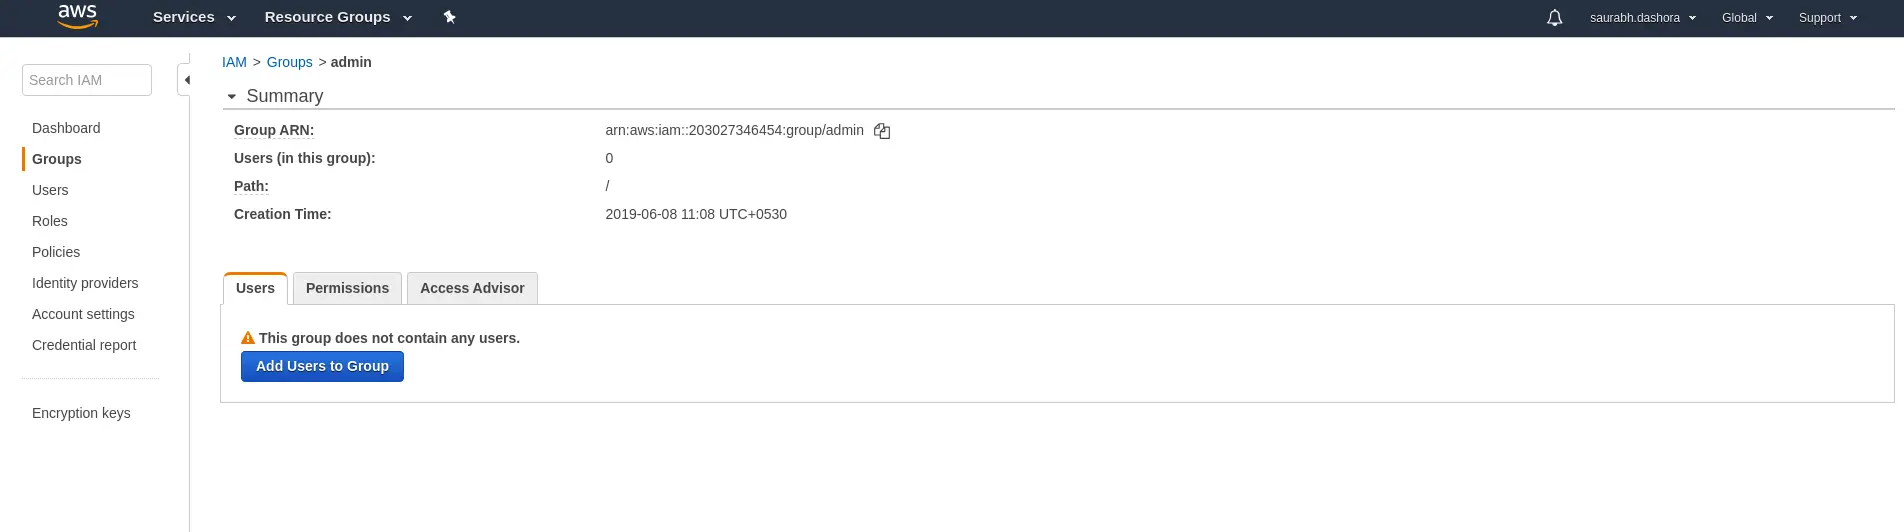
4. Add user to group
Now that the group if successfully created, we should add users to it. In the below screens we add the user called saurabh to the admin group.
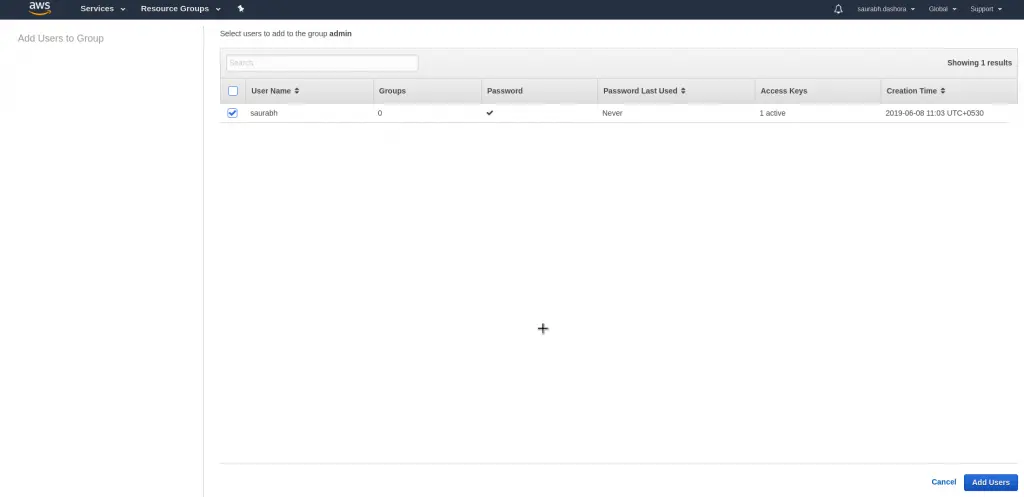
If you see know, the permission AdministratorAccess is attached to all users in this group.
Step 5 – Apply an IAM Password Policy
The next step in the essential steps to complete AWS IAM setup is to apply a password policy to the IAM users. This password policy will basically dictate what kind of password rules apply to the users.
By clicking Manage Password Policy, you can view the various options available for password management.
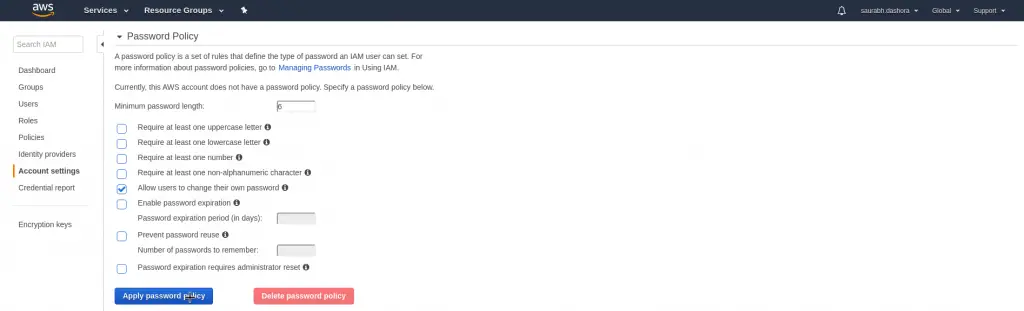
Some of the common options are Minimum Password Length, Password Requirements such as one uppercase letter, one lowercase letter, one number, password expiration rules and so on.
Once you have made your selection, you can simply click the Apply Password Policy button to continue.
Step 6 – Customize Account Alias
With the previous step, we are almost done with the essential steps to complete AWS IAM setup. All the workflow items should now show green ticks before them.

As a last step, we can change our account alias to something meaningful.
To do so, you can click on the Customize button at the top of the screen. It will open a dialog box as below:
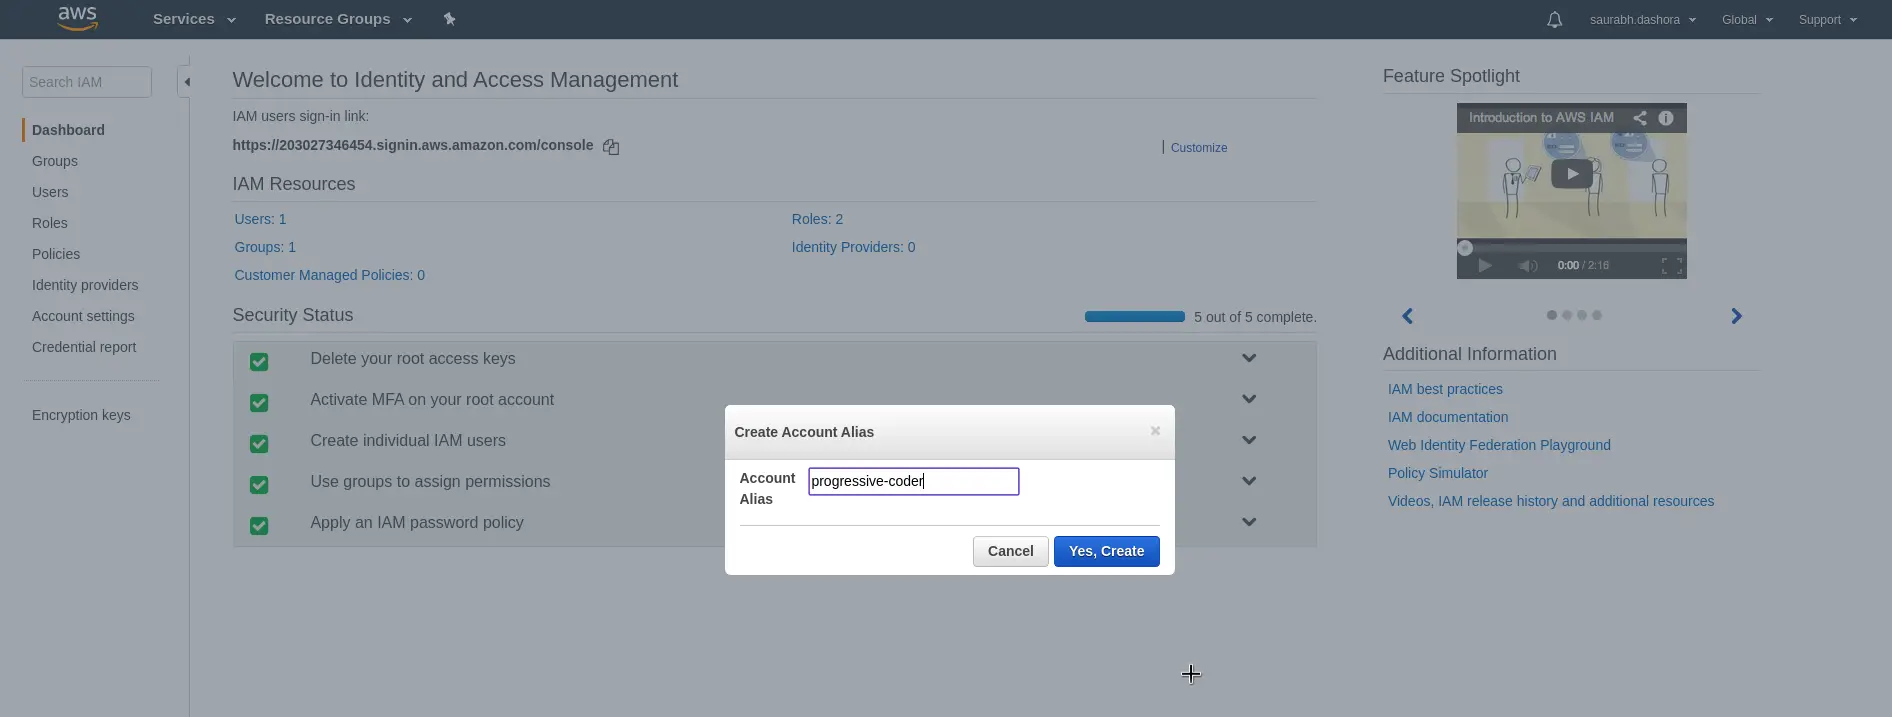
We enter progressive-coder as the alias. In your case, this could be your team name or application name depending on your choice.
Once you confirm the creation of the alias, you can login with your newly created user into the AWS Management Console.
As you can see we have entered the account id or alias as progressive-coder followed by the IAM user name we created.
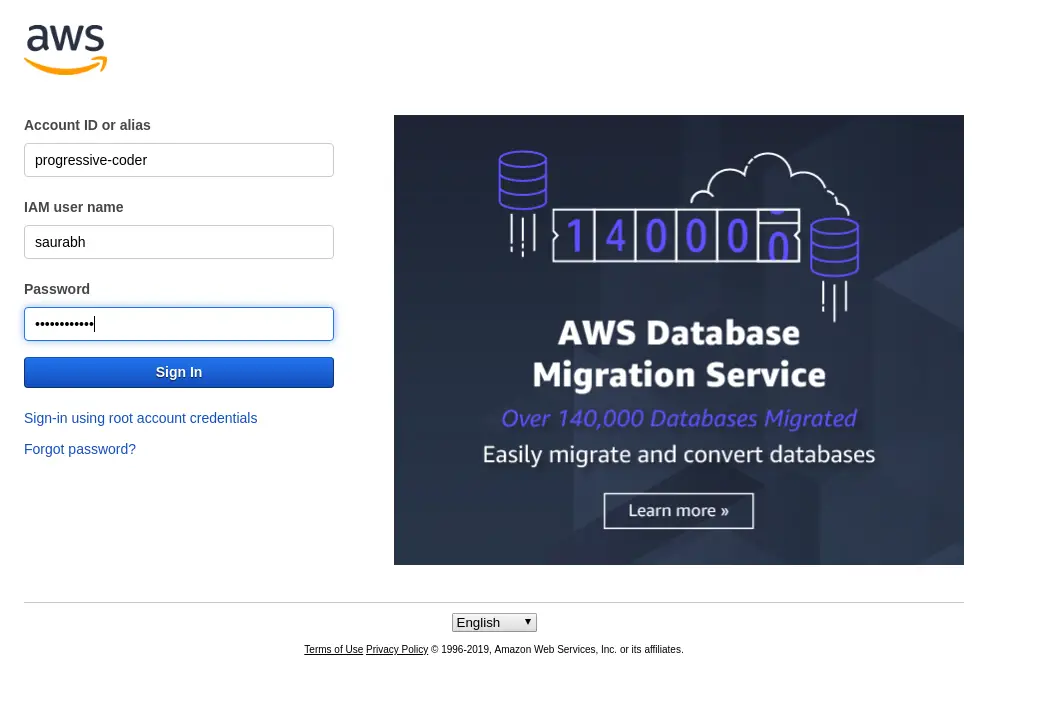
For the first time login, we have to use the auto-generated password. On logging in, you will be asked to change the password as dictated by our Password policy.
Conclusion
With the completion of the previous step, we are basically done with the essential steps to complete AWS IAM setup.
As a refresher, we have successfully protected our root account using MFA. We also created a new user, a new group, added the user to the group, setup a password policy and assigned policies to the group. Lastly, we also tweaked the account alias to make better sense for ourselves.
If you have any queries, do sound off your comments in the comments section.
Happy Learning!
0 Comments