While the in-built NestJS Exception Handling can solve most issues, many times you may want to have full control over the exception handling process.
In this post, I will explain how you can use the custom NestJS Exception Filters.
Here’s what you are going to learn:
- What is an Exception Filter?
- The role of generic interface
- The
catch()method
- How to create a Custom Exception Filter?
- Understanding the
ArgumentsHost - How to use the Custom Exception Filter?
- method-level
- controller-level
- global
Exception Filter is a key concept in NestJS. However, in case you are new to the framework, consider starting with my post on NestJS fundamentals to get a complete overview.
1 – What is a NestJS Exception Filter?
NestJS has a pretty robust in-built exception handler.
Then, why do you need the exception filter?
Well, the exception filter gives us complete control over the exceptions thrown by our application.
What kind of control are we talking about?
Imagine you want your exception response to use a specific JSON schema that contains more details such as the timestamp or the request URL. Maybe, you want to perform some sort of logging before sending the exception response.
The exception filter lets you control the complete exception flow and also the response sent back to the client.
In order to create a custom exception filter, we need to implement a generic interface called ExceptionFilter.
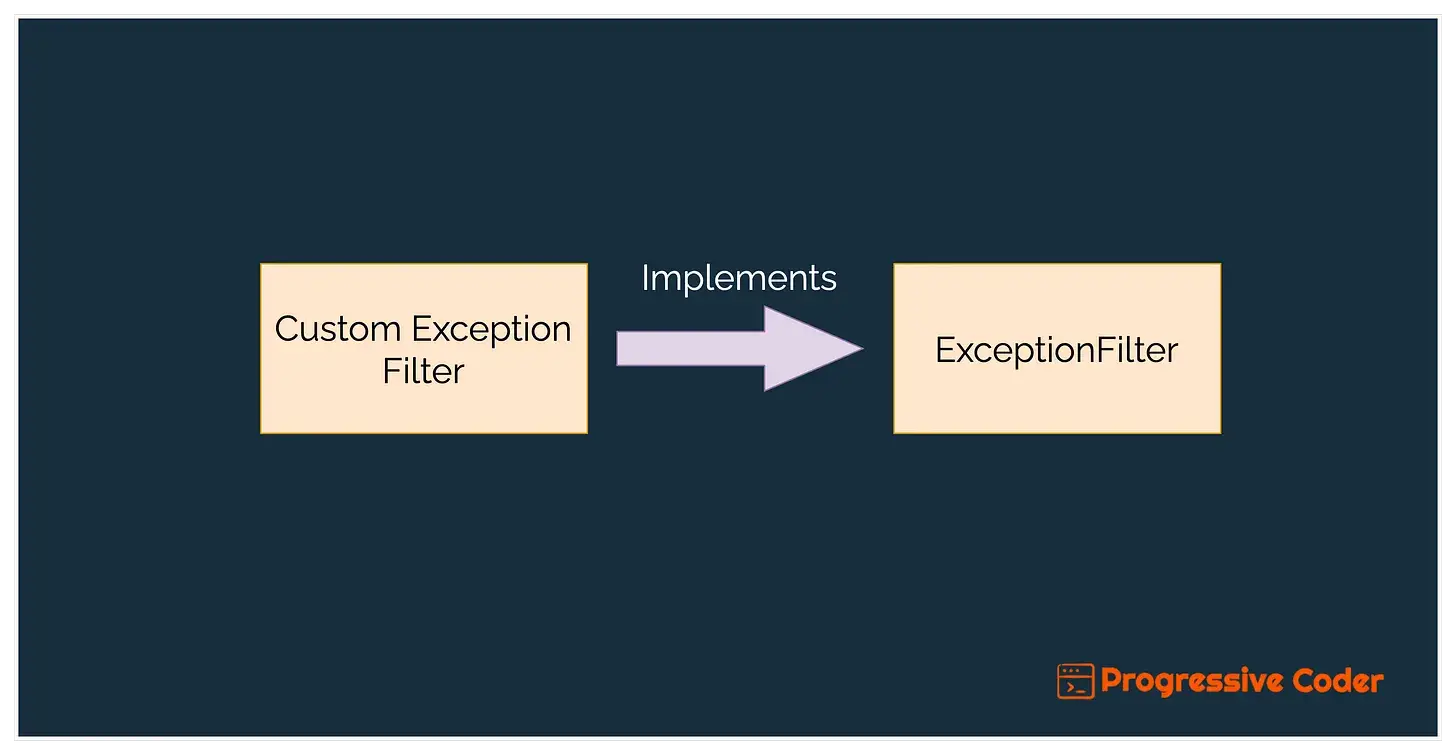
This basically means implementing the catch() method provided by the ExceptionFilter interface.
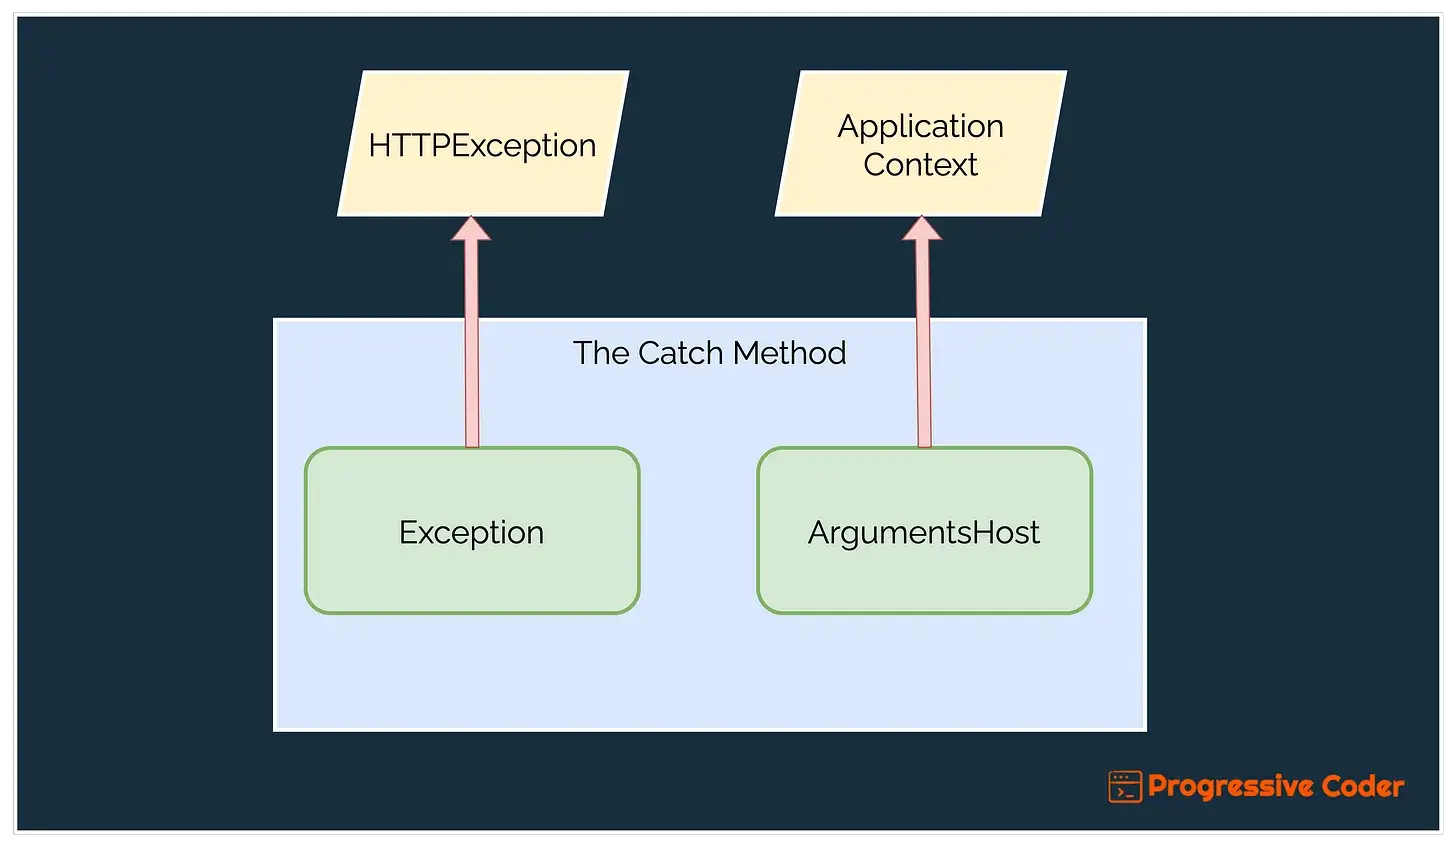
The catch() method takes two arguments as input:
- The
Exceptionobject – This points to the exception object that is being processed - The
ArgumentsHostobject – This is a utility object that allows us to access the arguments passed to a handler and obtain references to the underlying request and response objects. Check out this detailed post on using ArgumentsHost in NestJS.
catch() method in the ExceptionFilter interface2 – Creating a custom NestJS Exception Filter
To understand the role of exception filters better, you need to create a custom exception filter from scratch.
Within your project’s src directory, create a folder named exceptions.
Inside this folder, create a file named custom-exception.filter.ts with the below contents.
import { ArgumentsHost, Catch, ExceptionFilter, HttpException } from "@nestjs/common";
import { Request, Response } from "express";

@Catch(HttpException)
export class CustomExceptionFilter implements ExceptionFilter {
    catch(exception: HttpException, host: ArgumentsHost) {
        const ctx = host.switchToHttp();
        const response = ctx.getResponse<Response>();
        const request = ctx.getRequest<Request>();
        const status = exception.getStatus();

        response
            .status(status)
            .json({
                statusCode: status,
                timestamp: new Date().toISOString(),
                path: request.url
            })
    }
}
Let’s understand what’s going on here:
- The class
CustomExceptionFilterimplements theExceptionFilterinterface. - The class has a decorator
@Catch(). This decorator takes the type of exception being handled by this exception filter as input. In this case, you are trying to handle an exception of typeHttpException. - To satisfy the interface requirement, you need to implement the
catch()method. As discussed earlier, this method takes two arguments as input –exceptionandhost. - You get access to the current context using the
switchToHttp()method available with thehostobject. More on that in the next section of this chapter. - With the
ctxobject, you get the reference to therequestandresponseobjects of the underlying platform. Since you are using Express as the platform in this book, these objects are nothing but express request and response objects. - Finally, you use the
responseobject to set a custom JSON schema. - Apart from the status code, you also add a new field for the timestamp and the
request.url. With this change, the response object gives us a better idea of when and where the exception was generated.
Understanding the ArgumentsHost Object
NestJS supports different types of applications such as:
- HTTP server-based
- Microservices
- GraphQL
- WebSockets
Each type of application has its own application context.
The ArgumentsHost class provides methods for retrieving the arguments being passed to a handler in a particular context. In other words, this class acts as a container for the context information associated with a particular request.
For example, when a request is made to a controller method, NestJS creates an instance of the ArgumentsHost object.
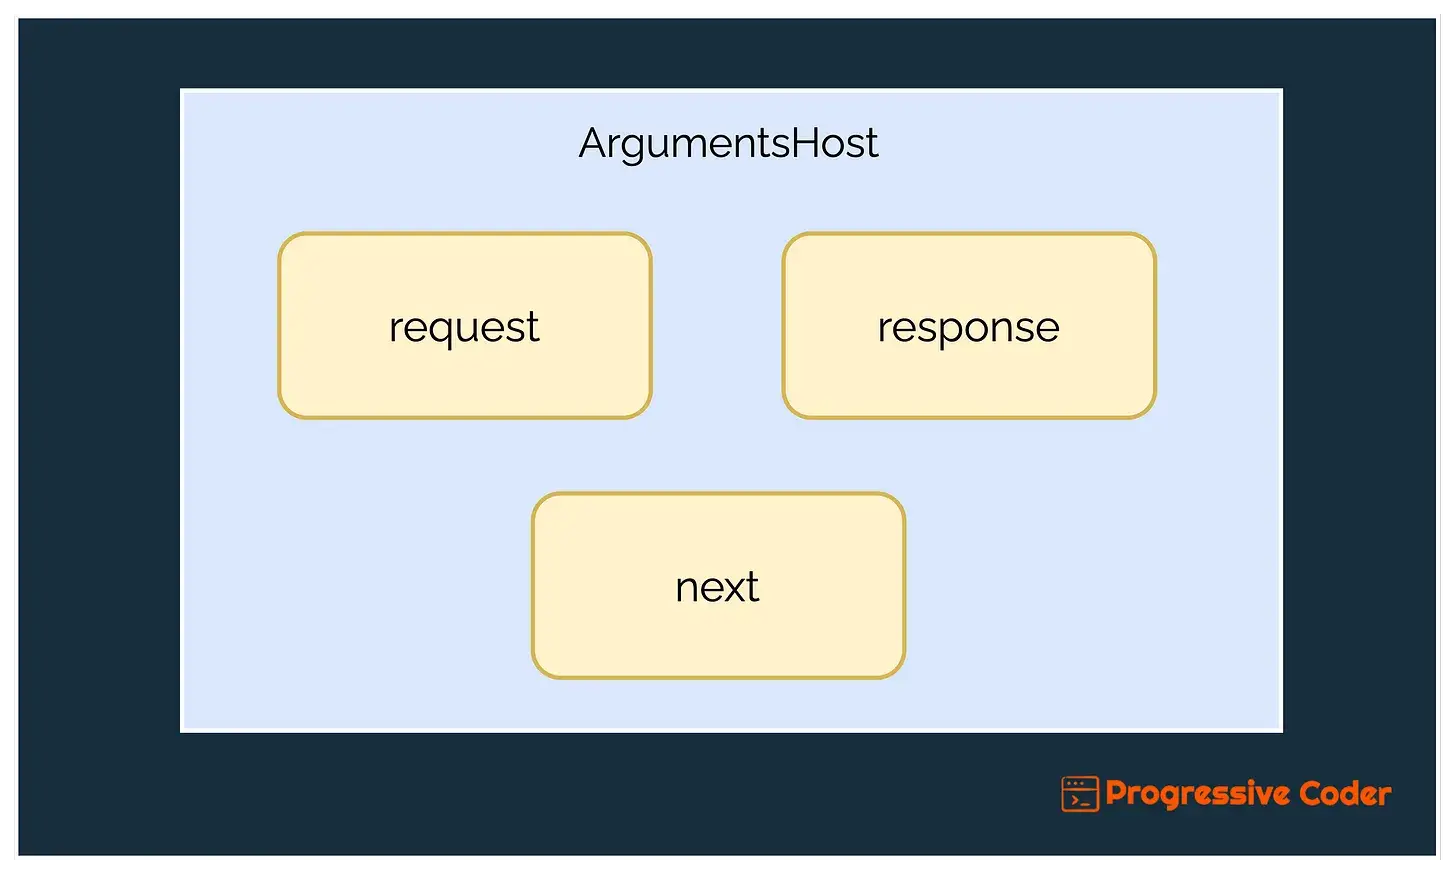
For an HTTP server-based application, this object contains information about the current request’s context, including the request object, response object and any errors that may have occurred.
Check the below illustration that shows the composition of the ArgumentsHost object for an HTTP application using the Express platform.
At this point, you might have one particular question.
Why the need for const ctx = host.switchToHttp()?
The switchToHttp() is a helper method available with the host object.
This method returns an HttpArgumentsHost object that is appropriate for the HTTP application context. It provides two helper methods getResponse() and getRequest() and makes it easy for you to get access to the underlying express objects.
The alternative to not using switchToHttp() is to obtain the request and response objects as below:
const [req, res, next] = host.getArgs();This ties our implementation to the HTTP application context and makes our code less reusable.
Hence, it is always considered good practice to use the appropriate switch method to obtain a reference to the required application context.
3 – Binding or Using the NestJS Exception Filter
Now that you are clear about how to declare a custom exception filter, it’s time to understand how to use it.
First, create an exception class in a file named forbidden.exception.ts.
import { HttpException, HttpStatus } from "@nestjs/common";

export class ForbiddenException extends HttpException {
    constructor() {
        super('You are forbidden to access the endpoint', HttpStatus.FORBIDDEN);
    }
}
Just like in the previous chapter, ForbiddenException extends HttpException. This will be your new exception class.
There are three ways you can use the exception filter in your NestJS application:
Method-Level
In this approach, you bind the exception filter to a particular method within the controller.
See the below example:
@Controller('products')
export class ProductsController {

    constructor(private readonly productsService: ProductsService) {}

    @Get('admin')
		@UseFilters(new CustomExceptionFilter())
    getAdminDetails() {
        throw new ForbiddenException();
    }
}
The @UseFilters() decorator (available as part of the @nestjs/common package) lets you attach the CustomExceptionFilter to the getAdminDetails() request handler.
Alternatively, you can also pass the name of the class instead of an instance to the @UseFilters() decorator. See below:
@Controller('products')
export class ProductsController {

    constructor(private readonly productsService: ProductsService) {}

    @Get('admin')
		@UseFilters(CustomExceptionFilter)
    getAdminDetails() {
        throw new ForbiddenException();
    }
}
It is always better to pass a class instead of an instance. NestJS automatically takes care of instantiating the class based on the principles of Dependency Injection.
If you access http://localhost:3000/products/admin, you get the below JSON response.
{
	"statusCode": 403,
	"timestamp": "2023-02-28T02:46:22.780Z",
	"path": "/products/admin"
}
As you can see, the timestamp and path fields are available in the response object. This is because of the CustomExceptionFilter() you configured in the previous section.
Controller-Level
Alternatively, you can also apply the CustomExceptionFilter() at the controller level.
@Controller('products')
@UseFilters(CustomExceptionFilter)
export class ProductsController {

    constructor(private readonly productsService: ProductsService) {}

    @Get('admin')
    getAdminDetails() {
        throw new ForbiddenException();
    }
}
This will apply the exception filter for every route within the ProductsController.
Global-Level
Lastly, you can also apply the exception filter at a global level for the entire application.
You need to call the useGlobalFilters() function on the application instance and pass it an instance of your custom exception filter.
See the below code from the main.ts file.
import { NestFactory } from '@nestjs/core';
import { AppModule } from './app.module';
import { CustomExceptionFilter } from './exceptions/custom-exception.filter';

async function bootstrap() {
  const app = await NestFactory.create(AppModule);
  app.useGlobalFilters(new CustomExceptionFilter())
  await app.listen(3000);
}
bootstrap();
4 – Catch Everything Exception Filter in NestJS
In case we want to catch all exceptions, you can simply keep an empty argument list while defining the custom exception filter. Basically, just use the @Catch() decorator.
See the below code:
import { ArgumentsHost, Catch, ExceptionFilter, HttpException, HttpStatus } from "@nestjs/common";
import { Response } from "express";

@Catch()
export class HttpExceptionFilter implements ExceptionFilter {
    catch(exception: unknown, host: ArgumentsHost) {
        const context = host.switchToHttp();
        const response = context.getResponse<Response>();
        const request = context.getRequest<Request>();
        const status = exception instanceof HttpException
        ? exception.getStatus()
        : HttpStatus.INTERNAL_SERVER_ERROR;

        response
            .status(status)
            .json({
                statusCode: status,
                timestamp: new Date().toISOString(),
                path: request.url,
            });
    }
}
Do note the minor adjustments in the catch() method.
Here, you keep the exception type as unknown. Also, you obtain the status code using a condition based on whether it is an HttpException or something else.
Conclusion
The code for this post is available on GitHub. You can download it and play around with it to practice the concepts discussed in this post.
Here’s a summary of what you have learnt in this post:
- What is an Exception Filter?
- How to create a Custom Exception Filter?
- Understanding the
ArgumentsHost - How to use the Custom Exception Filter?
If you have any comments or queries, please feel free to mention them in the comments section below.
The next important concept I’m going to cover is middleware functions in NestJS.
NestJS is a fundamental pillar in my Cloud & Backend learning path. To know more, don’t forget to subscribe to the Progressive Coder newsletter.
Also, say ‘Hi’ on Twitter for more real-time updates on what’s happening at Progressive Coder.

3 Comments
Anonymous · December 29, 2021 at 7:00 am
nice
Anonymous · May 10, 2023 at 1:28 pm
well explained
Saurabh Dashora · May 22, 2023 at 12:11 pm
Thanks