In this post, we will look at OpenShift Pull Image feature from one project to another project.
This feature may sound not-so-useful initially. However, many enterprise environments use this feature heavily. Basically, this feature allows developers to separate the build process of an application from the deployment process.
Often times, there are a finite number of resources available to build as well as deploy your application. In such situations, you don’t want to jeopardize the run time environment of an application due to the build processes. Build processes can also be CPU-intensive depending on the size of the application. Therefore, it is a good idea to perform builds in a different project namespace and then ship the built image to the deployment project namespace.
And that is where the OpenShift pull image feature comes in quite handy. So without wasting more time, let’s dive into how we can achieve this.
1 – Creating a New Project
The first step is to create a new project. This is basically the project where we would be pulling the image.
In our case, we will create the project using OpenShift Web Console and name it My Second Project. Important thing to note here is that the name is not important and you can name your projects anything you want.
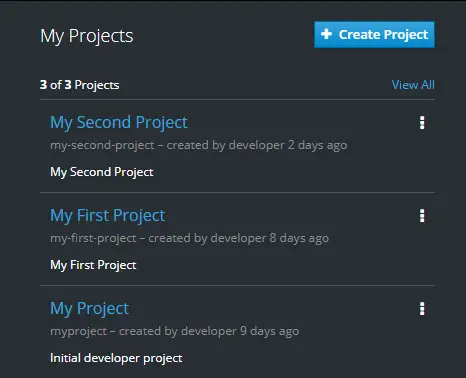
Once the project is created, we can move to Step 2.
2 – Grant Permission in Project A
Project A is very we are building the image. In this case, we have already built an image for a simple NodeJS application. The image is present in the ImageStream of My First Project.

Basically, we need to give My Second Project access to pull images from My First Project.
To do so, we will go Resources -> Membership tab in My First Project. Next, we will click on Service Account tab and then click on the Edit Membership button.
Within the dialog box that opens up, we are going to provide the image puller permission to My Second Project’s default service account.
See below for how it will appear once you have granted the permission.
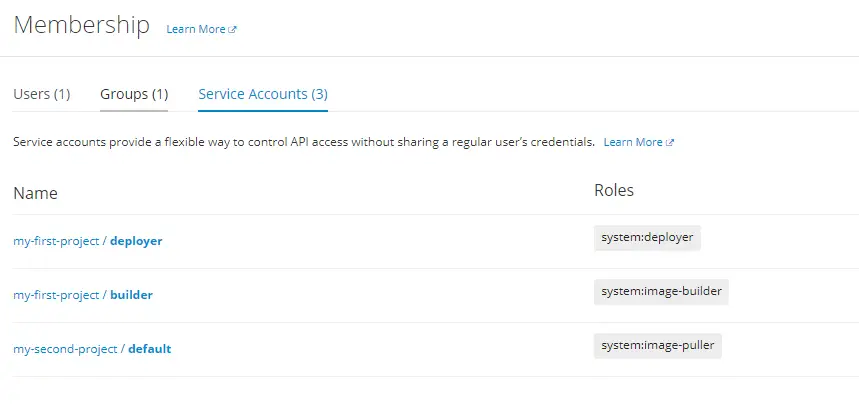
Here, the third row is the new permission we have added. With this addition, My Second Project has access to pull images from My First Project.
3 – Pulling Image from Project A
Now that permissions are sorted out, it is pretty easy to actually pull the image.
We will navigate to the console view of My Second Project. Next, we click Add to Project in the top right corner and select the Deploy Image option. This will open up a dialog box where we can enter the details about the image. See below:

Basically, we are selecting the Project/Namespace. Then, we select the actual image and finally, we also select the tag for that image.
Once we click on Deploy, OpenShift will pull the openshift-nodejs-app: latest from my-first-project and deploy it in My Second Project.
You should see something like below:

Notice that this deployment does not have a Build Configuration. This is because the image build is not happening in this project. We are simply pulling an image that was built in another project into this project.
Conclusion
With this, we have successfully completed OpenShift Pull Image from one project to another.
This is an extremely handy approach when you want to separate your build processes from the deployment project.
0 Comments