In this post, we will look at NestJS Swagger Operations. Operations are basically HTTP methods such as GET, POST, PUT, DELETE and so on. It is important to document these operations properly so that the clients of our API can predict their behaviour properly.
If you are new to NestJS Swagger, I would advice you to go through the detailed posts on NestJS Swagger Configuration and NestJS Swagger APIProperty. In those posts, we discuss the basics of NestJS Swagger integration.
1 – NestJS Controller Tags
Tags are used to group endpoints together based on some common theme or functionality. In other words, tags can help clients walkthrough our APIs according to functionality.
To attach a controller to a specific tag, we the @ApiTags() decorator. See below:
@ApiTags('books')
@Controller('books')
export class AppController {}
This will place all the endpoints in the AppController within the books tag.
2 – NestJS Swagger Custom Headers
We can also assign custom headers for a particular controller. See below:
@ApiTags('books')
@ApiHeader({
  name: 'My Header',
  description: 'A Custom Header'
})
@Controller('books')
export class AppController {
3 – NestJS Swagger API Response
API Responses are crucial for clients to write their logic while our APIs. It is important for API developers to provide a set of possible responses our API can give.
NestJS provides the @ApiResponse() decorator to specify the possible API Response.
See below example:
@ApiTags('books')
@ApiHeader({
  name: 'My Header',
  description: 'A Custom Header'
})
@Controller('books')
export class AppController {
  constructor(private readonly appService: AppService) { }

  @Post()
  @ApiResponse({ status: 201, description: 'The record is successfully created'})
  @ApiResponse({ status: 403, description: 'Forbidden'})
  async createBook(@Res() response, @Body() book: Book) {
    console.log("Book: ", book);
  }

  @Get()
  @ApiResponse({ status: 200, description: 'Return a list of books'})
  async fetchAll(@Res() response) {

  }

  @Get('/:id')
  @ApiResponse({ status: 200, description: 'Return a book based on a particular id'})
  async findById(@Res() response, @Param('id') id) {
    console.log("Fetch Book for Id: ", id)
  }
}
The @ApiResponse() takes the status code and the descriptions as input. Notice that we can also provide multiple API Responses. For example, the first API endpoint can give status code 201 as well as 403 depending on the situation.
If we start our application now and check the Swagger page, we should see the below:
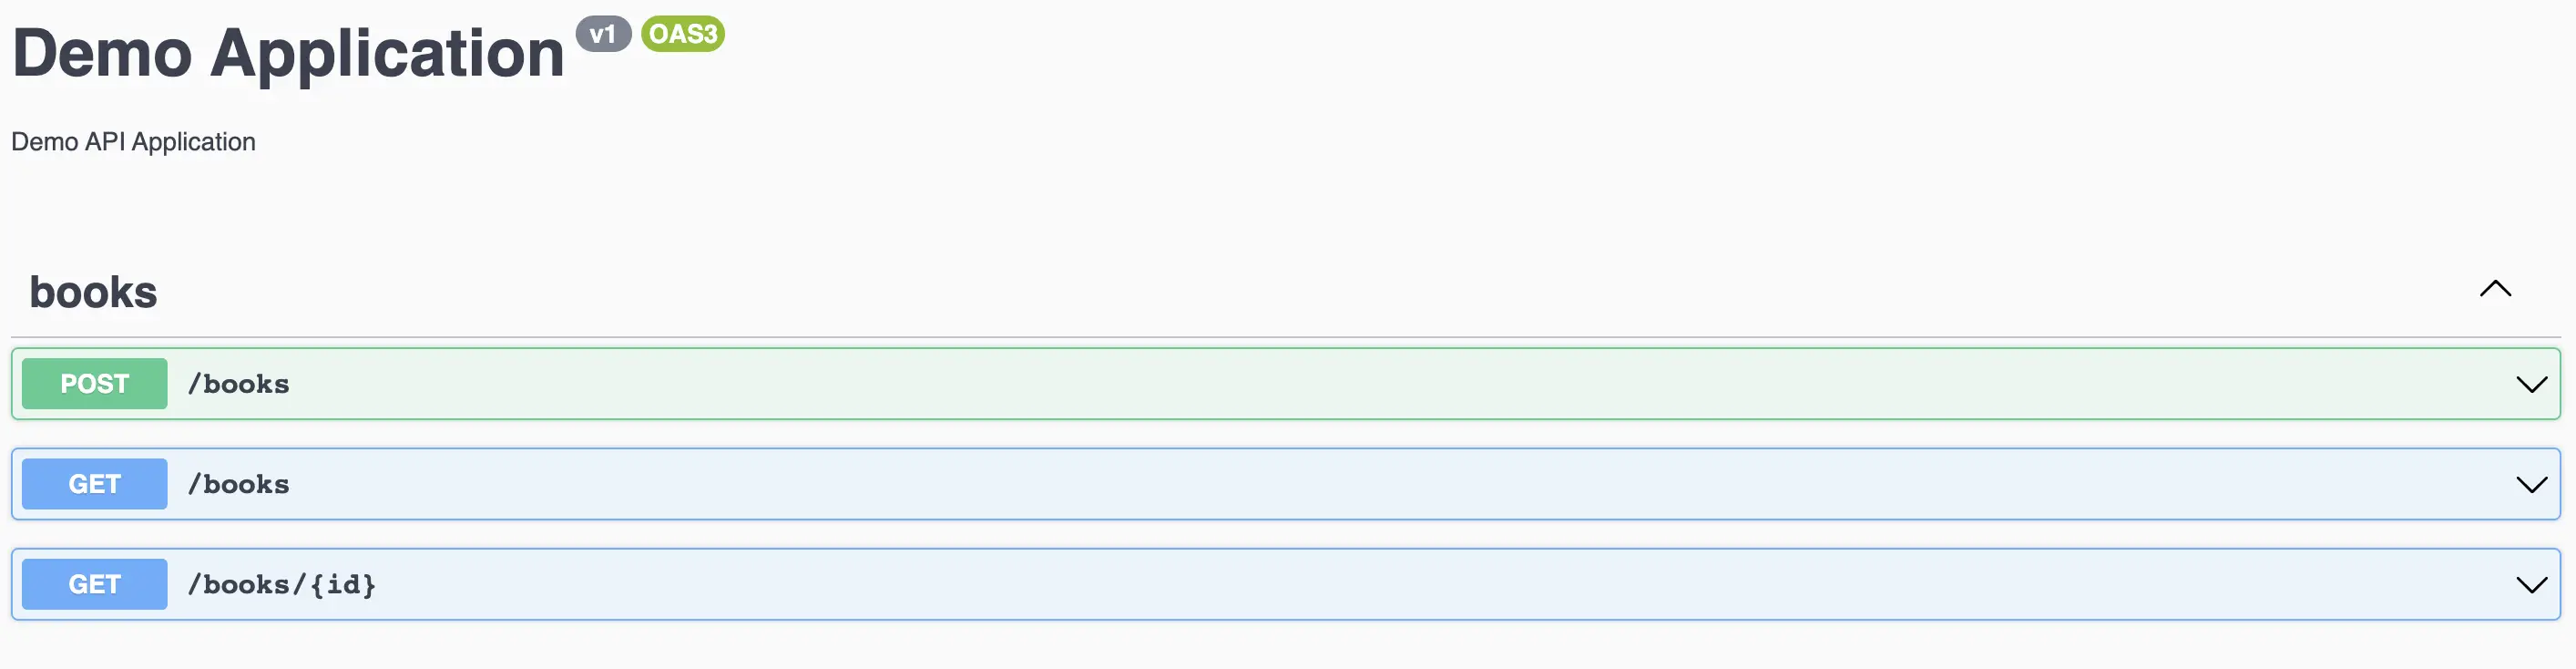
As you can see, all the endpoints are grouped under the books tag.
We can also check out the API Responses and the custom header.
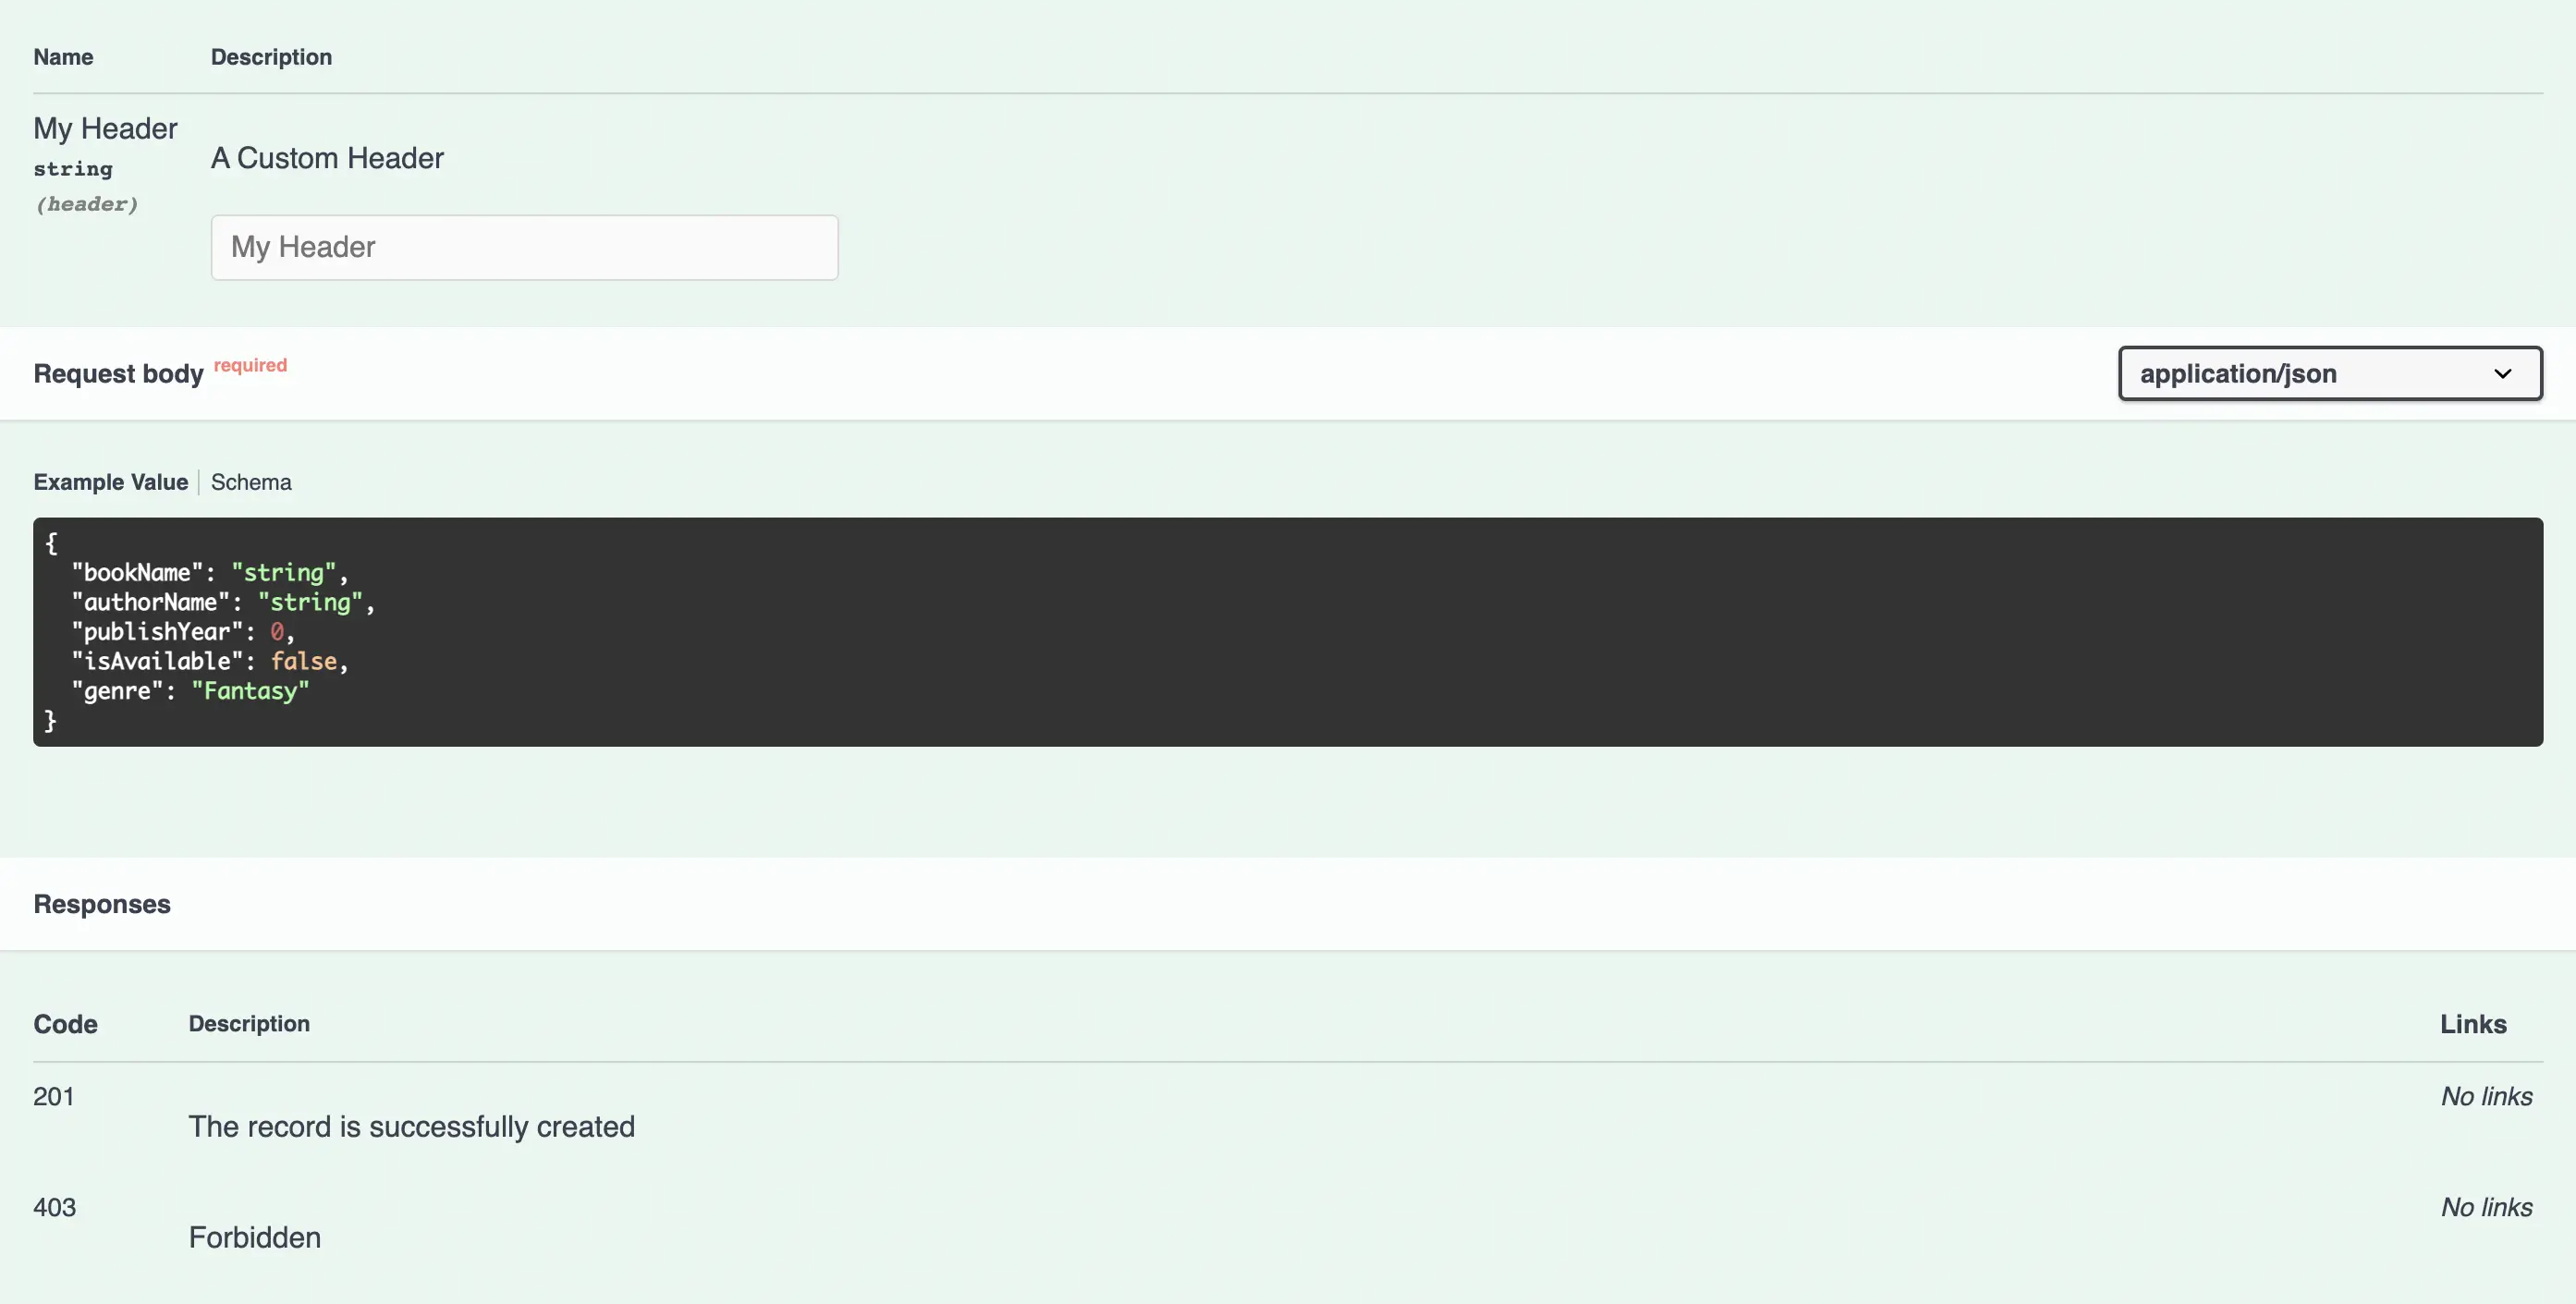
You can notice the custom header. Also, we have the API Responses available at the bottom for a particular operation.
There are also shorthands available for API responses. For example, to specify an HTTP Status OK, we can use @ApiOkResponse() decorator. Also, for 201 status code, we can use @ApiCreatedResponse(). These decorators only take description as input. Also, there is a decorator for every possible response code.
Conclusion
With this, we have successfully looked at NestJS Swagger Operations along with the various decorators available to us to build good API documentation.
If you have any comments or queries, please feel free to mention in the comments section below.

0 Comments