AWS EC2 User Data allows us to create an EC2 instance and also helps automate some common tasks.
For example, in the previous post about launching HTTPD Server on AWS EC2 instance, we created an EC2 Instance. Then, we installed HTTPD Server on the instance by executing a bunch of commands. We also placed a dummy index.html file for testing purpose.
Now imagine a situation where all of the steps after creating the EC2 instance can be automated. Basically, what we want is that when our EC2 instance becomes available, we already get a running HTTPD Server on it. It could be specially useful when we have to create a bunch of EC2 instances having similar configuration or setup.
This can be easily achieved using AWS EC2 User Data feature. In this post, we will look at the process of leveraging this cool feature provided by Amazon Web Services.
Let’s look at the step-by-step process.
Step 1 – Start the EC2 Instance Creation Workflow
First step is to login to the AWS Management Console with your IAM user and search for the EC2 service in the search bar. If you are not aware of IAM, you can go through a detailed introduction to AWS IAM.
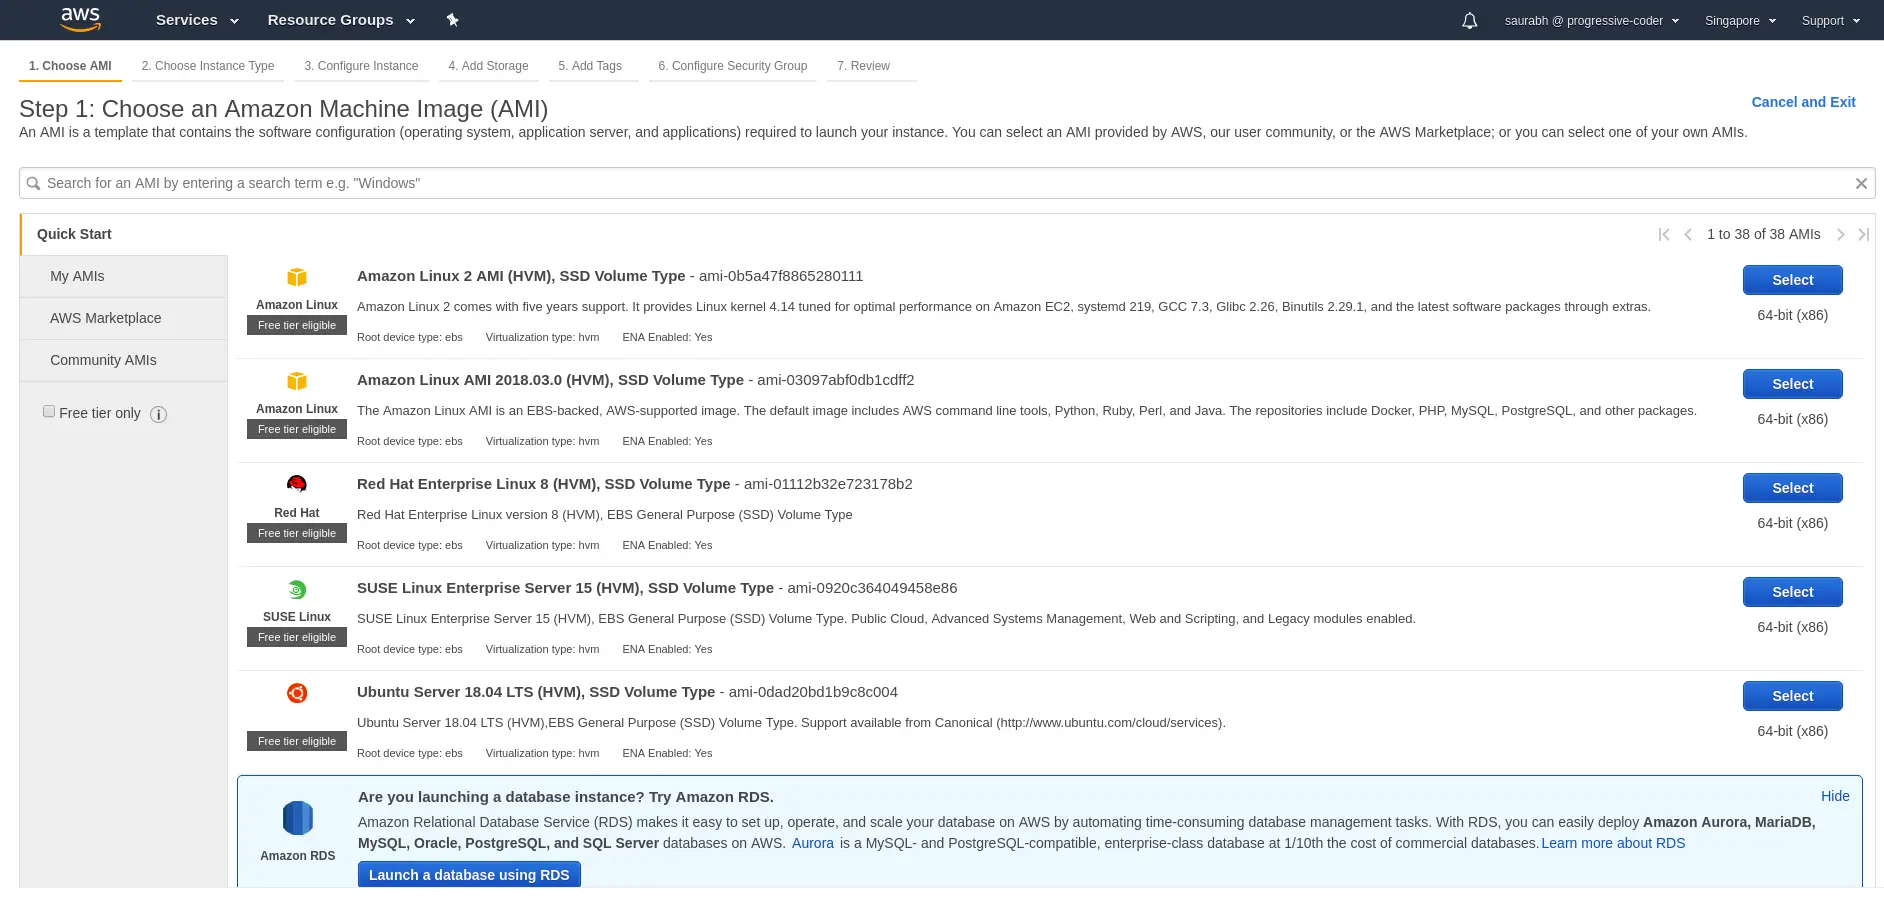
Once you begin the workflow for AWS EC2, you will be asked to choose the Amazon Machine Image or AMI. For the purposes of this post, we will go with Amazon Linux 2.
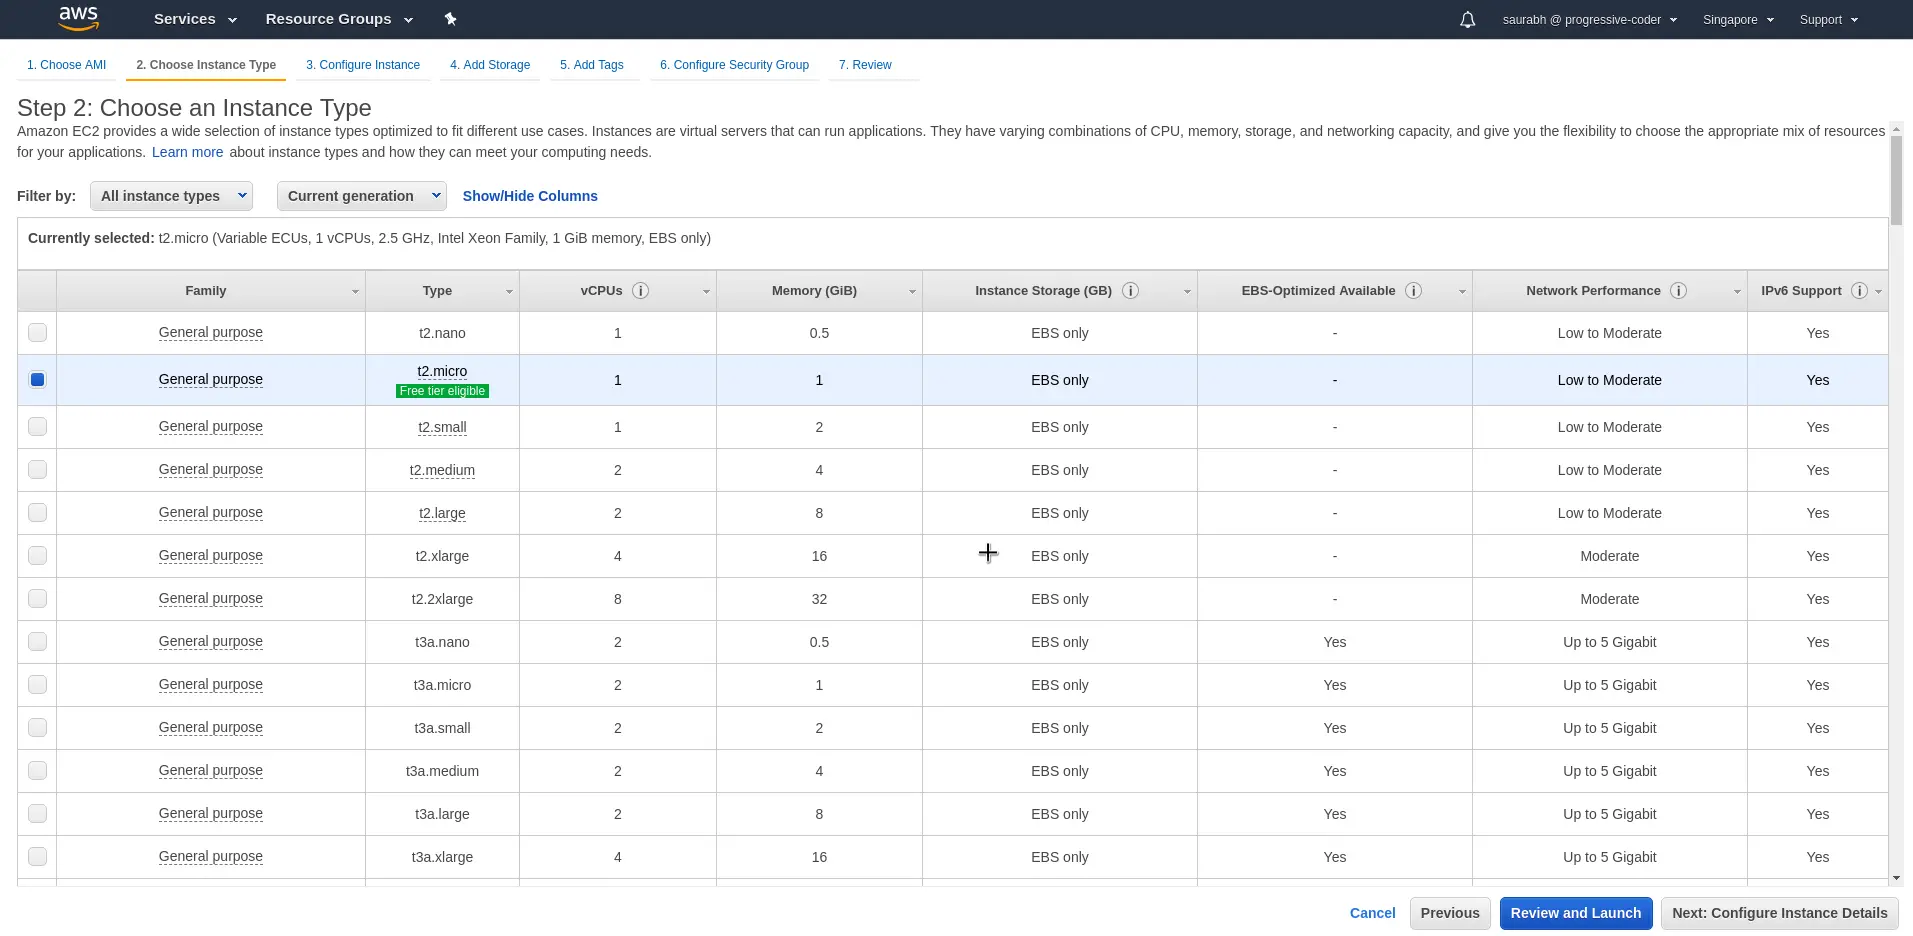
In the next workflow step, select the EC2 Instance Type. To be eligible for free-tier, we will go for t2.micro. Click on Configure Instance Details to continue to the next step.
Step 2 – Configure User Data
This is the most important step in the process to setup AWS EC2 User Data to create our EC2 instance.
Basically, AWS provides us an option to enter all the commands we want to run after the EC2 instance is created. This option is present in the Configuration step of the workflow at the bottom of the page.
See the Advanced Details section in the screen below. You can provide the User Data in the form of text input, a file or Base64 encoded. In this case, we select the option As Text.
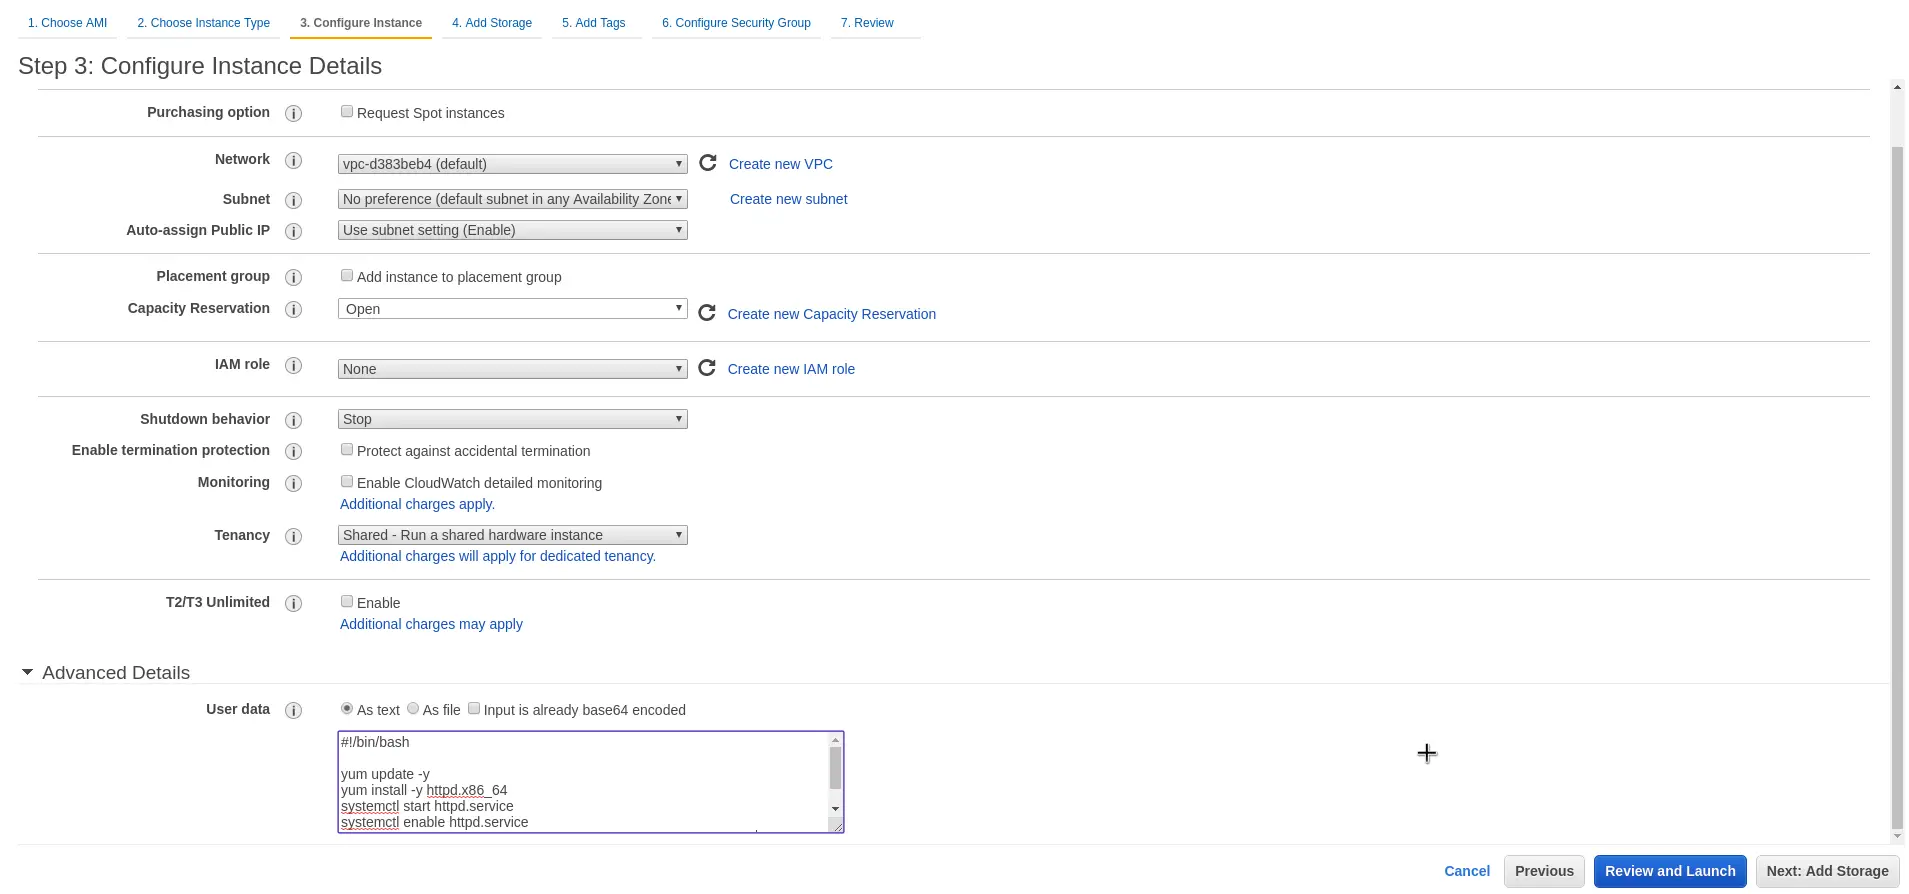
Below are the commands we enter for setting up an HTTPD Server.
yum update -y
yum install -y httpd.x86_64
systemctl start httpd.service
systemctl enable httpd.service
echo "Hello World from $(hostname -f)" > /var/www/html/index.html
And that’s about it. The above commands basically do the following:
- Updates the packages on our newly created EC2 instance
- Installs httpd server on the EC2 instance
- Starts the httpd server on our instance
- Enables the httpd server to keep running across reboots
- Inserts a one-line text Hello World message into the /var/www/html/index.html file.
In other words, whenever our EC2 instance will be created, these commands will be executed in the order.
Step 3 – Continue with the workflow
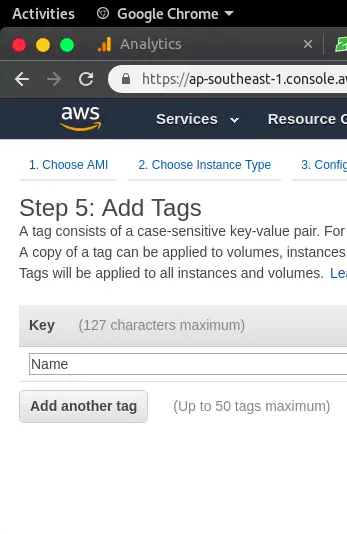
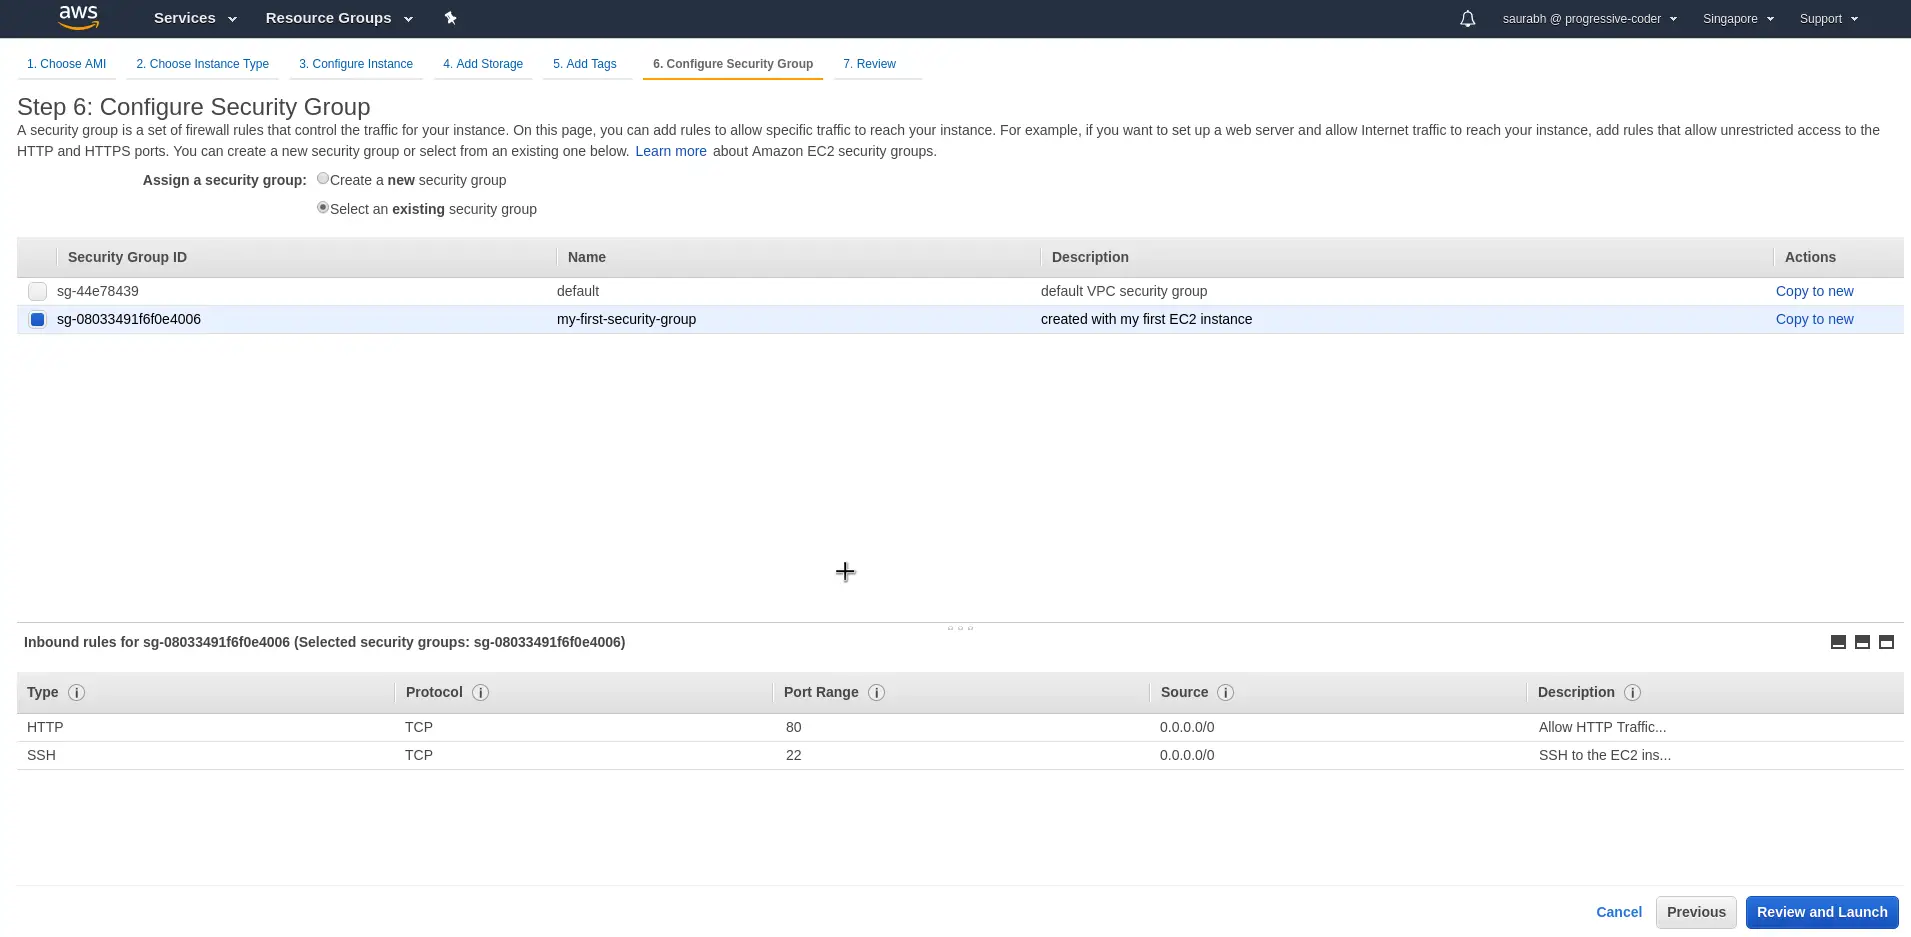
Once the AWS EC2 User Data is updated, you can continue with the next steps such as Add Storage, Add Tags and Configure Security Groups.
You can enter an appropriate tag as needed. For example, we added a Name tag.
You can use the same security group as the previous post. It already has access to Port 80 where our HTTPD Server will be available. You can read more about this in the previous post.
Lastly, you can Review and continue with the process.
Download a new key or re-use an existing key if you already have it. In our case, we will use our existing private key.
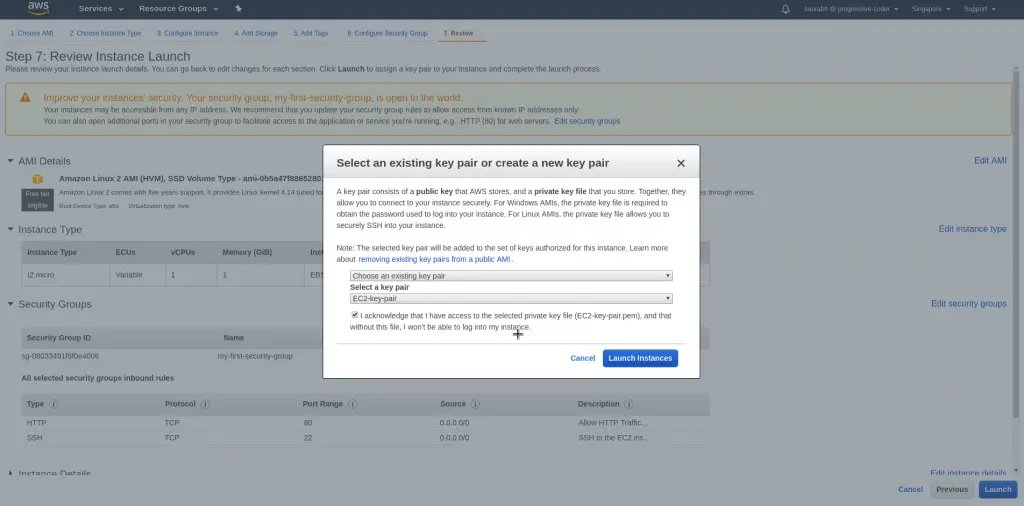
Once you have downloaded, you can click on Launch Instance.
Step 4 – Access the HTTPD Server
After a brief moment, your AWS EC2 Instance will be up and running. You can check for it in the instance list screen as below.
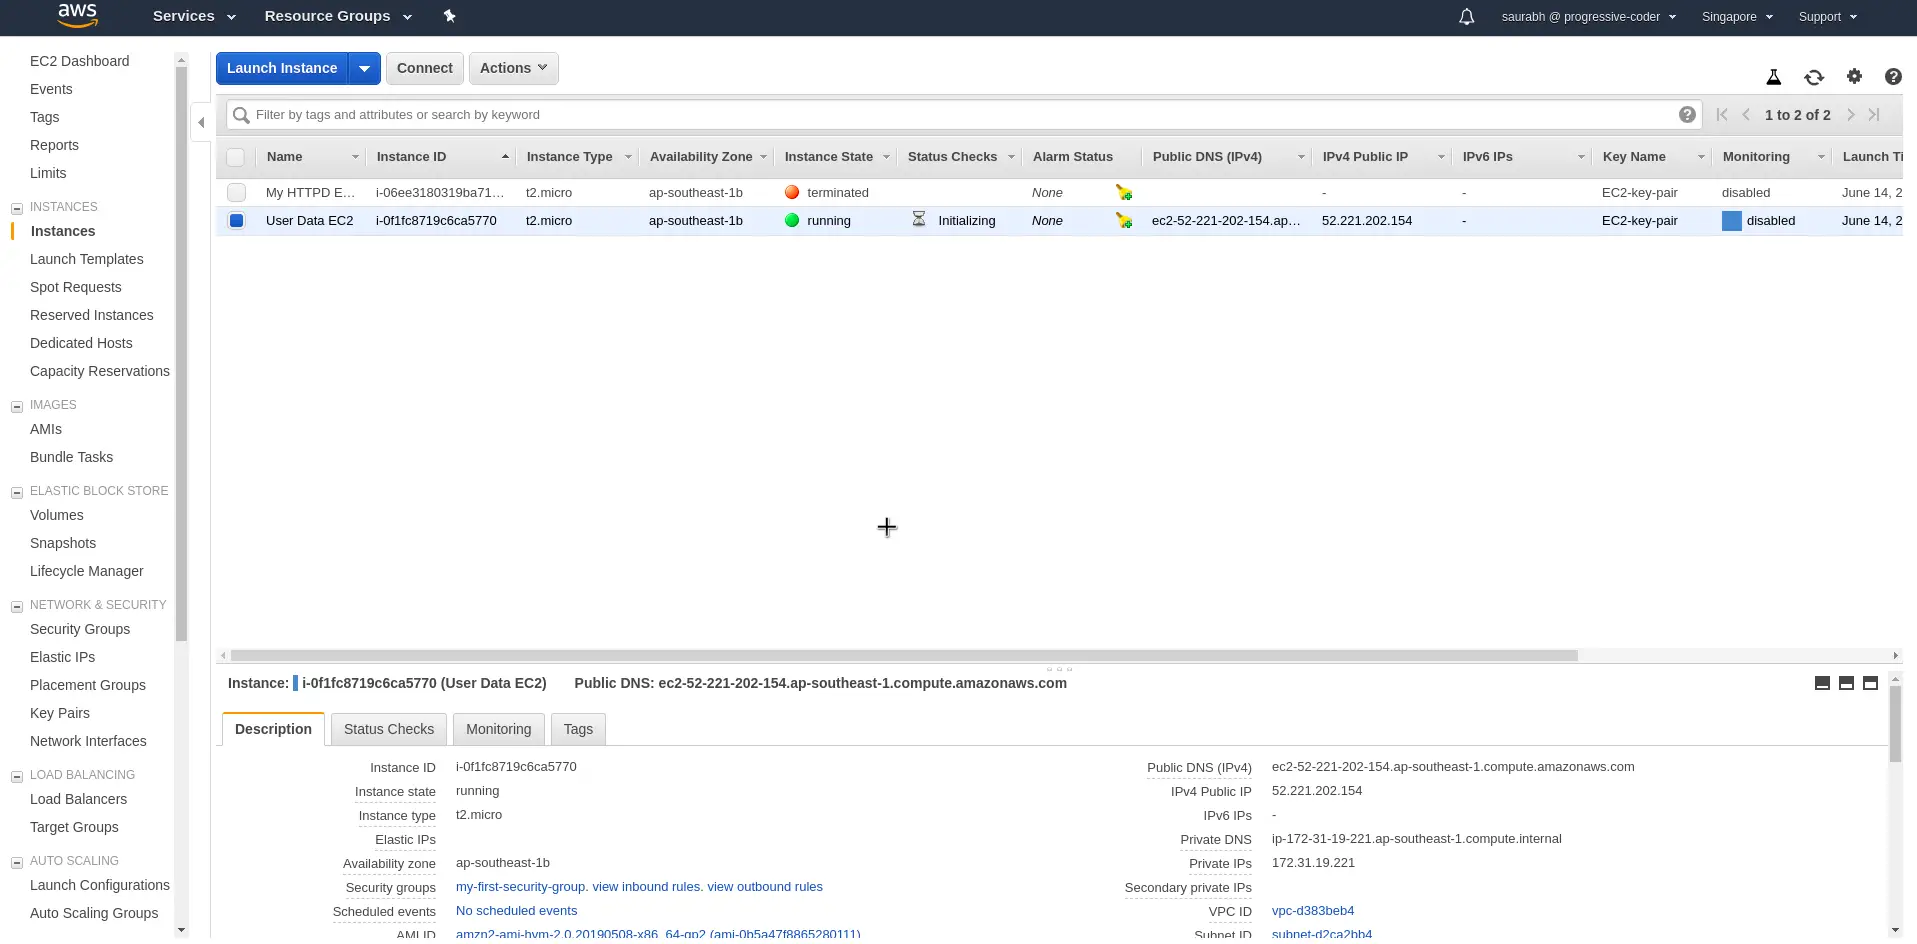
Note the public IP of the EC2 instance. When you access it using the browser on port 80, you will see the Hello World message.
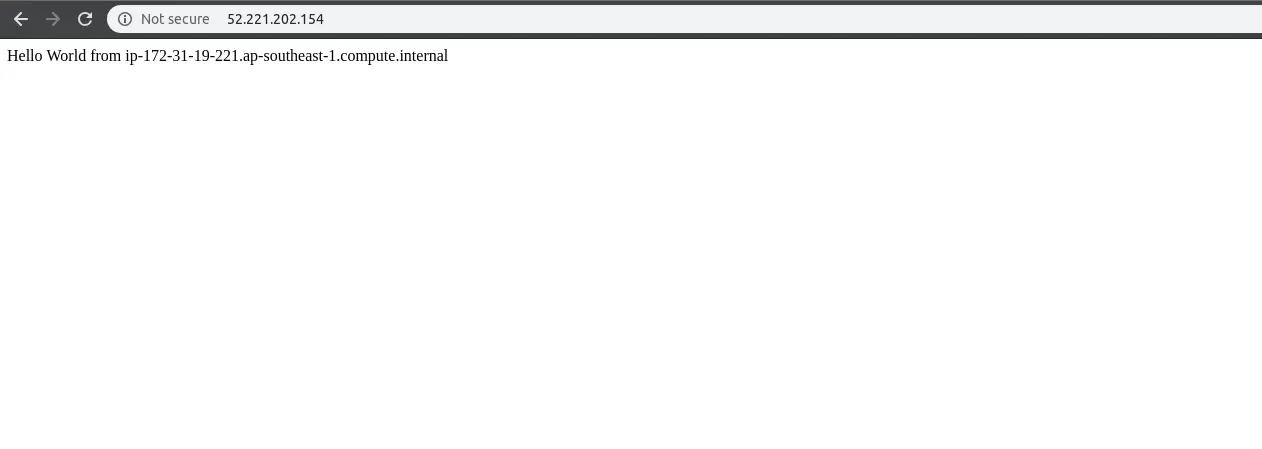
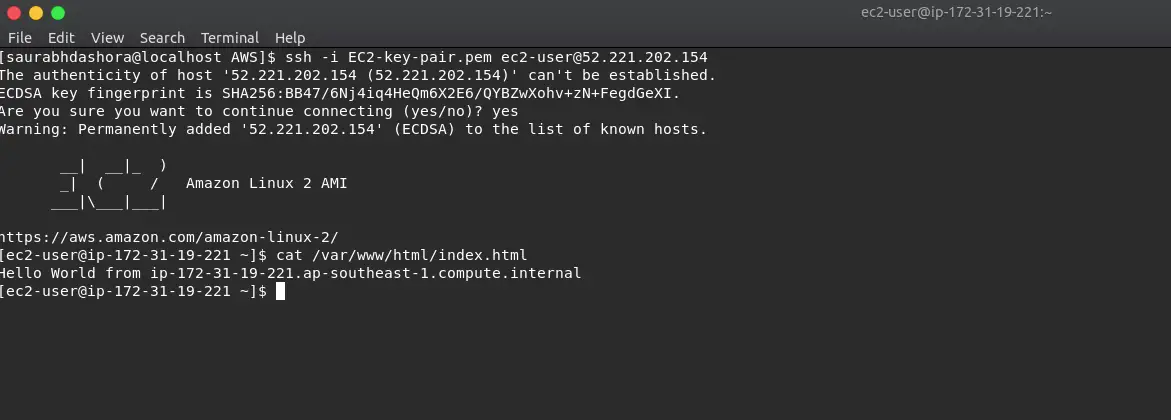
You can also login to the terminal and check for the contents of /var/www/html/index.html file. You will see the Hello World message in the file as well.
Conclusion
With this, we are basically done creating an EC2 Instance using AWS EC2 User Data feature.
EC2 User Data allows us to automate some steps with regards to configuring our instance. It can reduce repetitive work if the same set of instructions are required to be run on multiple EC2 instances.
If you have any queries regarding AWS EC2 User Data feature, do sound off in the comments section below.
Happy Learning!

4 Comments
Vidya · September 10, 2020 at 1:15 pm
Very useful post
Saurabh Dashora · September 11, 2020 at 2:14 am
Thanks for the feedback Vidya!
aETHER · June 18, 2022 at 12:30 am
I am stuck on creating an EC2 instance because although I am following the steps, I don’t understand how the ec2-user-data.sh is generated! How, where, & with what exactly. I have Windows 11 but i am creating the instance through AWS Linux. Please help!
Saurabh Dashora · June 18, 2022 at 6:26 am
When we add UserData as text in the Advanced Details section, the ec2-user-data is automatically created in the instance.