When we write a message to a topic in Kafka, it goes to one of the partitions of the topic. While Kafka provides automatic partitioning, we can also provide our own custom partitioning logic. In this post, we will learn how to use the Kafka Custom Partitioner in a Java Spring Boot application.
Since partitioning happens on the producer side, I will recommend going through our detailed post on Kafka Producer before starting this one.
1 – Kafka Topics and Partitions
Though we covered this in our Kafka Introduction earlier, it’s good to have a quick refresher of topics and partitions.
Kafka Topics are similar to a database table or a folder in a filesystem. Basically, every message in Kafka is categorized into a particular topic.
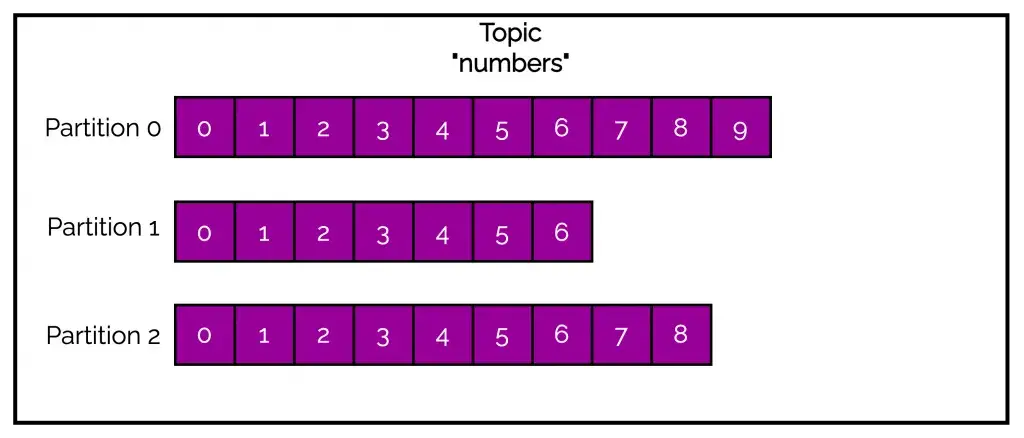
Topics themselves are made up of one or more partitions. A message or a record is actually stored in a partition.
See the below illustration where we have a topic named numbers containing three partitions.
2 – What is the Kafka Default Partitioner?
When we publish a message to a Kafka topic, it is automatically sent to a partition.
In case a topic only has a single partition, there is no confusion. All messages will go to the same partition. Of course, this is a highly unlikely scenario in a production application. Topics will almost always have multiple partitions.
In such a case, how is a partition chosen?
There is something known as Kafka Default Partitioner that directs messages to different partitions. It follows a bunch of rules as follows:
- If the producer specifies a partition number explicitly in the message, use the provided partition number.
- If the producer does not specify a partition number but provides a key, choose the partition based on the hash value of the key.
- When the producer is extremely rude and does not send either a partition number of a key, assign partition using the tried-and-tested round-robin approach. The round-robin approach has now been replaced with Sticky Partitioner approach but more on that in a later post.
Problems with Kafka Default Partitioner
As you may have guessed, the idea of a default partitioner looks good on paper, but it has a few problems that cannot be ignored:
- Hashing guarantees give you the same number for same key values. But it can also give you the same number for different key values. This is a problem if we want to make sure that certain partitions are reserved for only certain key values.
- The default partitioner calculates the partition number using the total number of partitions in a topic (
hashcode(key) % numberOfPartitions). This is a huge problem if we decide to increase the number of partitions for a topic in the future. The partition number calculation will completely change. - Default partitioner can also create issues in the case of composite keys. For example, if our key comprises of order id and timestamp, the hash value will change for different timestamps. This means that data for same order id can go to different partitions.
Due to these problems, simply using a key and relying on the default partitioner is not an ideal partitioning strategy. Neither is it a good idea to hard-code partition names while sending messages.
Thankfully, Kafka provides facilities to provide our own custom partitioning strategy.
3 – Kafka Custom Partitioner Example with Java Spring Boot
Let us now implement a Kafka Custom Partitioner in a Java Spring Boot application for the demo purpose.
Consider a use-case where we are putting out a sale for various electronic devices (mobiles, laptops and so on). As per our business forecast, we expect a significant increase in the sales of other brands when compared to Apple devices. To distribute the load, we want to restrict the data about Apple devices to a single partition while allowing other brands related information to the remaining partitions.
Check out the below illustration:
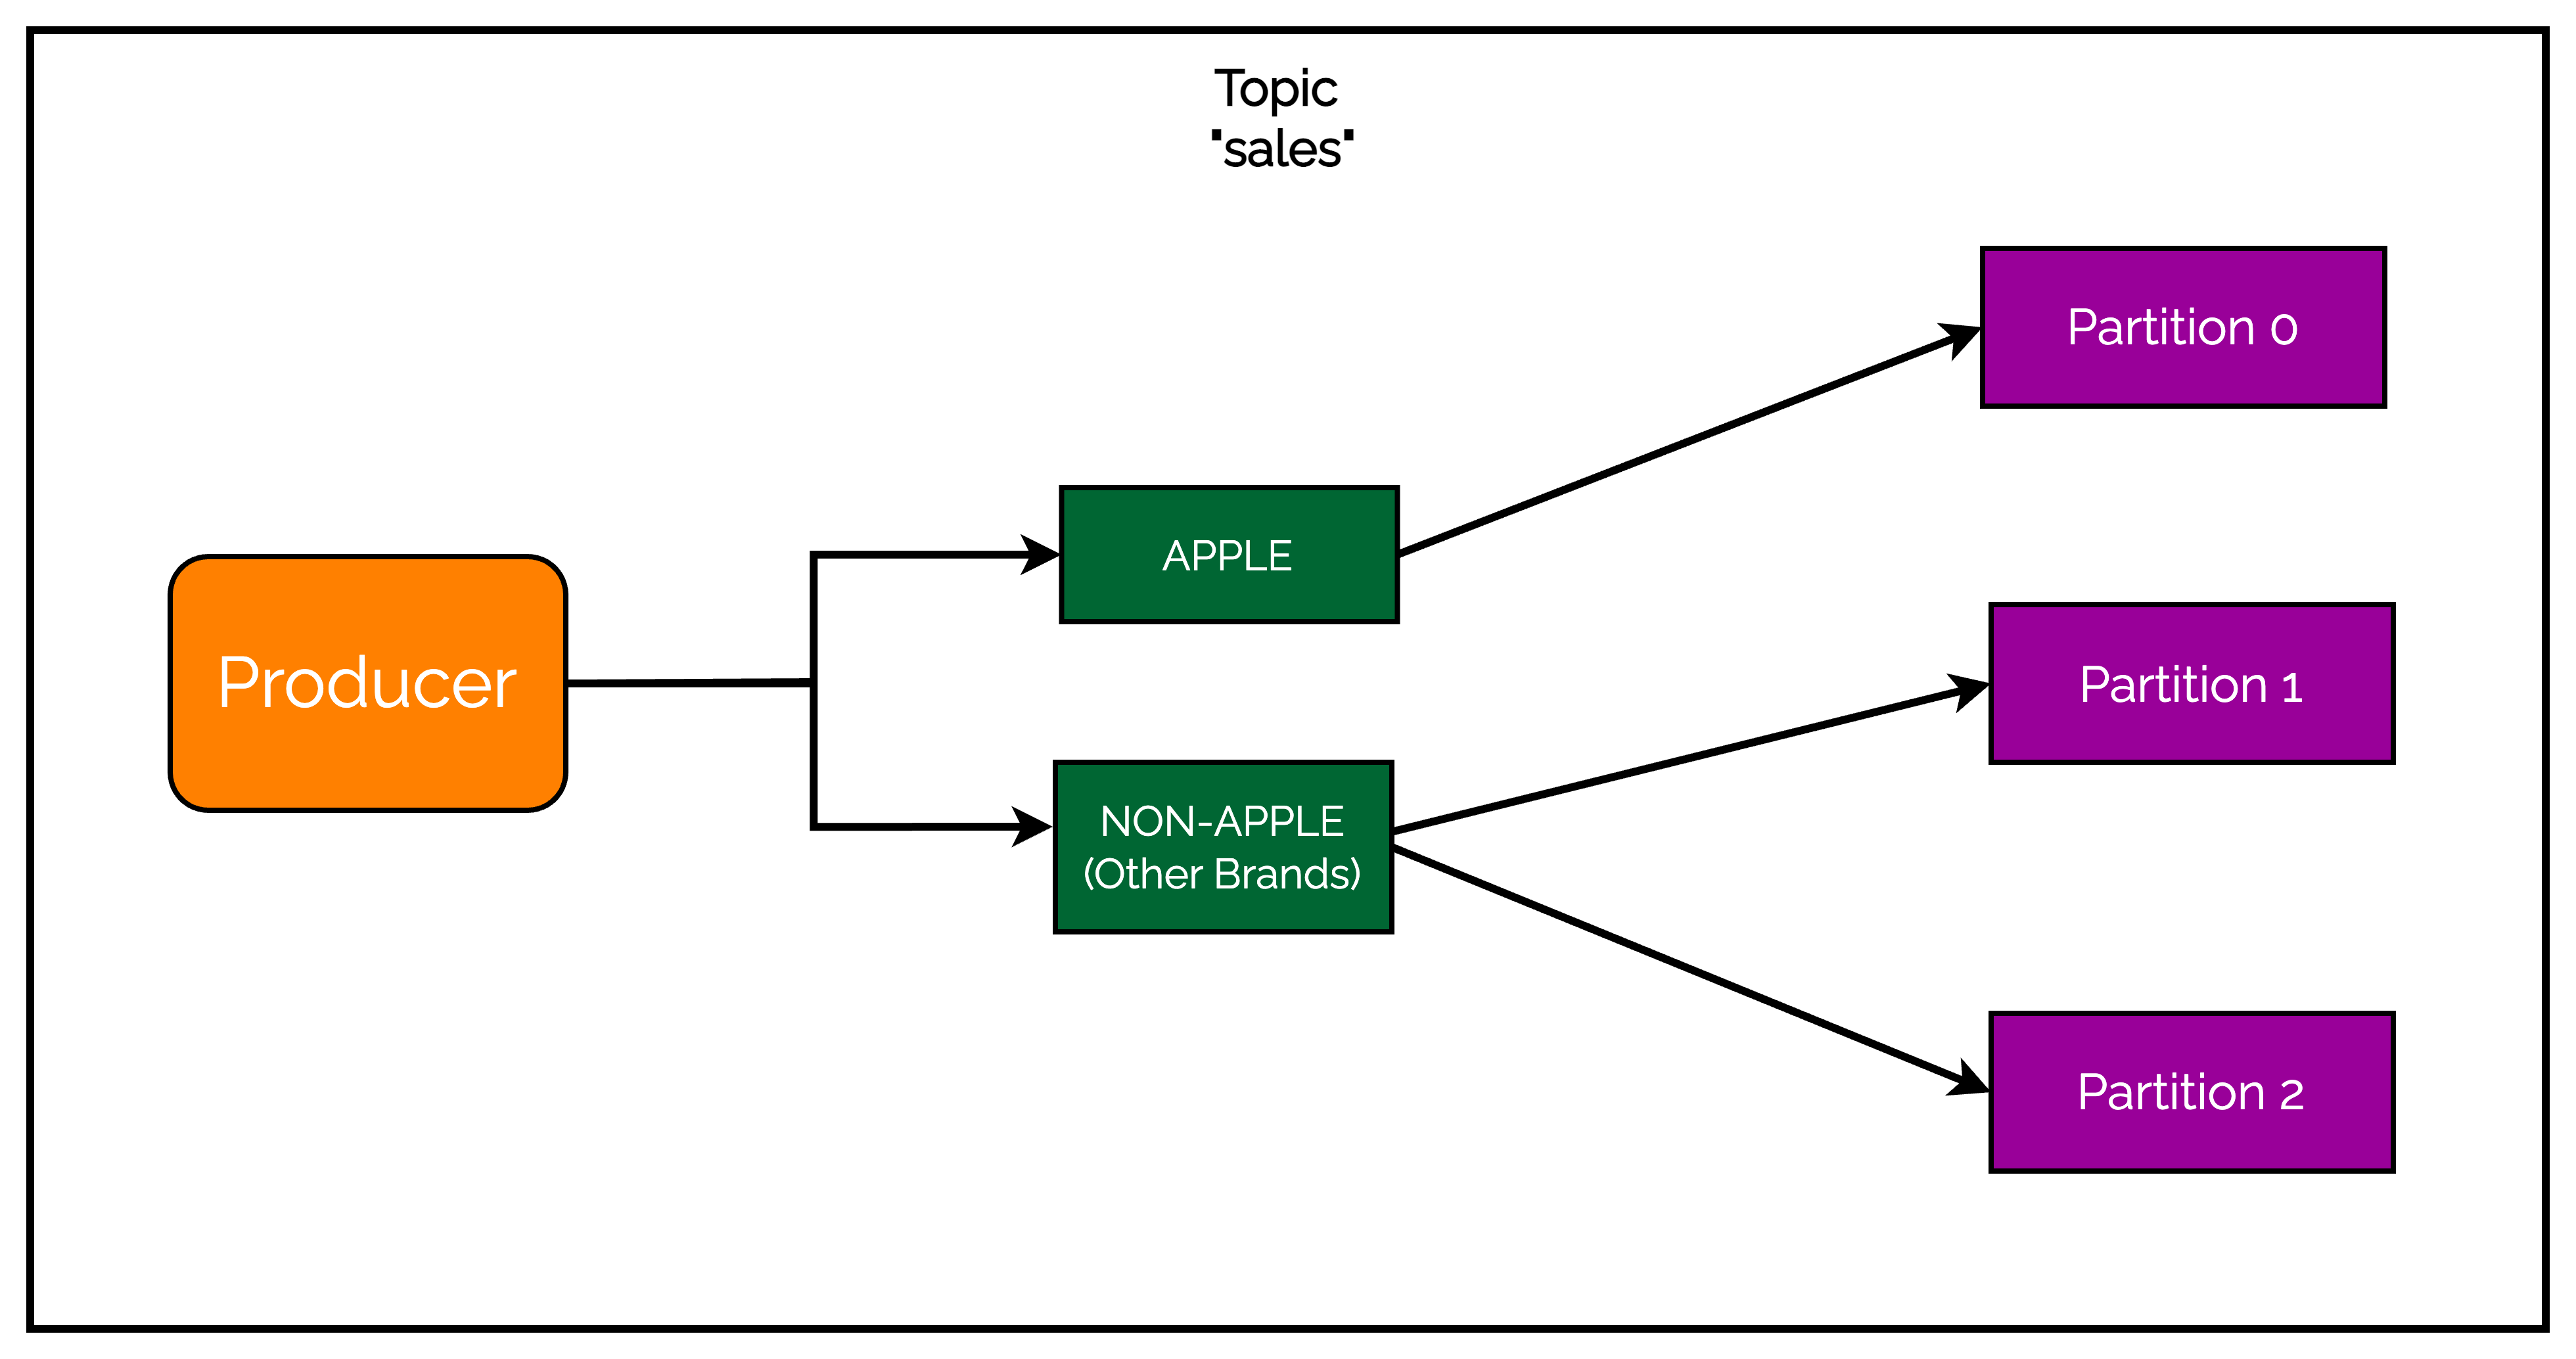
The Producer produces data for both Apple and Other sales. However, our requirement is to send Apple data to only partition 0. However, non-Apple data can go to any of the remaining partitions.
3.1 – Creating and Configuring the Kafka Producer
To implement the above scenario, we will first create the KafkaProducer and write the logic for sending messages to Kafka.
See below code:
package com.progressivecoder.kafkaexample;

import org.apache.kafka.clients.producer.*;

import org.apache.kafka.common.serialization.StringSerializer;
import org.springframework.boot.CommandLineRunner;
import org.springframework.boot.SpringApplication;
import org.springframework.boot.autoconfigure.SpringBootApplication;
import java.util.Properties;

@SpringBootApplication
public class KafkaExampleApplication implements CommandLineRunner {

	public static void main(String[] args) {
		SpringApplication.run(KafkaExampleApplication.class, args);
	}

	@Override
	public void run(String... args) throws Exception {
		Properties kafkaProps = new Properties();
		kafkaProps.put(ProducerConfig.BOOTSTRAP_SERVERS_CONFIG, "localhost:9092");
		kafkaProps.put(ProducerConfig.KEY_SERIALIZER_CLASS_CONFIG, StringSerializer.class);
		kafkaProps.put(ProducerConfig.VALUE_SERIALIZER_CLASS_CONFIG, StringSerializer.class);
		kafkaProps.put(ProducerConfig.PARTITIONER_CLASS_CONFIG, BrandPartitioner.class);
		kafkaProps.put("partition.brand", "apple");

		Producer<String, String> producer = new KafkaProducer<>(kafkaProps);

		try {
			for (int i = 0; i <= 20; i++) {
				if (i < 3) {
					ProducerRecord<String, String> apple =
							new ProducerRecord<String, String>("topic-1", "apple", "Selling Apple Device");
					producer.send(apple, new DemoProducerCallback());
				} else {
					ProducerRecord<String, String> samsung =
							new ProducerRecord<String, String>("topic-1", "others_" + i, "Selling Other Device");
					producer.send(samsung, new DemoProducerCallback());
				}
			}
		} catch (Exception e) {
			e.printStackTrace();
		}
	}
}

class DemoProducerCallback implements Callback {
	@Override
	public void onCompletion(RecordMetadata recordMetadata, Exception e) {
		if (e != null) {
			e.printStackTrace();
		}
	}
}
- As a first step, we create a
Propertiesobject and add the necessary properties to it. Apart from the mandatory properties such as server details, key and value serializers, we add thePARTITIONER_CLASS_CONFIGand thepartition.brandproperties. - The
PARTITIONER_CLASS_CONFIGholds the name of the custom partitioner class that we will create very soon. - On the other hand,
partition.brandis not a Kafka Producer configuration property. It is a custom property. We are using it to supply the name of the brand that needs to receive special treatment so that we can avoid hard-coding it in the custom partitioner. - In the rest of the code, we are simply sending some messages to the Kafka broker. Some messages are for Apple devices while the rest belong to other brands.
3.2 – Creating the Kafka Custom Partitioner
Now, we will create the BrandPartitioner class.
Check out the below code.
package com.progressivecoder.kafkaexample;

import org.apache.kafka.clients.producer.Partitioner;
import org.apache.kafka.common.Cluster;
import org.apache.kafka.common.InvalidRecordException;
import org.apache.kafka.common.PartitionInfo;
import org.apache.kafka.common.utils.Utils;

import java.util.List;
import java.util.Map;

public class BrandPartitioner implements Partitioner {

    private String brand;

    @Override
    public int partition(String topic, Object key, byte[] keyBytes, Object value, byte[] valueBytes, Cluster cluster) {
        int chosenPartition;

        List<PartitionInfo> partitions = cluster.partitionsForTopic(topic);
        int numPartitions = partitions.size();

        if ((keyBytes == null) || (!(key instanceof String))) {
            throw new InvalidRecordException("All messages should have a valid key");
        }

        if (((String) key).equalsIgnoreCase(brand)) {
            chosenPartition = 0;
        } else {
            chosenPartition = Utils.toPositive(Utils.murmur2(keyBytes)) % (numPartitions - 1) + 1;
        }
        System.out.println("For " + value + " partition chosen: " + chosenPartition);
        return chosenPartition;
    }

    @Override
    public void close() {

    }

    @Override
    public void configure(Map<String, ?> map) {
        brand = (String) map.get("partition.brand");
    }
}
To create a custom partitioner in Kafka, we need to implement the Partitioner interface. Our custom partitioner needs to implement the below three methods from the interface:
partition()– This method is used to implement the actual partitioning logic.configure()– This method is used to get the custom properties that may or may not be needed for determining the partition. In case you don’t have any such property, you can also leave the implementation of this method empty.close()– This method is used as part of shutdown hooks and cleaning up any resources. If there are no such resources, we can also leave this method empty.
As you can see, the most important method is partition(). The Producer will call this method for every message with all the necessary inputs. The input to the method is the topic name, key, value and the cluster object.
With all these input parameters, we have everything that is required to calculate a partition number.
The partition() method needs to return an integer as a partition number. And to determine the same, we have to implement our partitioning logic.
Custom Partitioning Logic
Our logic for partitioning is quite simple:
- We first extract the information about the partitions for the given topic. Using this information, we find the number of partitions.
- Next, we throw an exception if the
keyvalue is null. The key tells us whether the device is of apple or some other brand. Without the key, we won’t be able to determine the partition. - Within the
configure()method, we already extracted the custom propertypartition.brandand stored it in a class variable. For our example, this will contain the value apple. - Next, we check if the current message key matches apple. If yes, we set the
chosenPartition=0. Basically, we are saying that for brand apple only partition 0 should be used. - If the key is not apple, then we determine the
chosenPartitionby hashing the key and dividing it by the remaining partitions and taking the mod. The mod value will be 0 or 1 and therefore, we add 1 to shift the value by 1. Ultimately, we will get a value of 1 or 2 for other brands. - At the end, we return the
chosenPartitionvalue.
When we run our application, we should get a response similar to below:
For Selling Apple Device partition chosen: 0
For Selling Apple Device partition chosen: 0
For Selling Apple Device partition chosen: 0
For Selling Apple Device partition chosen: 0
For Selling Other Device partition chosen: 2
For Selling Other Device partition chosen: 2
For Selling Other Device partition chosen: 1
For Selling Other Device partition chosen: 1
For Selling Other Device partition chosen: 2
For Selling Other Device partition chosen: 1
For Selling Other Device partition chosen: 1
For Selling Other Device partition chosen: 2
For Selling Other Device partition chosen: 2
For Selling Other Device partition chosen: 1
For Selling Other Device partition chosen: 1
For Selling Other Device partition chosen: 1
For Selling Other Device partition chosen: 2
For Selling Other Device partition chosen: 2
For Selling Other Device partition chosen: 1
For Selling Other Device partition chosen: 1
For Selling Other Device partition chosen: 1
For Selling Other Device partition chosen: 1
For Selling Other Device partition chosen: 1
For Selling Other Device partition chosen: 2
As you can see, the Apple data has always gone to partition 0. However, non-Apple data has gone to either partition 1 or 2 depending on our logic.
4 – Kafka Custom Partitioner FAQs
There are some common questions with regards to partitioning in Kafka. Here you can find the answers to those questions:
When to use the Kafka Default Partitioner?
There are specifically three scenarios where you can use the Kafka Default Partitioner:
- If you already know the partition number to which you want to send a message, you don’t need a custom partitioner.
- In case you want to distribute data using the hash of the key, then Kafka default partitioner is the right choice.
- Lastly, if you don’t care which partition a particular message goes to, then you can simply go with default partitioner.
What is Kafka partition key?
Kafka messages are key-value pairs.
While it is possible to create a ProducerRecord with just a topic and a value, with the key set to null by default, most applications produce records with keys.
Kafka partition keys have two main purposes:
- Keys can contain additional information that gets stored with the message
- Also, keys are used to decide which partition a message should be written to
How do I send a set of messages to a specific Kafka partition?
Message keys can ensure that a particular set of messages are written to a specific Kafka partition. But there are chances of issues if the number of partitions change. Also, the default partitioner does not guarantee exclusive use of a partition for a particular key.
To send a set of messages to a specific Kafka partition in the most reliable manner, you need to implement a Custom Partitioner as we saw in this post.
What is method to override of the Customer Partitioner class?
To implement a Kafka custom partitioner, we have to implement the Partitioner interface. This involves overriding three specific methods – partition(), configure() and close().
While all methods have their use, the partition() method is the main method that should contain the custom partitioning logic.
Conclusion
Kafka Custom Partitioning is an extremely important concept when it comes to building applications in high-load environments. In this post, we learned every aspect of Kafka Custom Partitioner in a Spring Boot application.
It provides a way to optimize traffic based on the business needs. The great part about custom partitioning is the flexibility with which we can modify the logic for a different scenario by swapping out the partitioners.
That was all for this post!
If you have any comments or queries, please feel free to mention them in the comments section below. Also, if you find the post to be useful, consider sharing it with friends and colleagues.

0 Comments