Jenkins is one of the most popular CI/CD tools out there.
In this post, I take you through the step-by-step process of setting up a Jenkins server on Kubernetes.
If you are new to Kubernetes, I suggest checking out this introduction to Kubernetes.
1 – Creating a Namespace
In Kubernetes, you can group certain types of application together using namespaces.
In the case of something like Jenkins, it’s a good idea to keep it separate from your application deployments.
Therefore, create a namespace for the same:
$ kubectl create namespace devopsYou can now switch to the namespace by issuing the below command:
$ kubectl config set-context --current --namespace=devopsAny commands after this will run in the context of the newly created “devops” namespace.
2 – Create Jenkins Kubernetes Deployment
The next step is to create a Kubernetes deployment to run the official Jenkins image.
Here’s the YAML file for the deployment.
apiVersion: apps/v1
kind: Deployment
metadata:
  name: jenkins
spec:
  replicas: 1
  selector:
    matchLabels:
      app: jenkins
  template:
    metadata:
      labels:
        app: jenkins
    spec:
      containers:
      - name: jenkins
        image: jenkins/jenkins:lts
        imagePullPolicy: IfNotPresent
        ports:
          - name: http-port
            containerPort: 8080
          - name: jnlp-port
            containerPort: 50000
        volumeMounts:
          - name: jenkins-vol
            mountPath: /var/jenkins_vol
      volumes:
        - name: jenkins-vol
          emptyDir: {}
Let’s look at what’s going on over here:
- At the very beginning, we specify the
apiVersionand thekindof resource. - Next, we specify the name of the deployment resource i.e. ‘jenkins’.
- Within the
specsection, we mention the number of replicas (in other words, instances) that we want to run. - In the
templatesection, we specify the properties of thecontainersthat we want to run. In this case, the container will run theimage“jenkins/jenkins:lts”. This is basically the official image. - Next, we provide the port details. The 8080 port is the one that we will use to access the Jenkins admin UI. Port 50000 allows us to use other JNLP-based Jenkins agents on other machines.
- Lastly, we mount a volume to the Jenkins pod. Basically, Jenkins needs this to function properly. To keep things simple, we simply mount an
emptyDirJenkins volume. You can read more about in this post.
You can apply this YAML file using the below command:
$ kubectl apply -f deployment.yamlAnd then, execute the kubectl get pods command to check if the pod is running.
NAME                       READY   STATUS    RESTARTS         AGE
jenkins-794699f9bc-qbjmh   1/1     Running   0                5h9m
Note that the pod name will be different on your system.
3 – Create Jenkins Kubernetes Service
The deployment is active and the Jenkins Pod is running.
But to access the Jenkins UI from our browser we need to expose it via a Service.
The easiest way to achieve this is by using the Kubernetes NodePort service.
Here’s the YAML file that you can use:
apiVersion: v1
kind: Service
metadata:
  name: jenkins
spec:
  type: NodePort
  ports:
    - port: 8080
      targetPort: 8080
      nodePort: 31000
  selector:
    app: jenkins
Basically, this service exposes port 8080 on the pod to port 31000 on the host system. The name of the service is “jenkins” and the type is NodePort.
Applying this YAML is a simple matter of executing the below command:
$ kubectl apply -f jenkins-service.yaml4 – Accessing the Jenkins UI
With the service applied successfully, you can now access the Jenkins user interface by visiting http://localhost:31000.
On the first occasion, you’ll be prompted for the admin password.
To get the admin password, check the logs of the Jenkins Pod by executing the below command:
$ kubectl logs jenkins-794699f9bc-qbjmhThe password will be available in the console. See below:
WARNING: All illegal access operations will be denied in a future release
2023-09-11 03:13:07.968+0000 [id=34]	INFO	jenkins.install.SetupWizard#init:

*************************************************************
*************************************************************
*************************************************************

Jenkins initial setup is required. An admin user has been created and a password generated.
Please use the following password to proceed to installation:

4d1a73cde6d245d6852945447a224856

This may also be found at: /var/jenkins_home/secrets/initialAdminPassword

*************************************************************
*************************************************************
*************************************************************
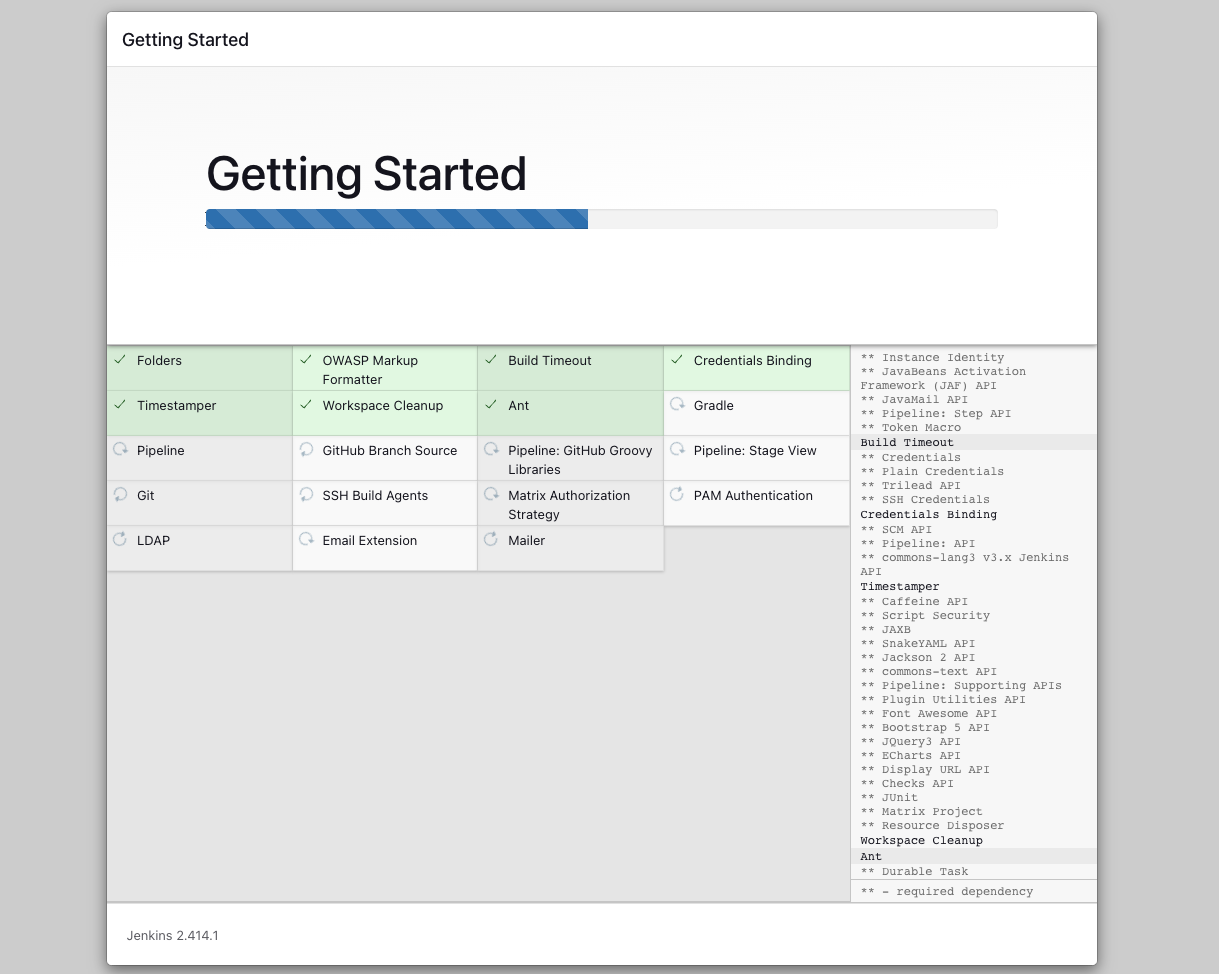
Enter this password and agree to the installation process.
You should see a screen like below where the progress of the installation process is shown.
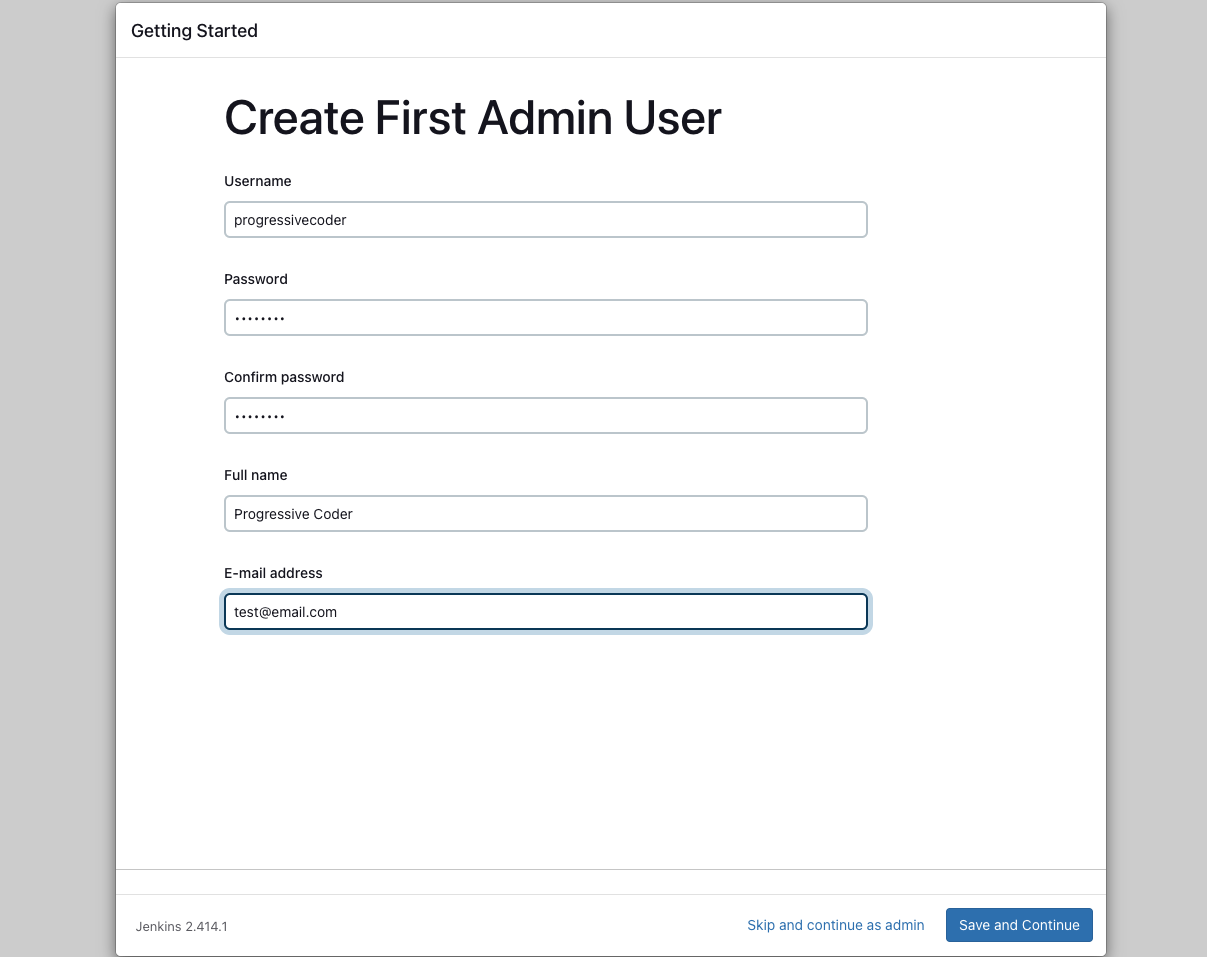
Once the installation is complete, you’ll be prompted to create a new user.
Fill out the details and continue further.
5 – Creating your First Jenkins Pipeline
After going to the user creation, you’ll be presented with the Dashboard screen where you can create and manage the various CI/CD pipelines.
In the beginning, it should appear something like below:
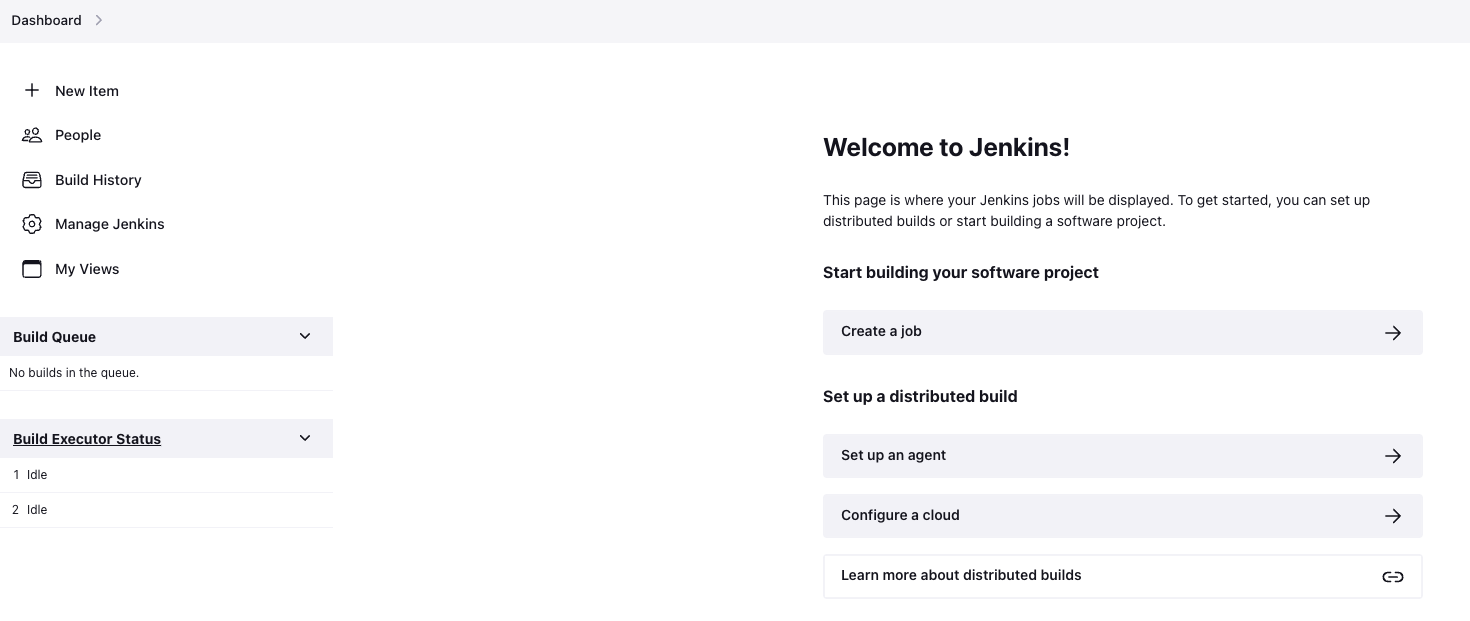
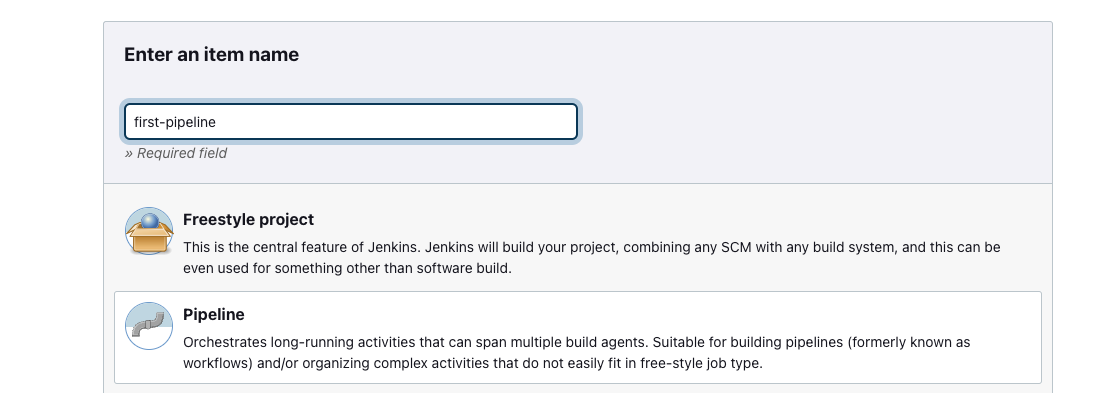
To create a new pipeline, click on the New Item button on the left-hand navigation menu and fill the details for the new pipeline.
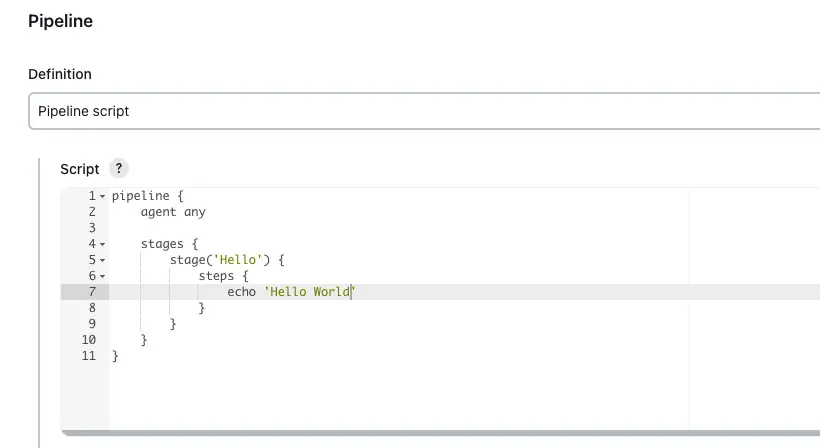
Here’s the script for the pipeline that we want to run:
pipeline {
    agent any

    stages {
        stage('Hello') {
            steps {
                echo 'Hello World'
            }
        }
    }
}
As you can see, it’s a very simple pipeline. All it does it echo “Hello World”.
You can provide this script in the pipeline script dialog box as follows:
Finally, you can run the pipeline by clicking the Build Now button. And it should show the status of the pipeline in the dashboard.
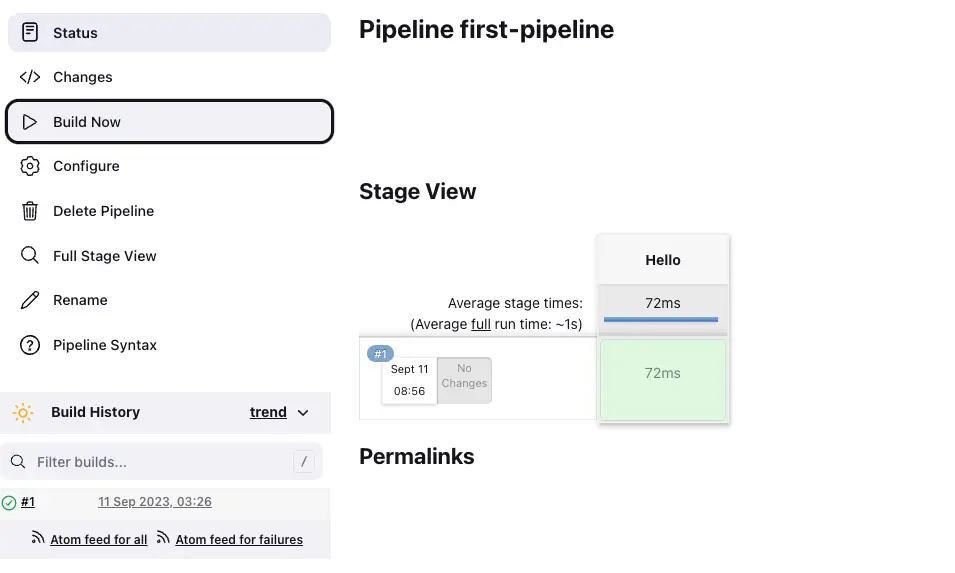
If you open the pipeline logs, you’ll see the “Hello World” message.

Of course, this is not a very sophisticated pipeline but it serves well to demonstrate that Jenkins is working on our Kubernetes setup successfully.
Conclusion
That’s all for this post.
In this post, we looked at the step-by-step process of setting up Jenkins on Kubernetes and also ran our first pipeline in the newly installed Jenkins.
If you have any comments or queries about this post, mention them in the comments section below.

0 Comments