Keycloak is an open source identity and access management solution. We can use Keycloak to secure our web applications and services. In this series of posts, we will look at the process of securing application using Spring Boot Keycloak integration.
Using Keycloak, we can secure RESTful APIs built using Spring Boot very easily. Also, it allows us to decouple the user management process from the rest of the application.
If you are new to Spring Boot, do check out our detailed post about Spring Boot Microservices.
In Part 1 (this post), we will look at the step-by-step process of setting up Keycloak on our local machine.
In Part 2, we go into details of how we can perform Spring Boot Keycloak integration.
1 – What is Keycloak?
As we already mentioned, Keycloak can take care of the identity and access management requirements of an application.
For example, you may have built a web application and want to delegate the login process for the same. In that case, you can use Keycloak. Once keycloak is setup, our application does not need to deal with login forms and authenticating users or managing user data.
Taking another example, you may have built a bunch of services or APIs. Now, you want those services to be accessible by consumers only after proper authentication. Again, in this case, you can use Keycloak.
Keycloak is also quite versatile when it comes to where you can deploy it. Basically, it provides several options for deployment. We can deploy it on a local machine or any Java run-time environment. We can also deploy keycloak on Docker, Kubernetes and OpenShift Container Platform. Lastly, keycloak can also run as part of a Docker Compose setup where we can have keycloak as one of the services along with other services or web applications.
You can find more details about each of these options in the official documentation.
2 – Installing Keycloak
For this post, we will install Keycloak on our local machine. To do so, we can download the ZIP version of the installation from the official site.
We can then extract the ZIP version in an appropriate folder. After extracting, we can navigate to the bin folder within the installation folder in command prompt. And then, we can execute the below command.
standalone.batBasically, this command will start up a standalone Keycloak server in your local machine on port 8080.
Once the server starts up, we have to setup an admin user for the same. By default Keycloak does not come with any user. To setup the admin user, we have to navigate to http://localhost:8080/auth. Here, we should see a sign up form where we can setup the admin user.
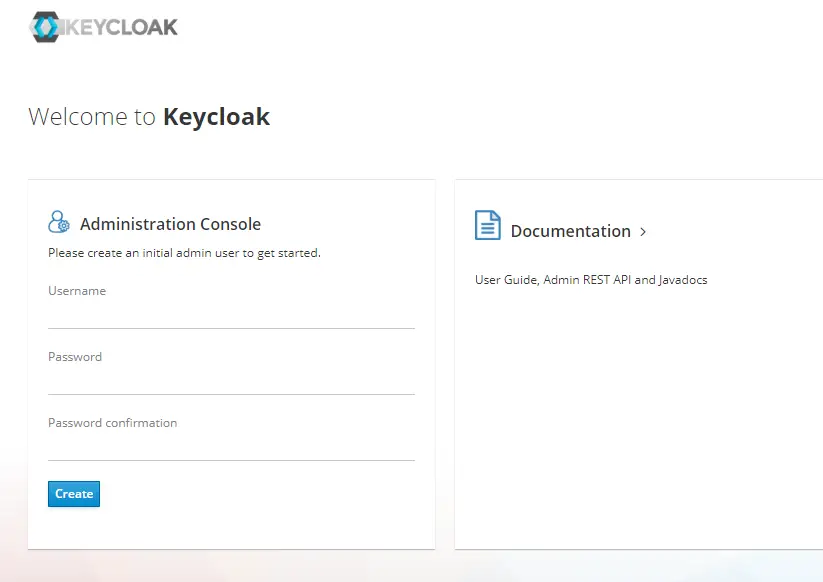
Once we enter an appropriate username and password, the admin user is created. Then, we can login to Keycloak Administration Console using this admin user.
3 – Creating a Realm
Keycloak works on a multi-tenant model. Basically, this means that one keycloak instance can support multiple applications or tenants. You can think of tenant as an isolated group of users and application.
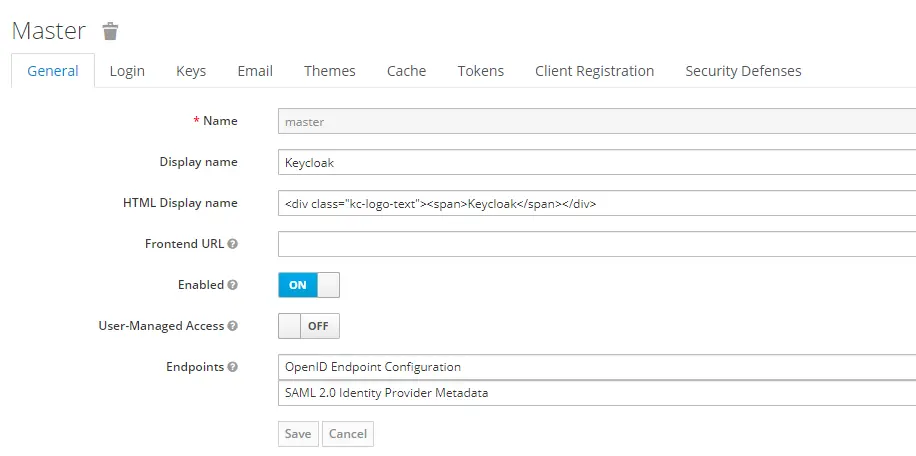
By default, there is a master realm in Keycloak. However, that is reserved for admin purposes. The role of this realm is to manage the keycloak instance. Therefore, we should not use it for our application.
Instead, we should create a new realm. To do so, hover over the dropdown in the top left corner where it says Master and then click the button ‘Add Realm‘.
This will open up a dialog box where you can fill the name of the realm.
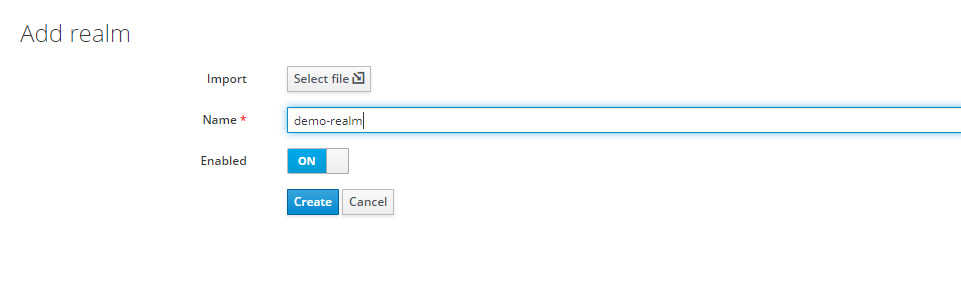
In this case, we have given the name as demo-realm. After that, we can simply click Create and the realm will be created in our keycloak instance.
4 – Add Users to Realm
Now that the realm is ready, we need to add users to this realm. To add users, we can click on the Users menu item in the left hand menu bar. This will open another screen where click Add User button.
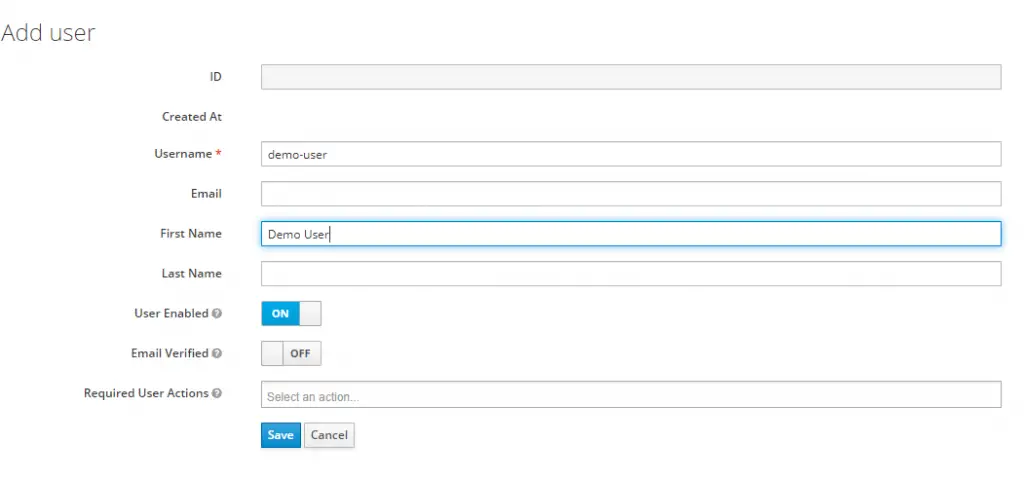
For the time being, I have entered username as demo-user and that is basically the only mandatory field over here. Upon saving, the user will be created and also an unique database ID generated for the user. Apart from it, a bunch of tabs will also appear on the screen to setup other details for the user such as Credentials, Roles, Groups and so on.
For the user to be able to login, we need to set an initial password for the user. That can be done by clicking the Credentials tab.
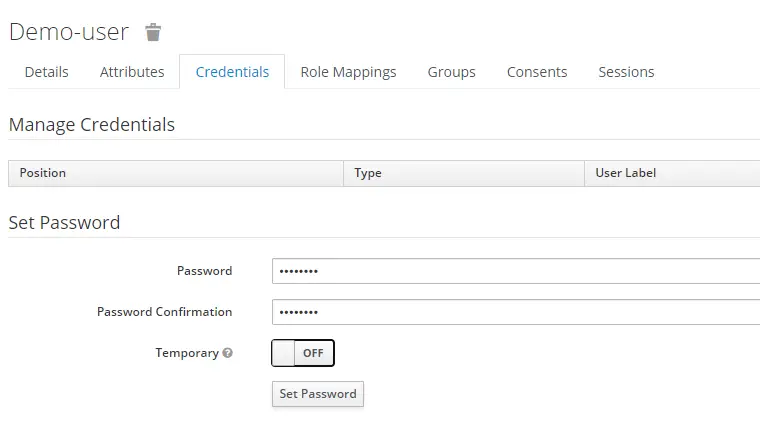
If we set the Temporary flag to ON, user will have to reset the password first time they log in.
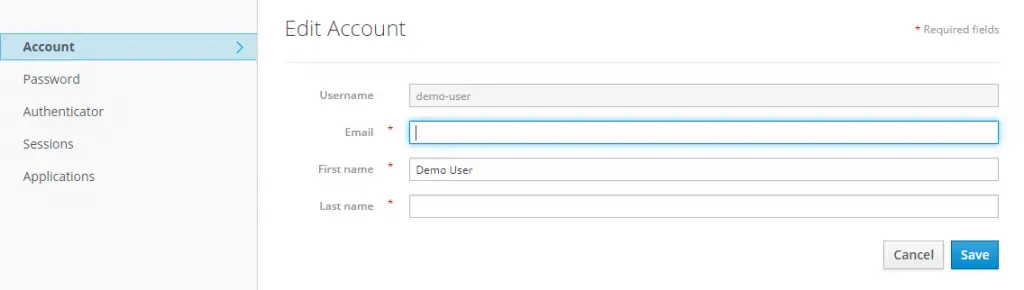
The user was created in the demo-realm and hence, he/she can only login to that realm. To login to our demo-realm, we need to go to Account Console view for the particular realm. In our case, the path is http://localhost:8080/auth/realms/demo-realm/account.
Once the user logs in, they can manage their information as well.
With this, we have successfully installed Keycloak in our local machine and also setup a new realm as well as added users to the realm.
In the next part, we will be creating a Spring Boot application containing some APIs and we will learn how to secure them using Keycloak.
0 Comments